
The Ultimate Sourdough Milk Buns
This website contains affiliate links.
Some of the links below are affiliate links. This means that, at no additional cost to you, Bread By Elise may earn a commission if you click through the link and finalize a purchase. Please read our Privacy Policy for more details.
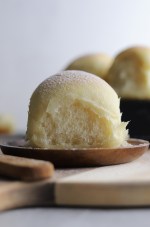
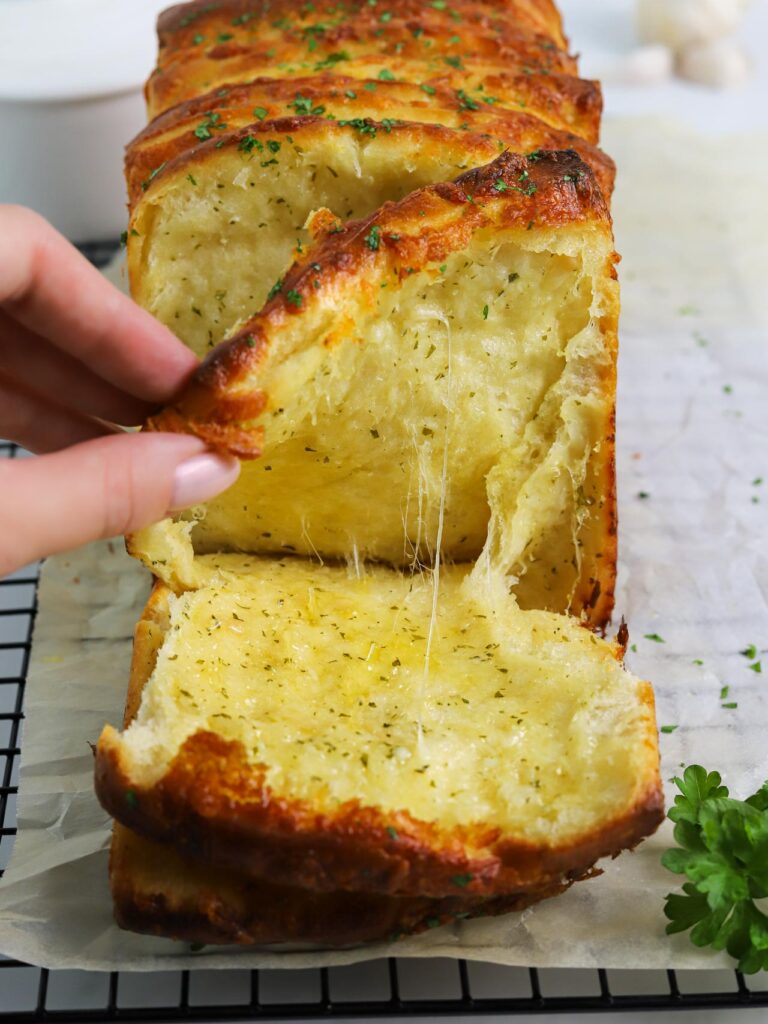
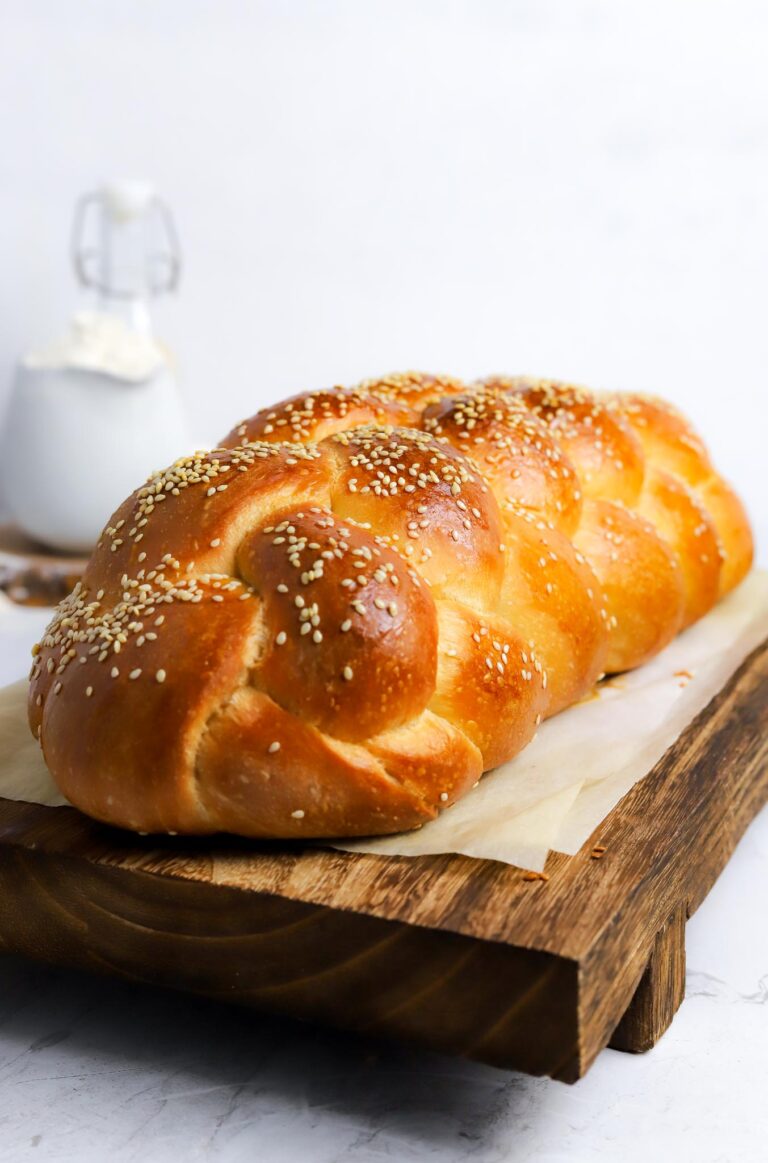
These ultra-soft sourdough milk buns are a must-try. Eat them as dinner rolls or just on their own. They have a very mild sourdough flavor and are enriched with cream cheese and butter, which creates the most amazing flavor and texture. This recipe was adapted from my Sourdough Japanese Milk Bread recipe.
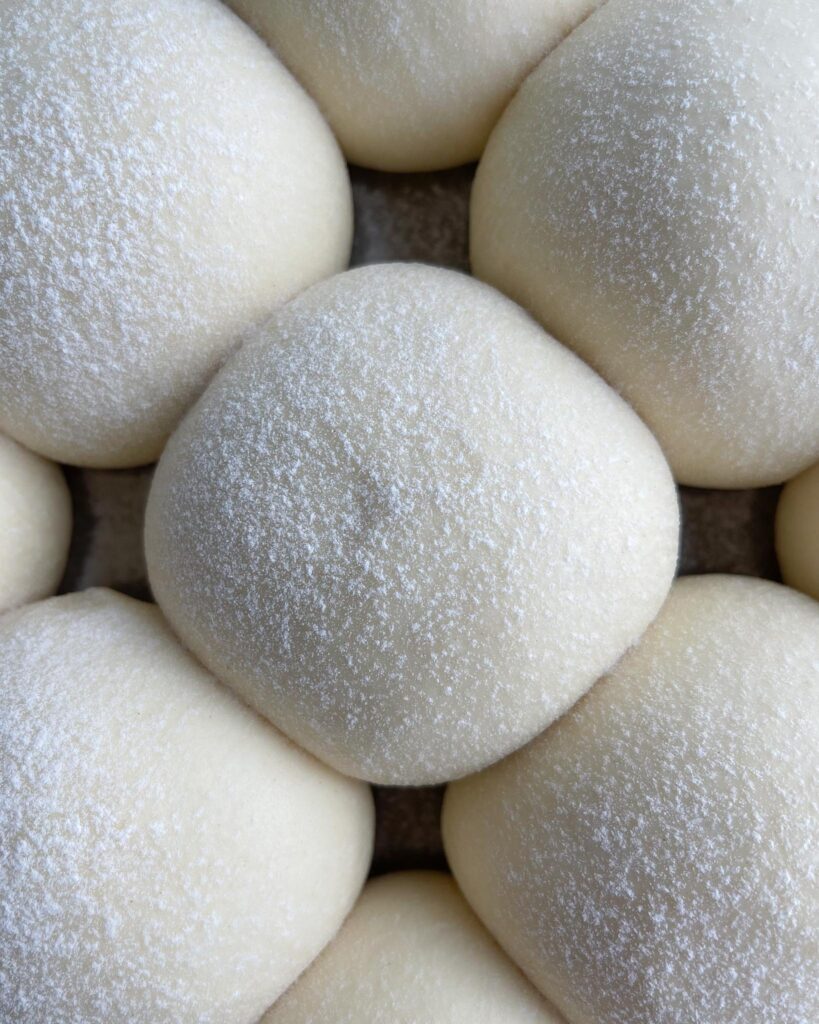
Table Of Contents
Fluffy Sourdough Buns
Sourdough milk buns are relatively easy to make. Remember to give the dough enough time to ferment and read the whole recipe before you begin. Don’t forget to check out the bakers schedule at the end of this post to help plan out your bake.
Recipe run through
Day one
Day two
Scroll to view all images.
Shop the Tools


Watch Me Bake
sourdough Milk Buns
Sourdough Milk Buns
Equipment
- Digital kitchen scale
- Stand mixer
- Brød & Taylor proofer box (optional, but recommended)
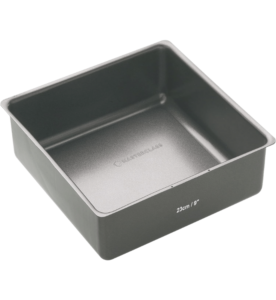
- 9×9-inch baking pan
Ingredients
Sweet Levain
- 40 g active sourdough starter
- 40 g whole milk cold
- 40 g bread flour
- 10 g sugar
Tangzhong
- 100 g whole milk
- 20 g bread flour
Main Dough
- 310 g bread flour
- 20 g sugar
- 50 g whole milk cold
- 70 g eggs 1 egg + 1 egg yolk
- 50 g cream cheese full fat
- all the sweet levain
- all the tangzhong
- 8 g salt
- 25 g unsalted butter
Instructions
Sweet Levain
- In a bowl, mix active sourdough starter, flour, sugar, and cold milk. Cover and rise in a warm spot (ideally at 78°F) for 4 hours, or until doubled in size. You want the levain to be active but not overly sour and liquid.40 g active sourdough starter, 40 g whole milk, 40 g bread flour, 10 g sugar
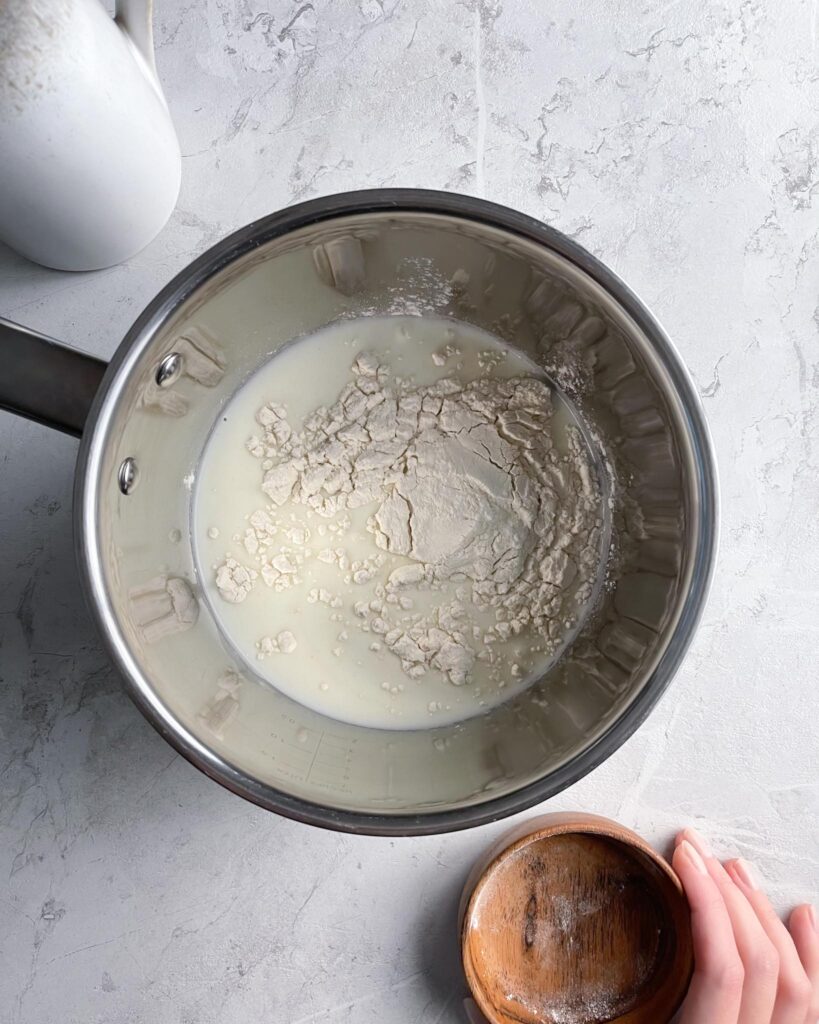
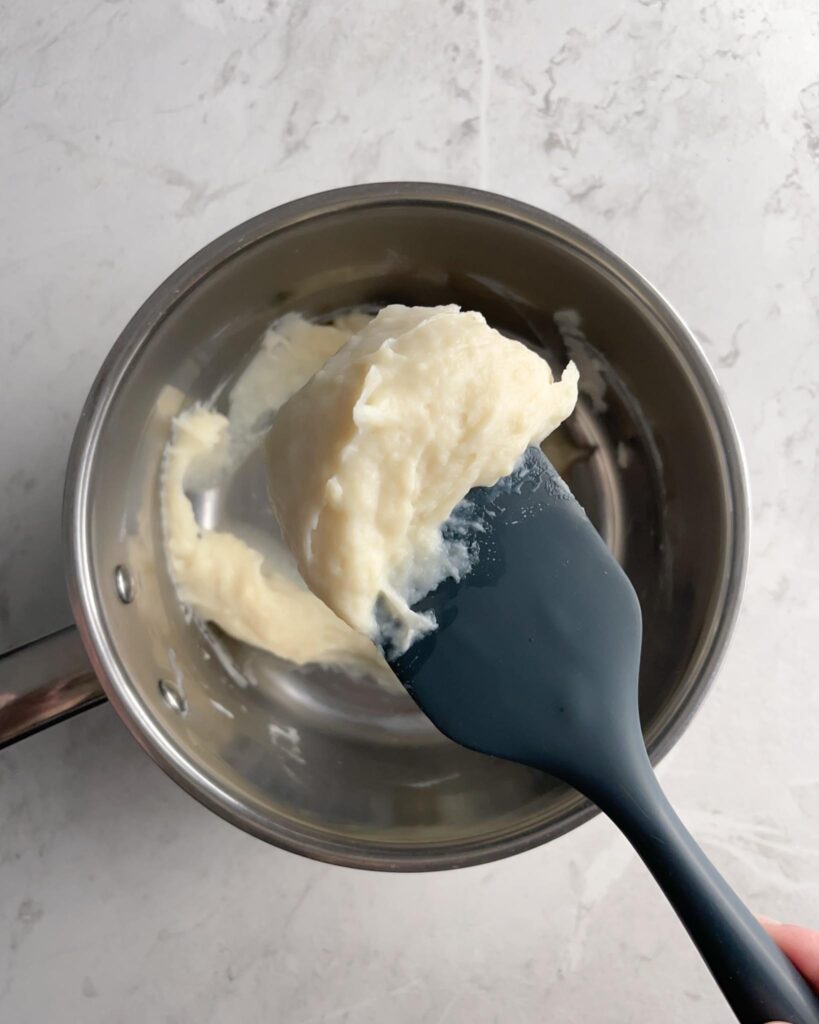
Tangzhong
- Mix flour and milk in a small pot. Heat up over medium heat. Stir until the mixture thickens and reaches a temperature of 150°F/65°C.
- Transfer to a clean bowl. Cover with plastic wrap that touches the entire surface of the tangzhong. Cool to room temperature.100 g whole milk, 20 g bread flour
Main Dough
- Add all ingredients, except salt and butter, to the bowl of your stand mixer fitted with a dough hook. Mix until the dough comes together. Cover, and autolyse for 30 minutes.310 g bread flour, 20 g sugar, 50 g whole milk, 70 g eggs, 50 g cream cheese, all the sweet levain, all the tangzhong
- Add the salt, and knead at medium speed for 10 minutes. At this point, the dough should be tacky but not stick to the fingers.8 g salt
- Slowly add in cubed, softened butter. Continue kneading at medium speed for 15-25 minutes until your dough passes the window-pane test.25 g unsalted butter
- Transfer the dough to a clean, lightly oiled bowl, cover, and place in a warm spot (ideally at 78°F/26°C.) Proof for 3 hours.
- After 3 hours, transfer the bowl with dough to the fridge for an overnight rest (8-15 hours.)
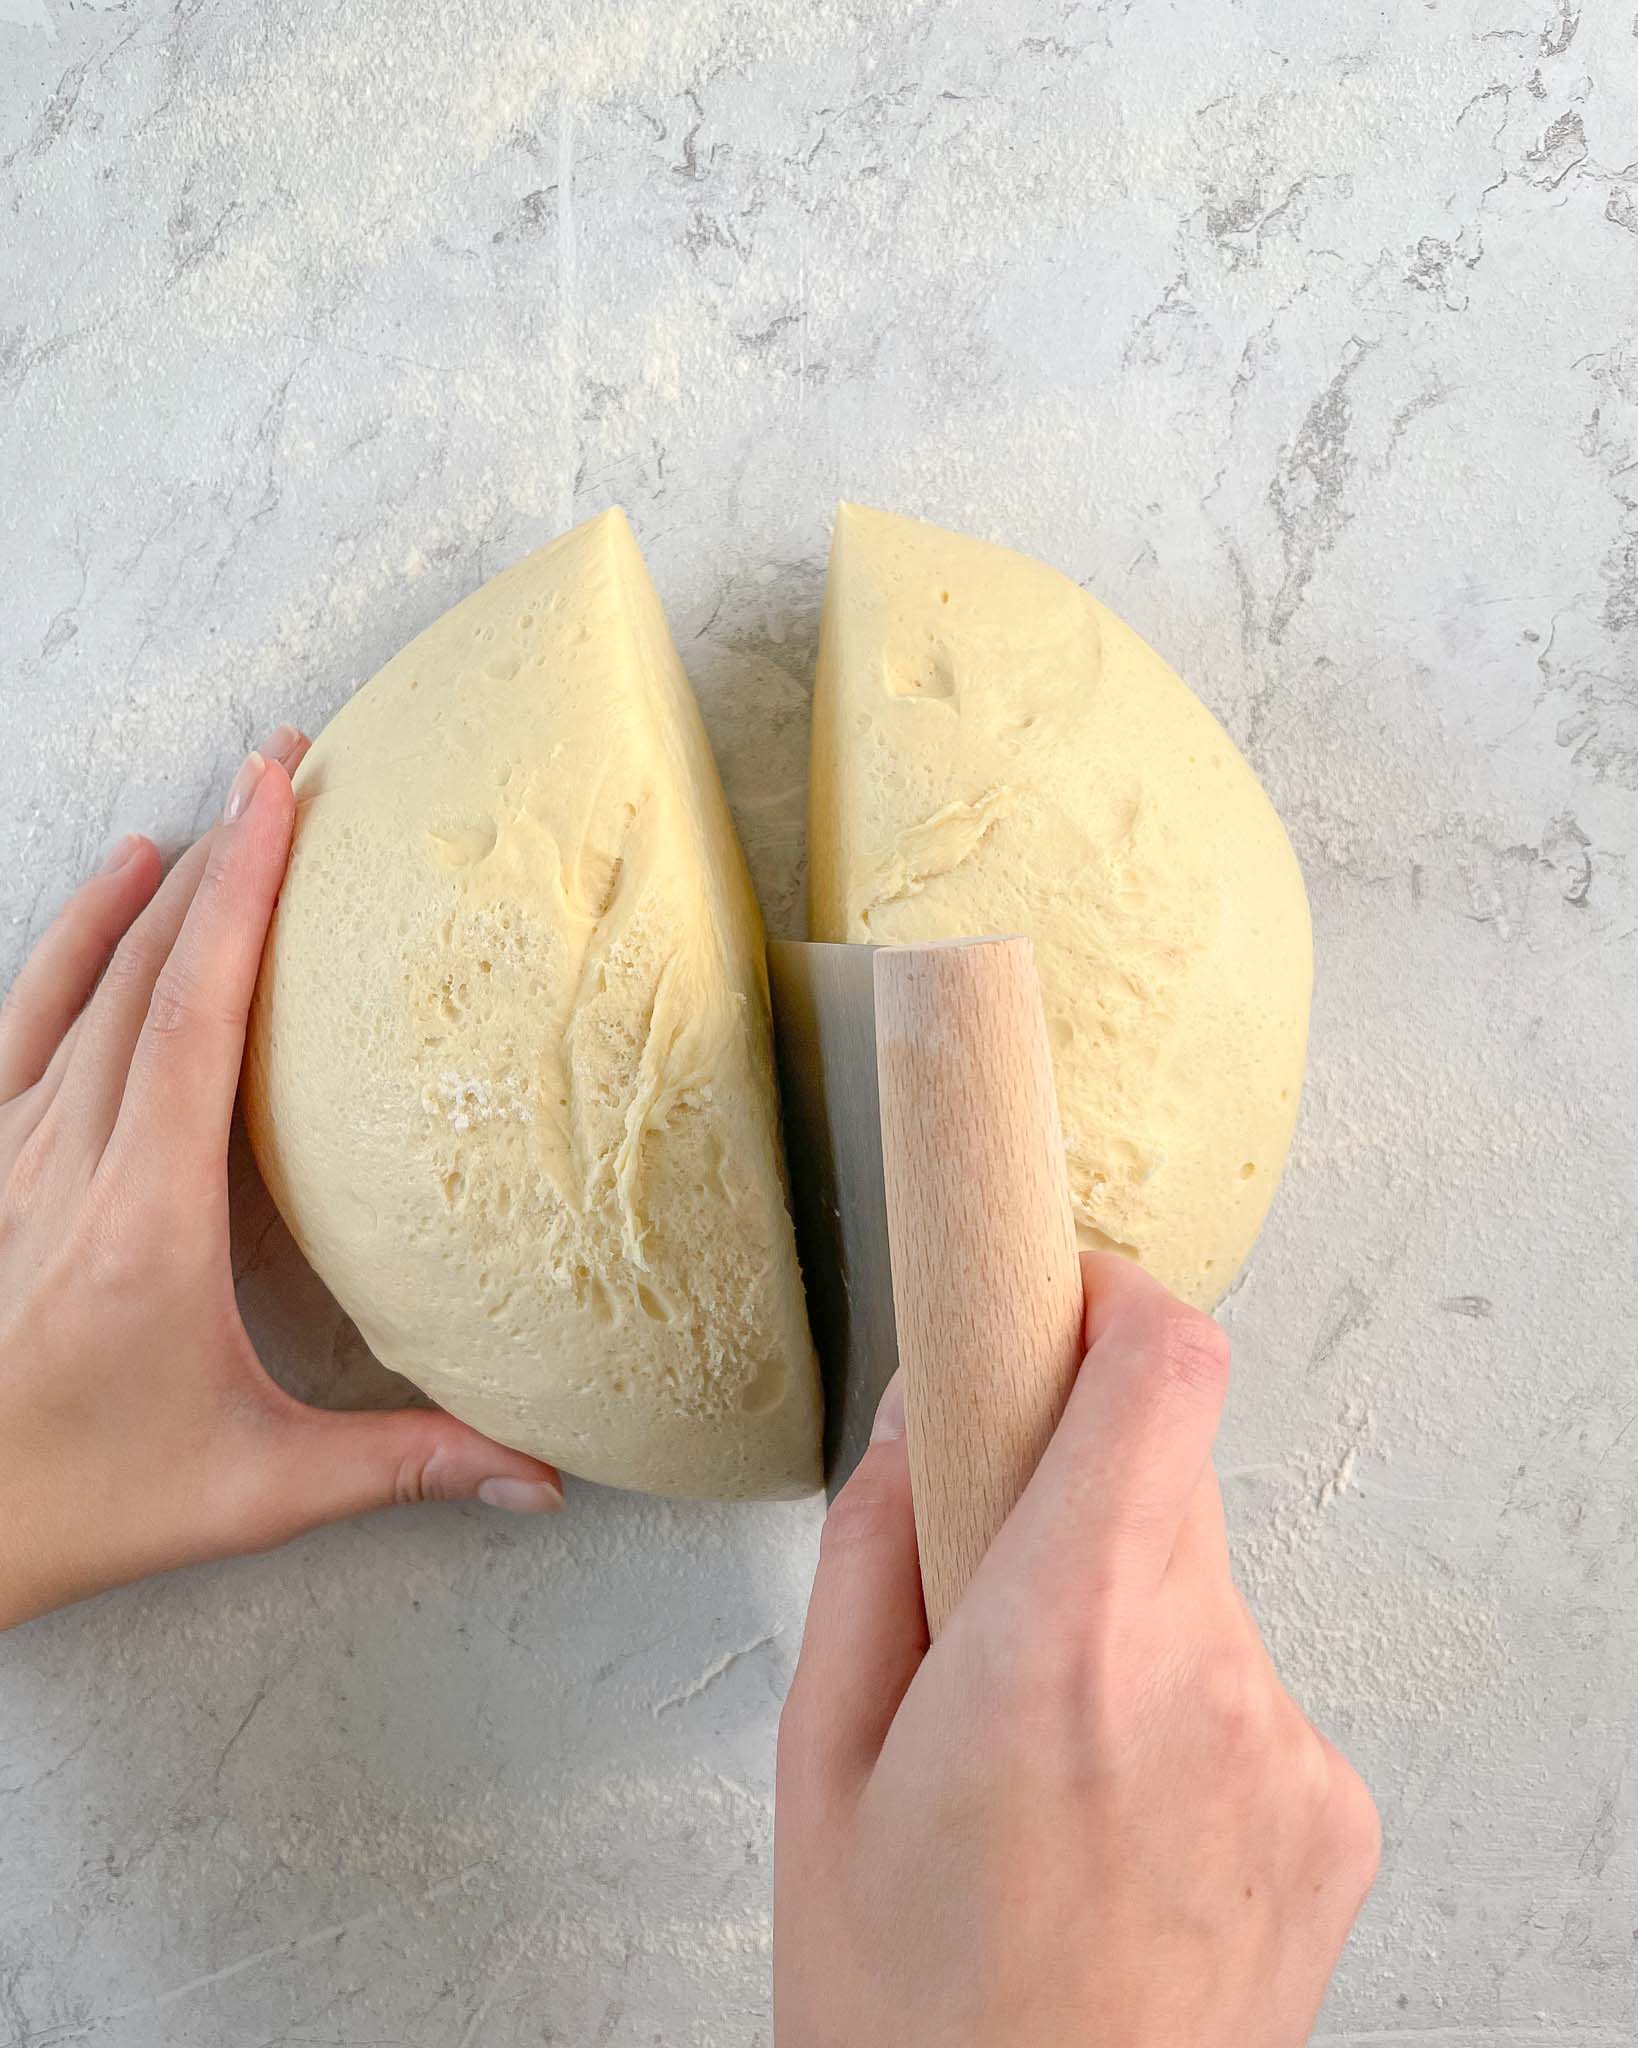
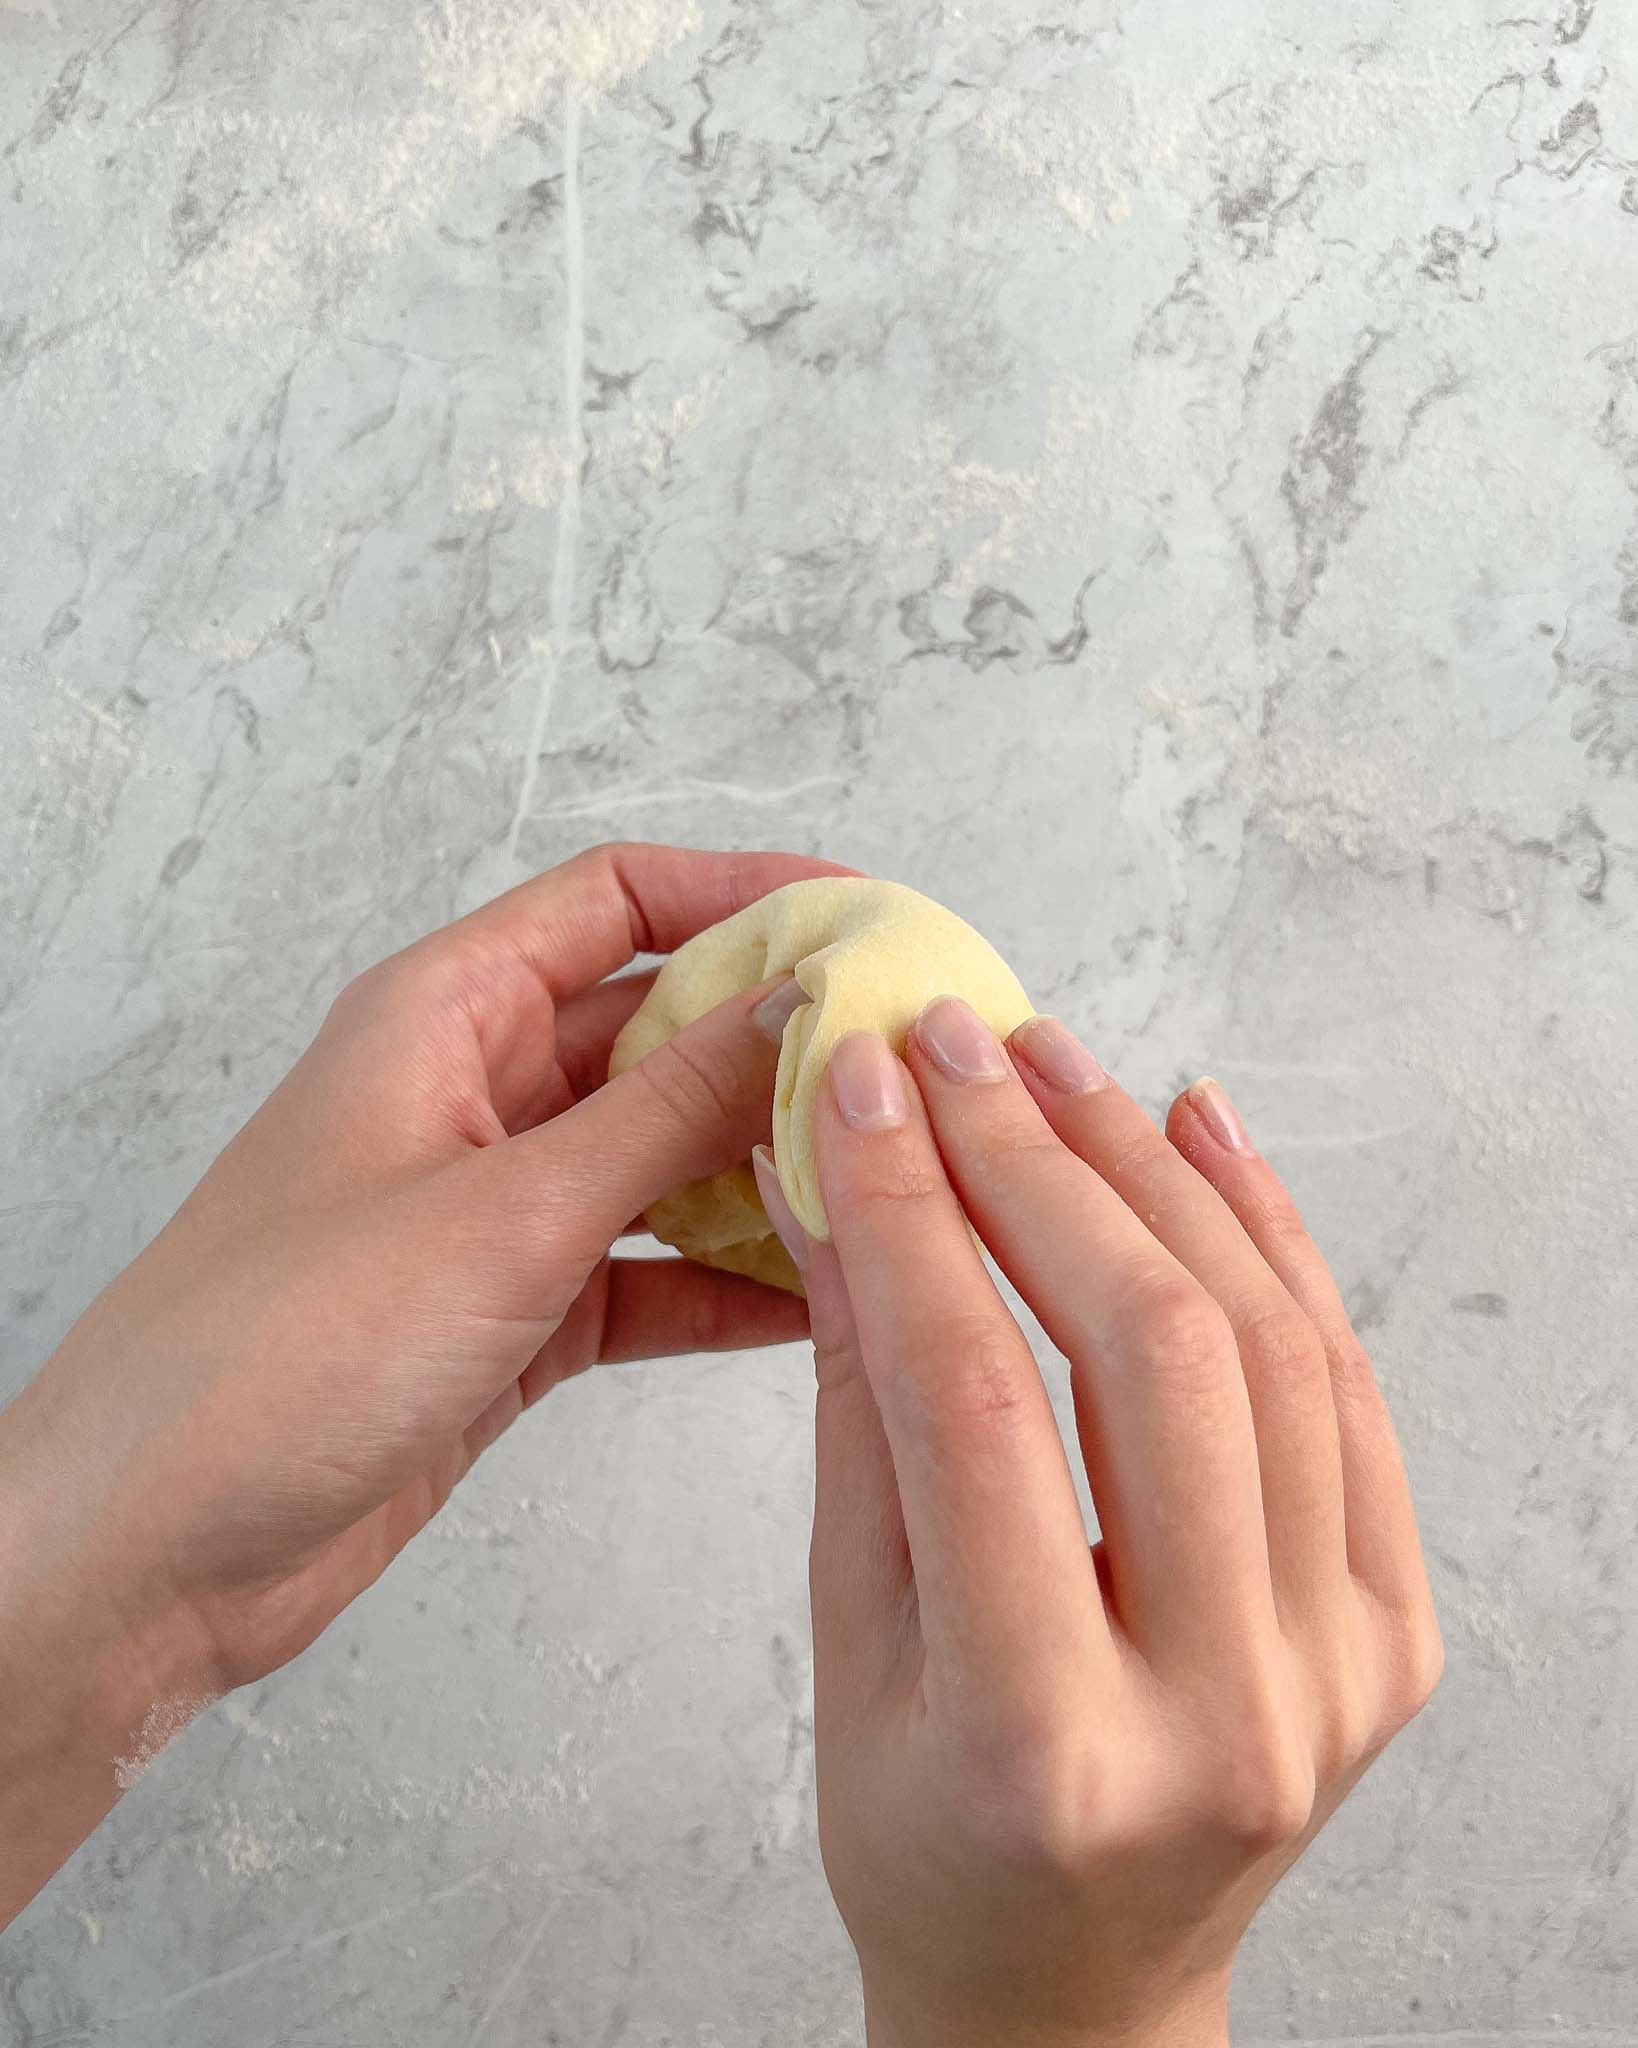
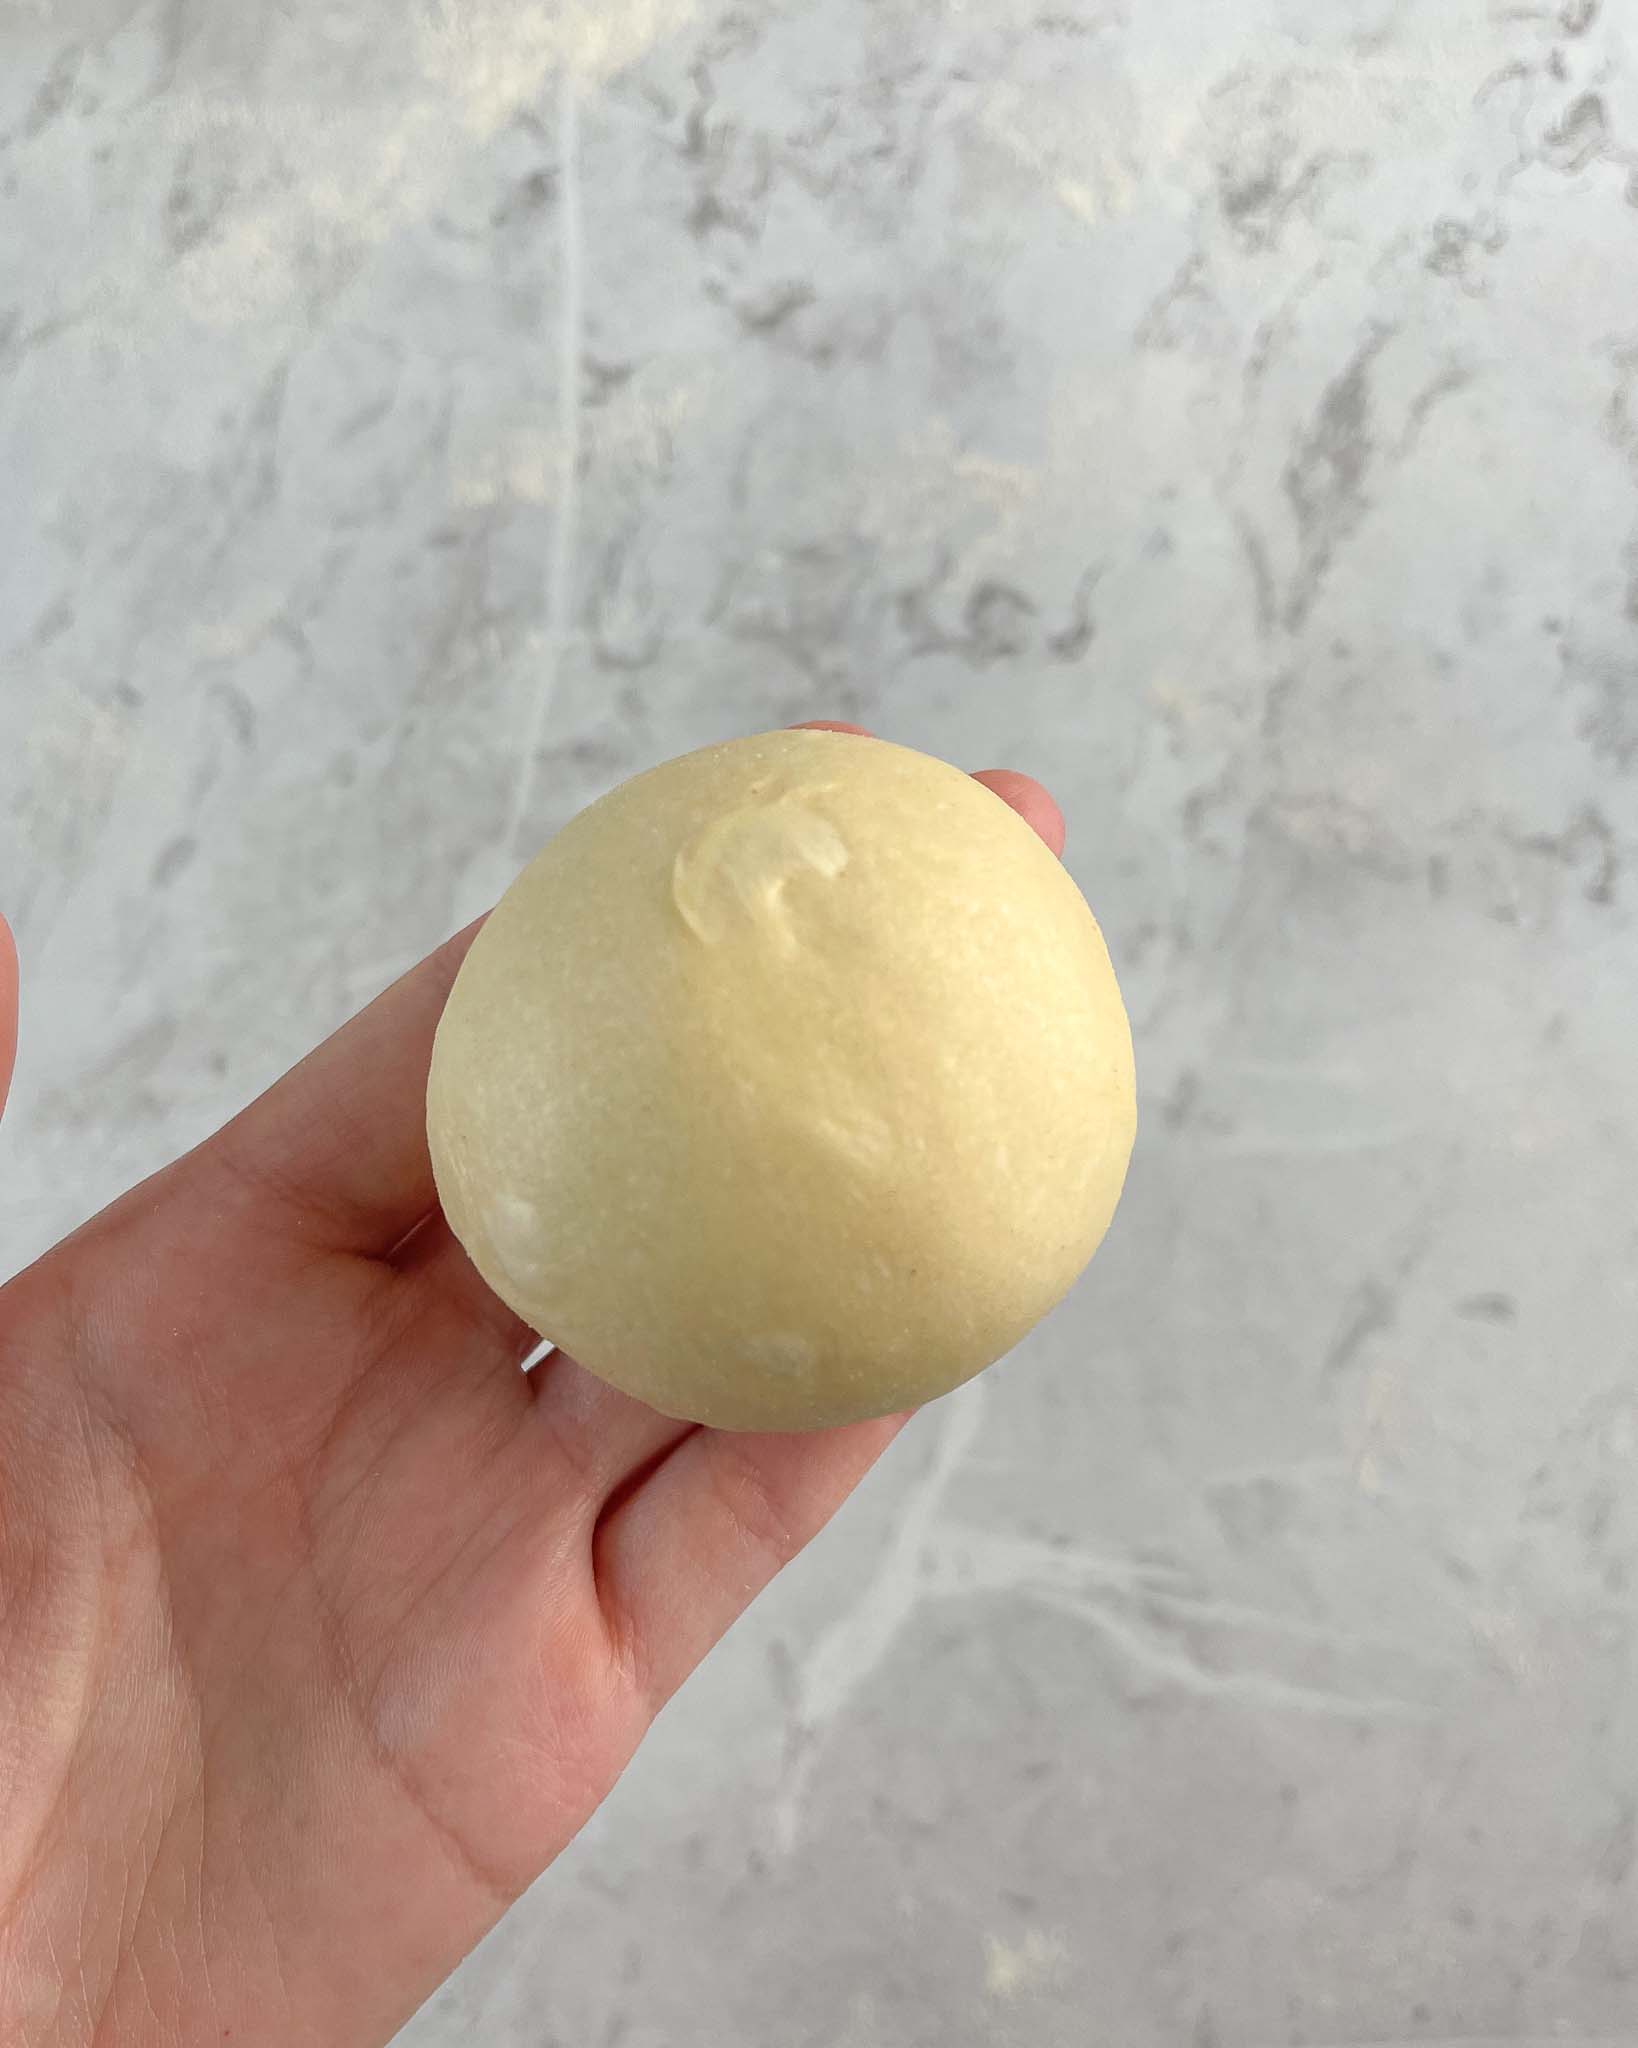
Shape
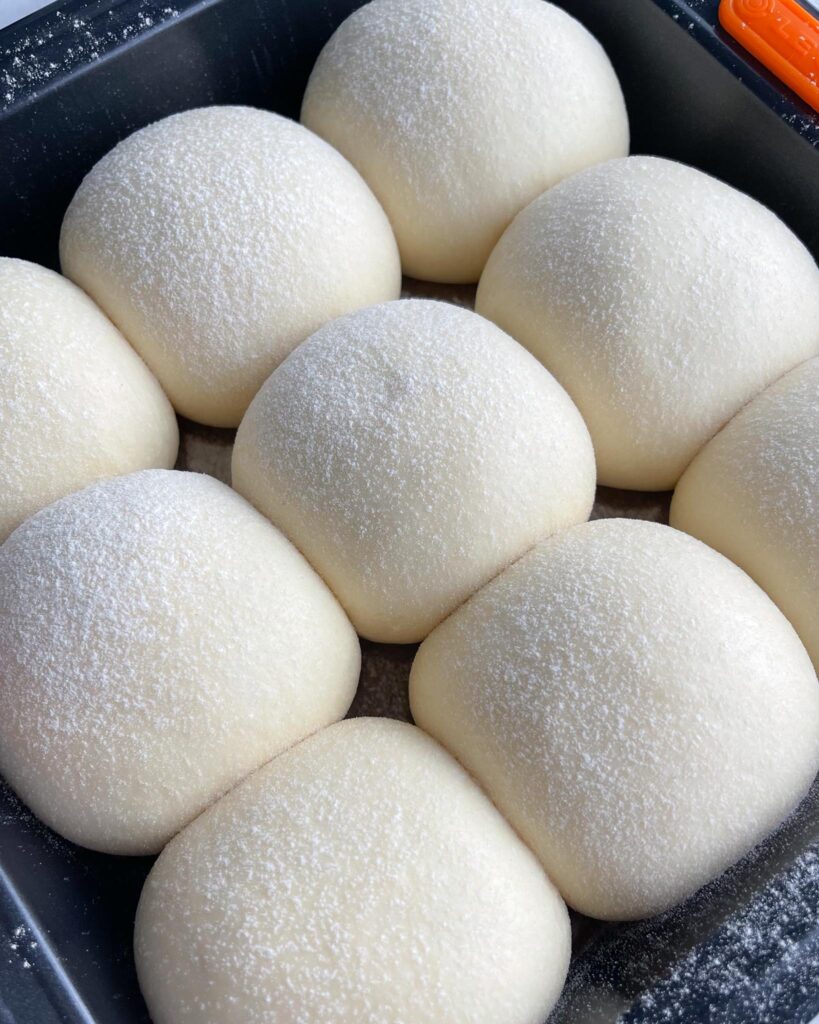
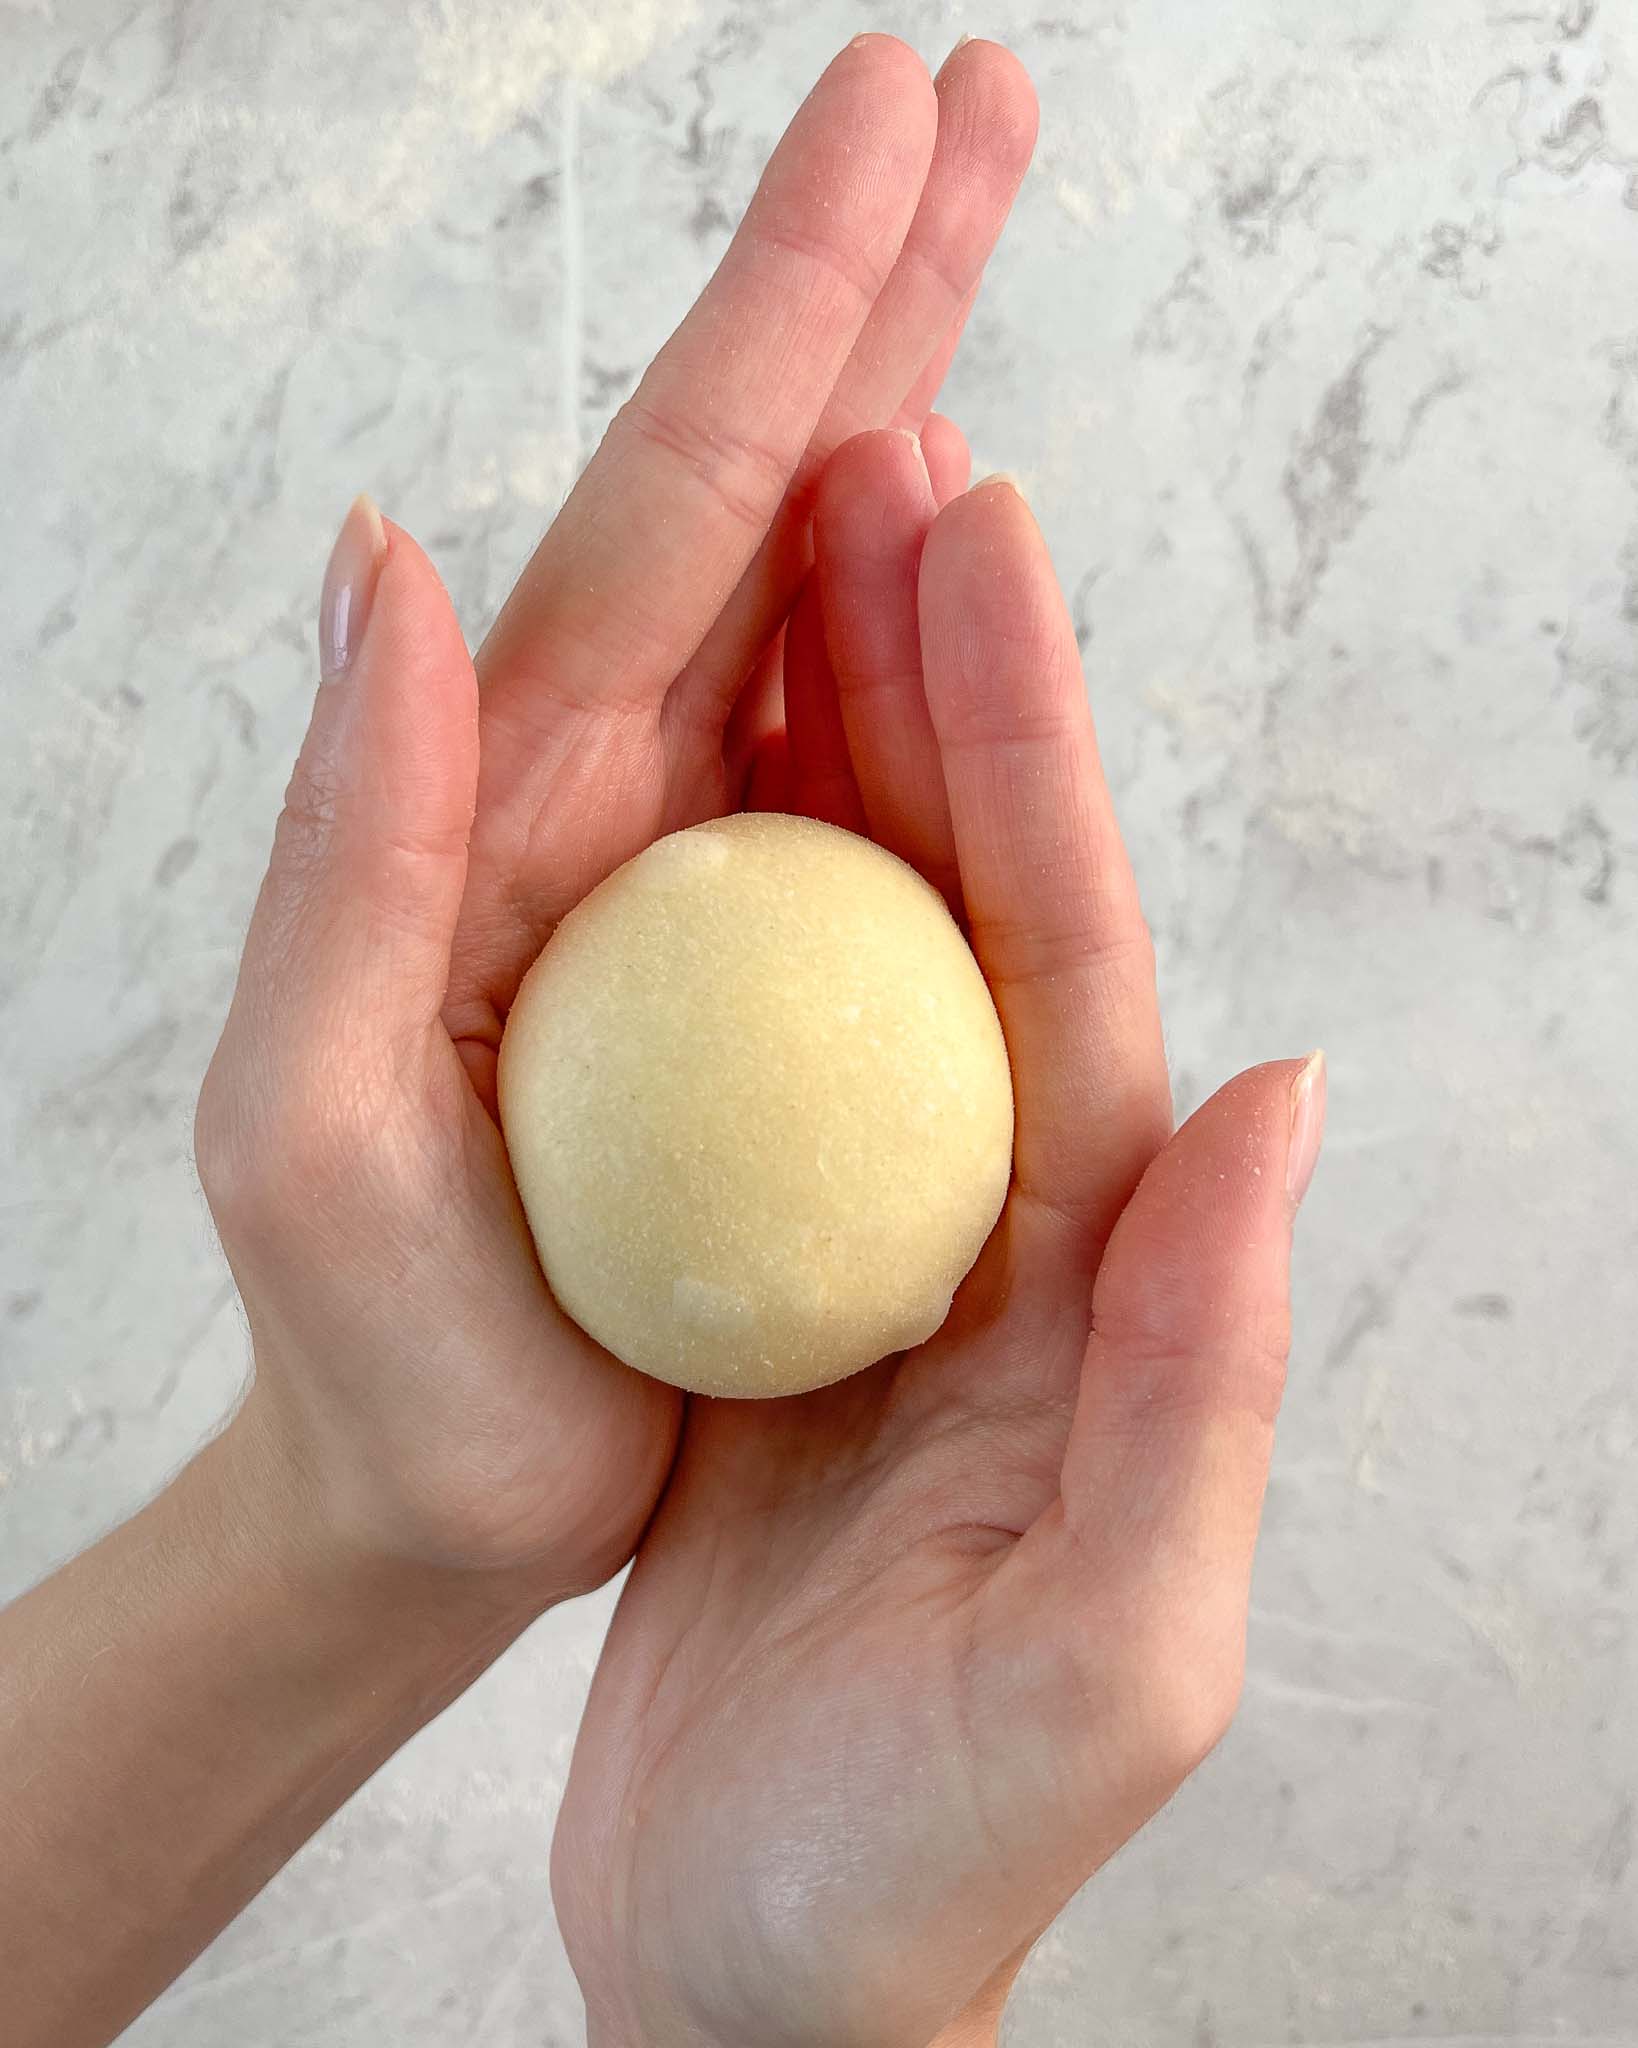
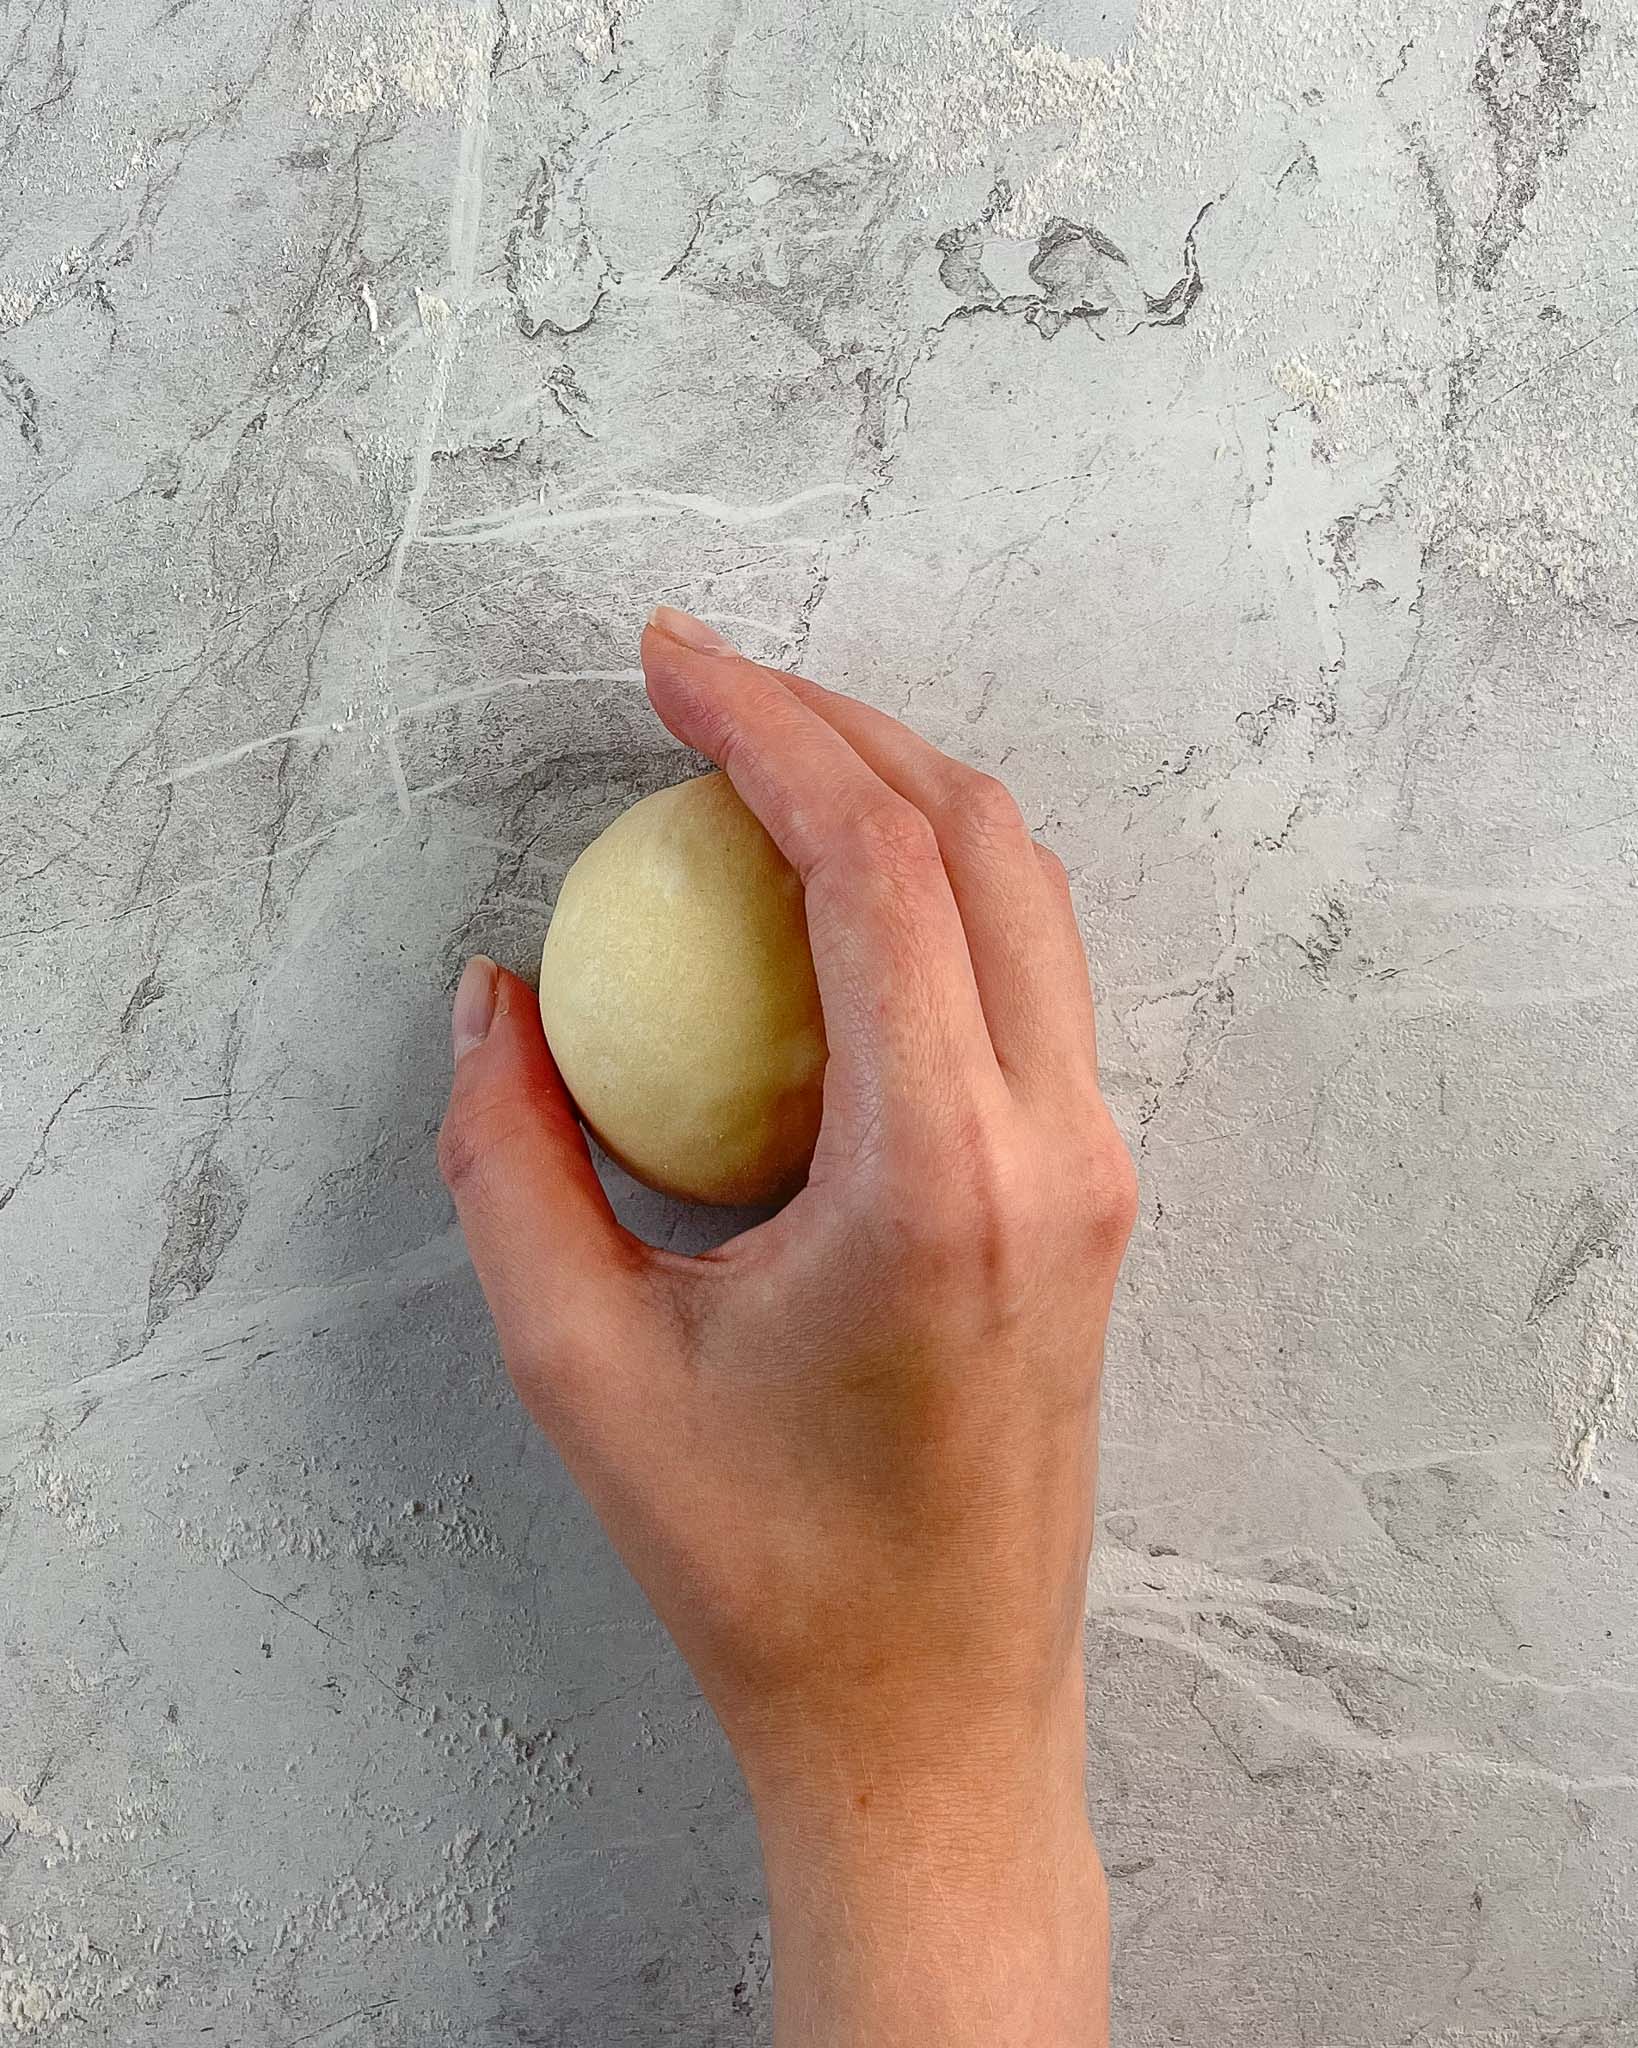
- Transfer the dough to a floured work surface and divide it into 9 equal pieces (around 80g each.) Roll into seamless rounds, and place in a lined 9×9 baking pan.
- Proof at 78°F/26°C until the buns have doubled in size. This usually takes 5-8 hours.
Bake
- Preheat your oven to 300°F/150°C.
- Use a fine-mesh sieve to sprinkle a thin layer of flour over the buns.
- Bake for 25-30 minutes or until internal temperature is at 90°C.
- Transfer to a cooling rack and let the buns cool for at least 15 minutes before serving.

Love this recipe! I tested it for thanksgiving and am going to be making theese for our thanksgiving dinner.
I would say making sure you take them out when they reach the right temperature is key, don’t base it off of how browned they look! I made this mistake, but hey we all learn 🙂
I’ve made these 3 times so far & they are so good! The only thing I did differently is a shaped them into 12 dinner rolls (about 64g), which is the perfect size for us! I’m making them for friends too & will have made 9 dozen by Thanksgiving!
Easy recipe to follow and a yummy result. Thank You for sharing
Wow! These buns were amazing!! Looking forward to making them again. The only thing I may try next time is adding more sugar for a sweeter flavor- just a personal preference, but not needed! Easy recipe to follow.
I’ve made these buns a dozen times now, they are my families favorite! I’ve made them for friends too! The only variation is I made 12 buns & made them 62.5 grams each. They are the perfect size!
These are incredible! I made these but sized them down a bit for my smaller pan.
Also I’m thinking of trying this in a shokupan cube bread tin (with a lid).
What % would you adjust the ingredients down to fit a 300g cube shaped tin (approx 95mm x 95mm x 95mm)?
I don’t usually leave reviews but this was so amazing I had to say this is soooooo delicious. Time consuming but worth the effort
So good. Soft and fluffy sourdough rolls. I get so many compliments