Sourdough Sandwich Bread
This website contains affiliate links.
Some of the links below are affiliate links. This means that, at no additional cost to you, Bread By Elise may earn a commission if you click through the link and finalize a purchase. Please read our Privacy Policy for more details.
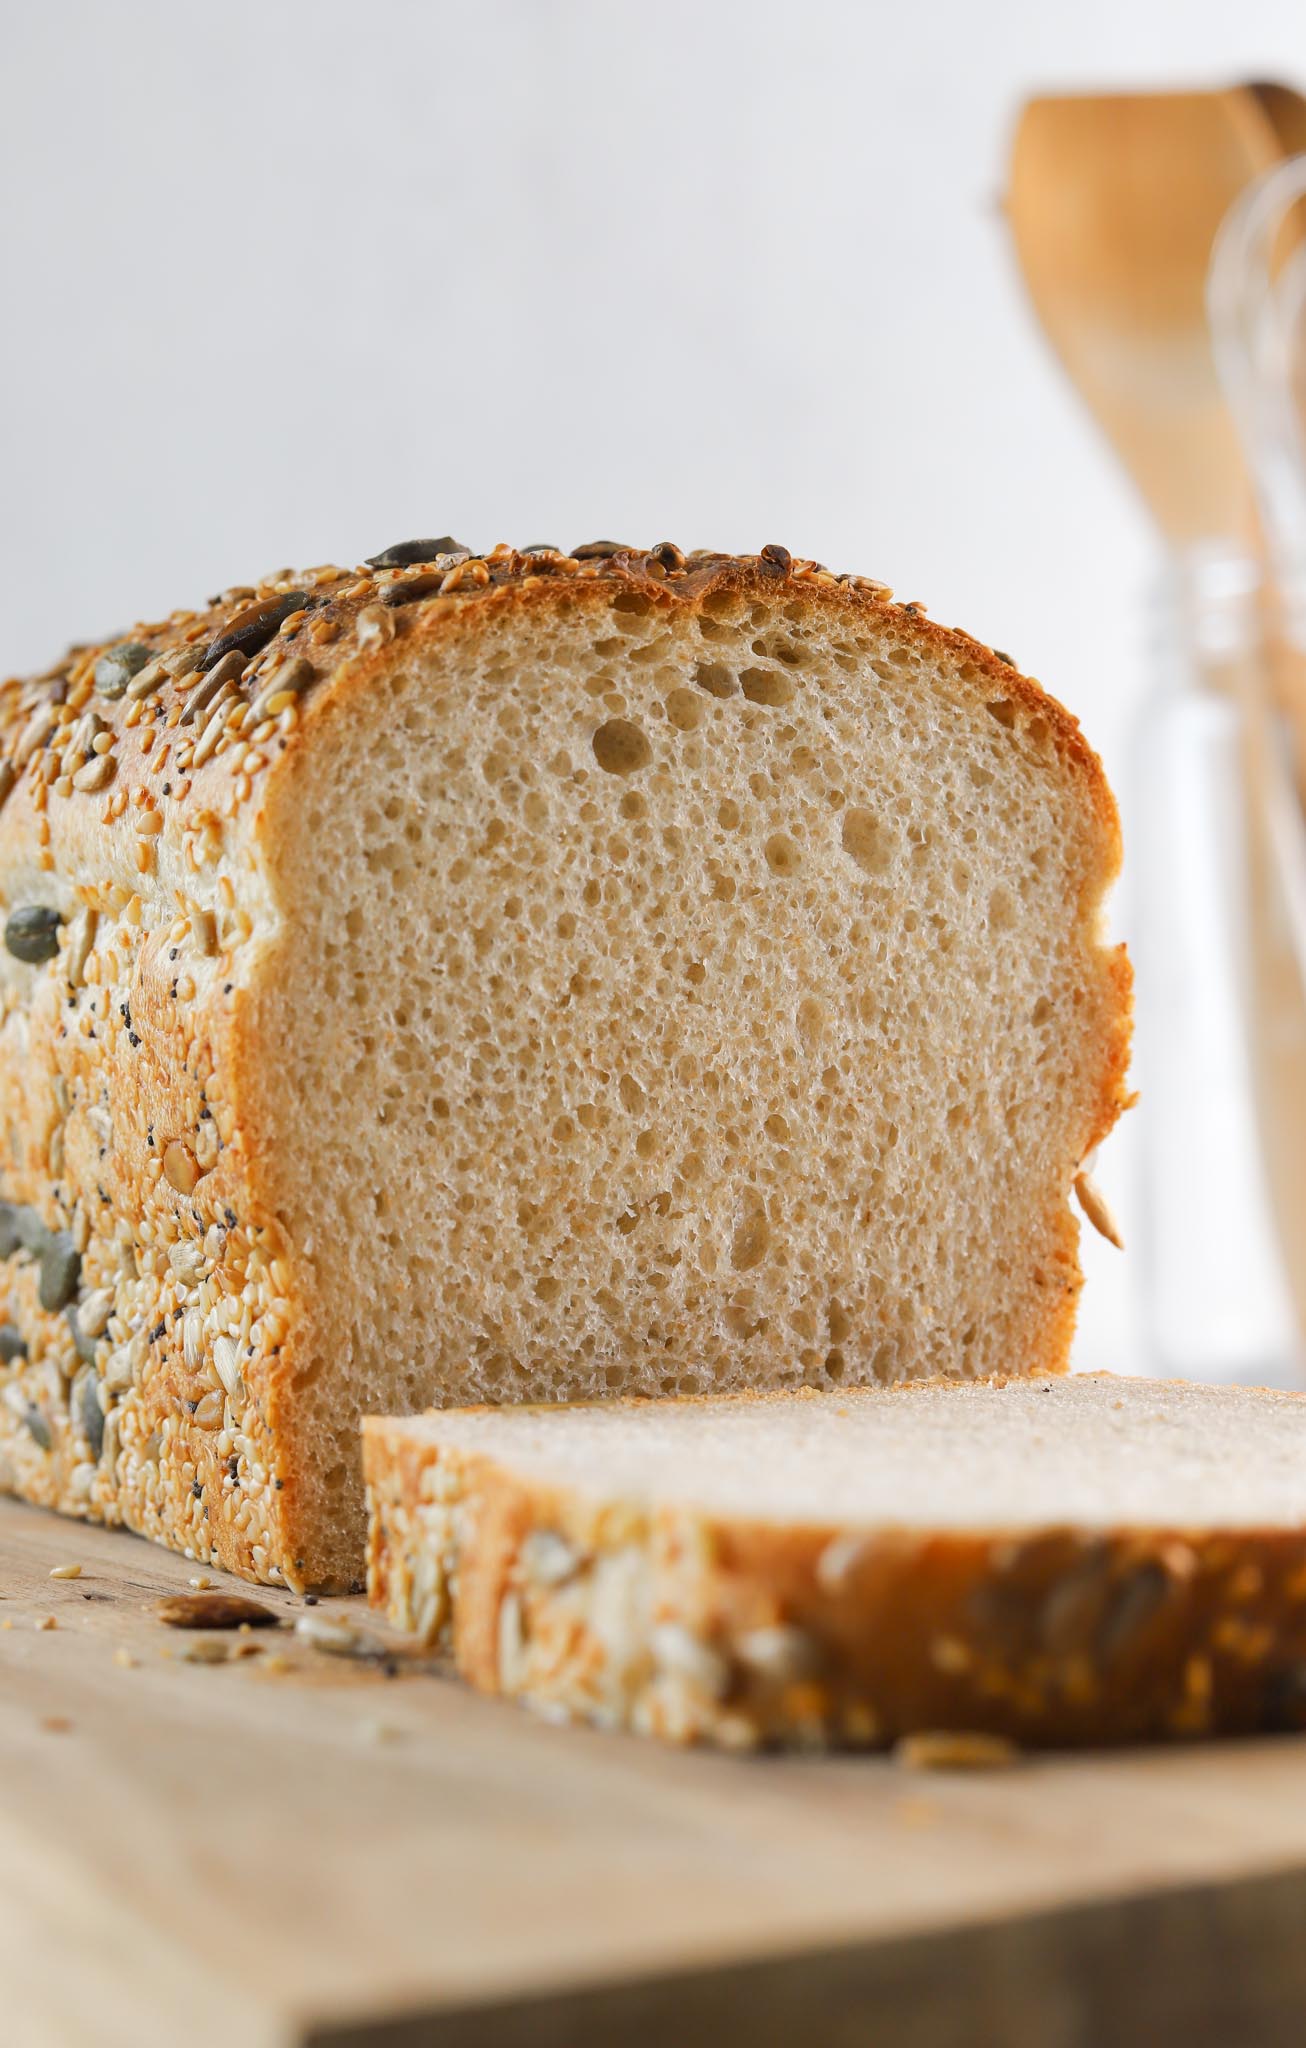
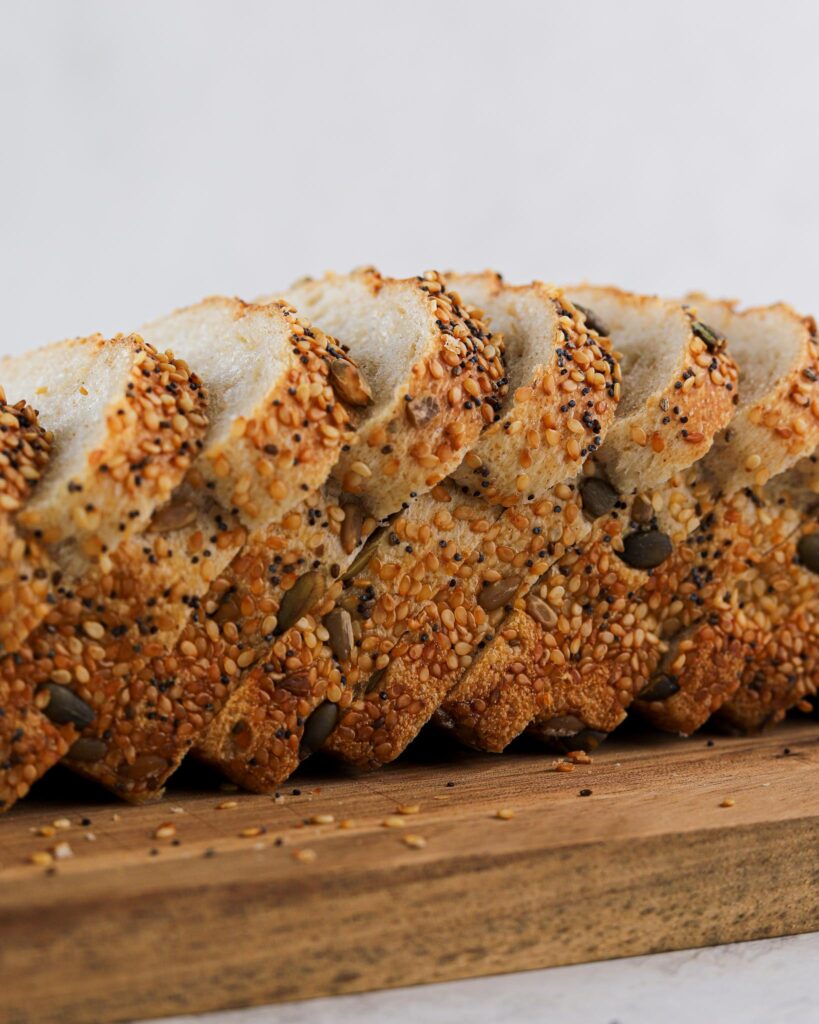
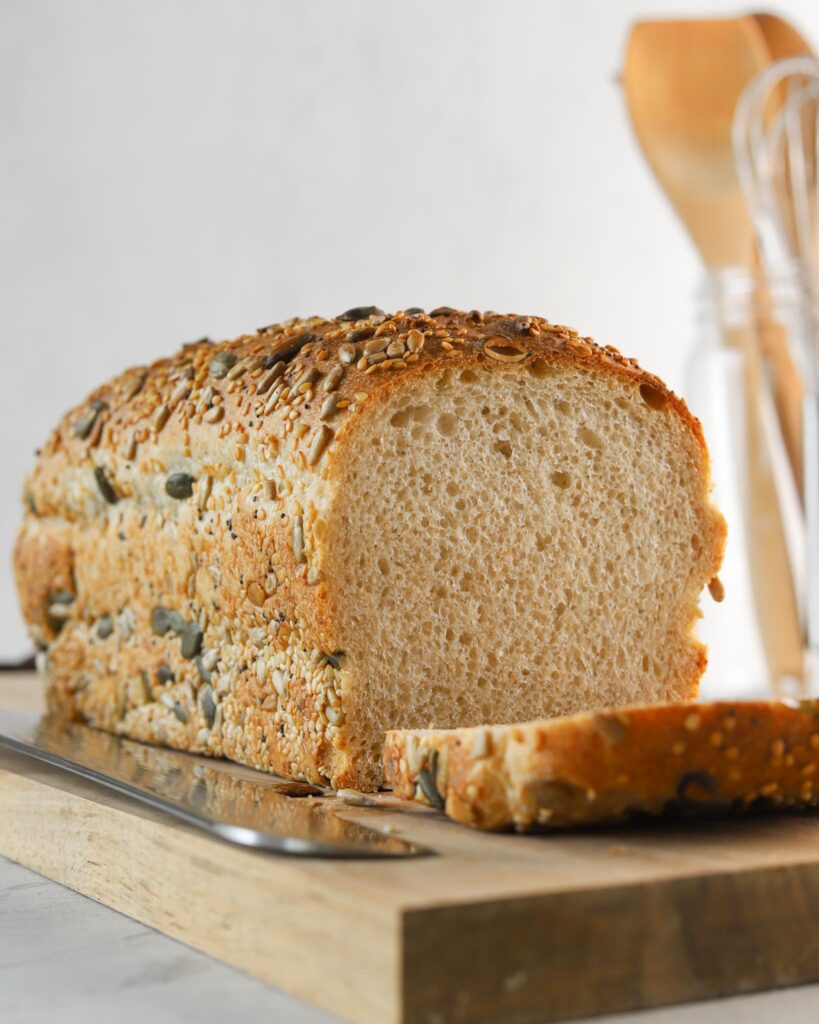
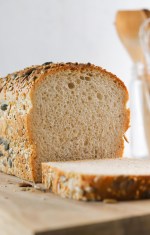
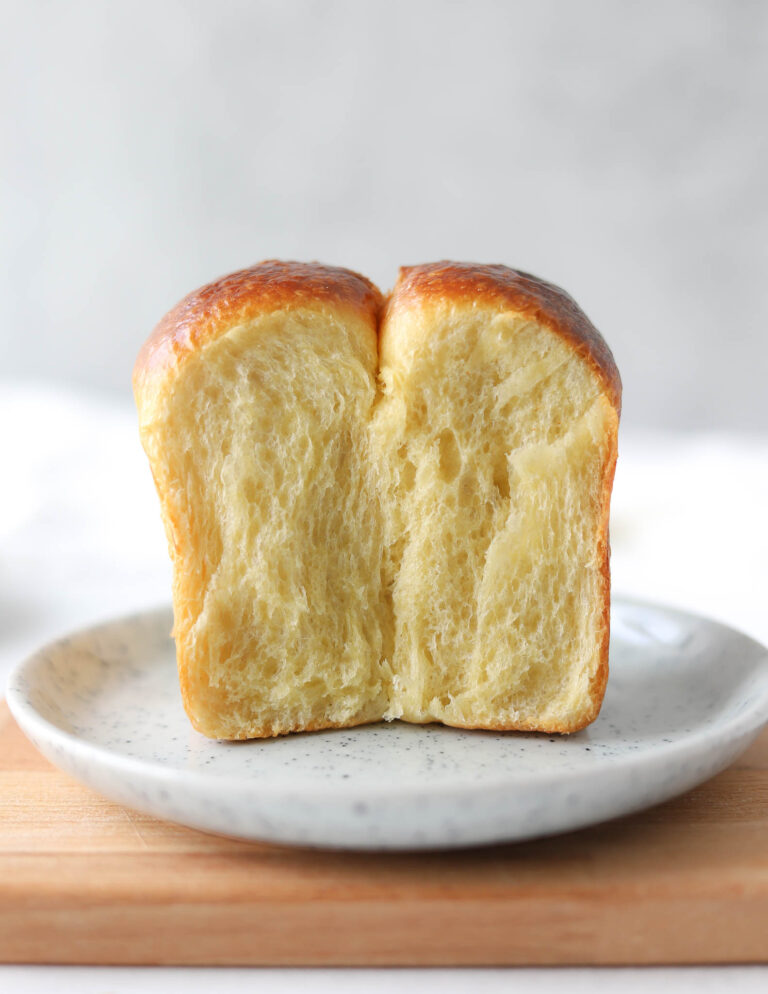
This seeded sourdough sandwich bread is soft, flavorful, and easy to make! It is enriched with maple syrup and butter, which creates incredible flavor and texture. The seeds on the outside of the bread add a nice crunch and nutty flavor to each bite. A fantastic sandwich bread that also freezes really well!
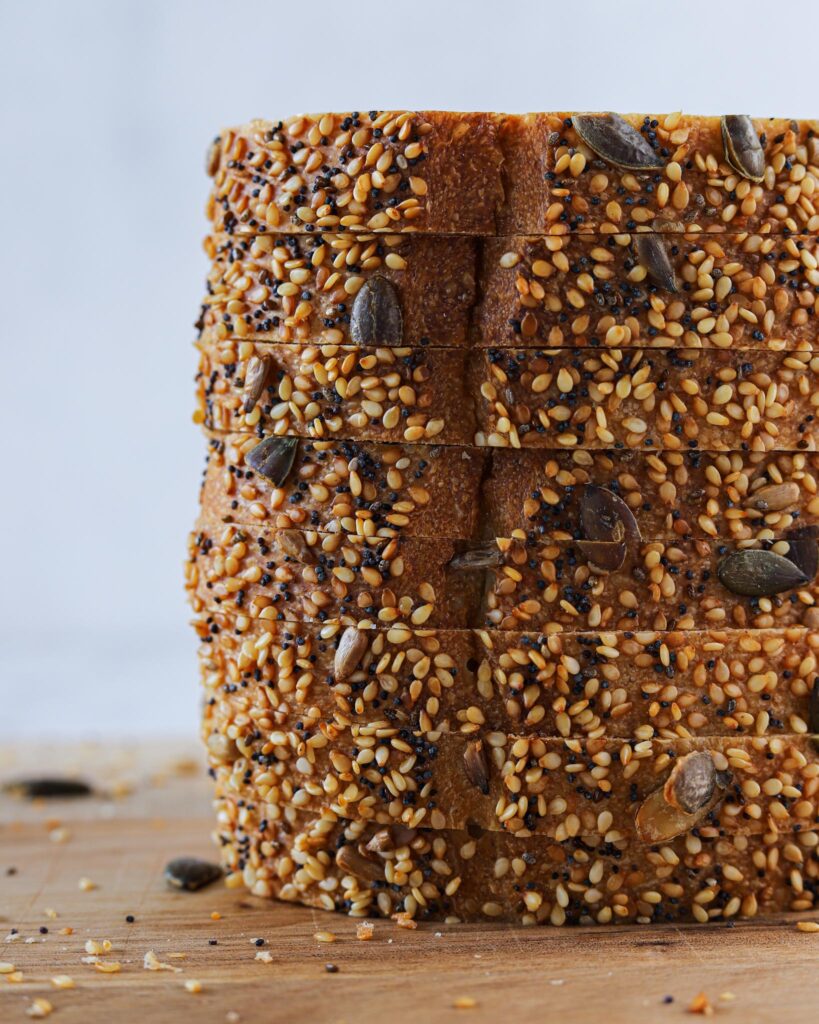
Table of contents
Seeded Sourdough Sandwich Bread
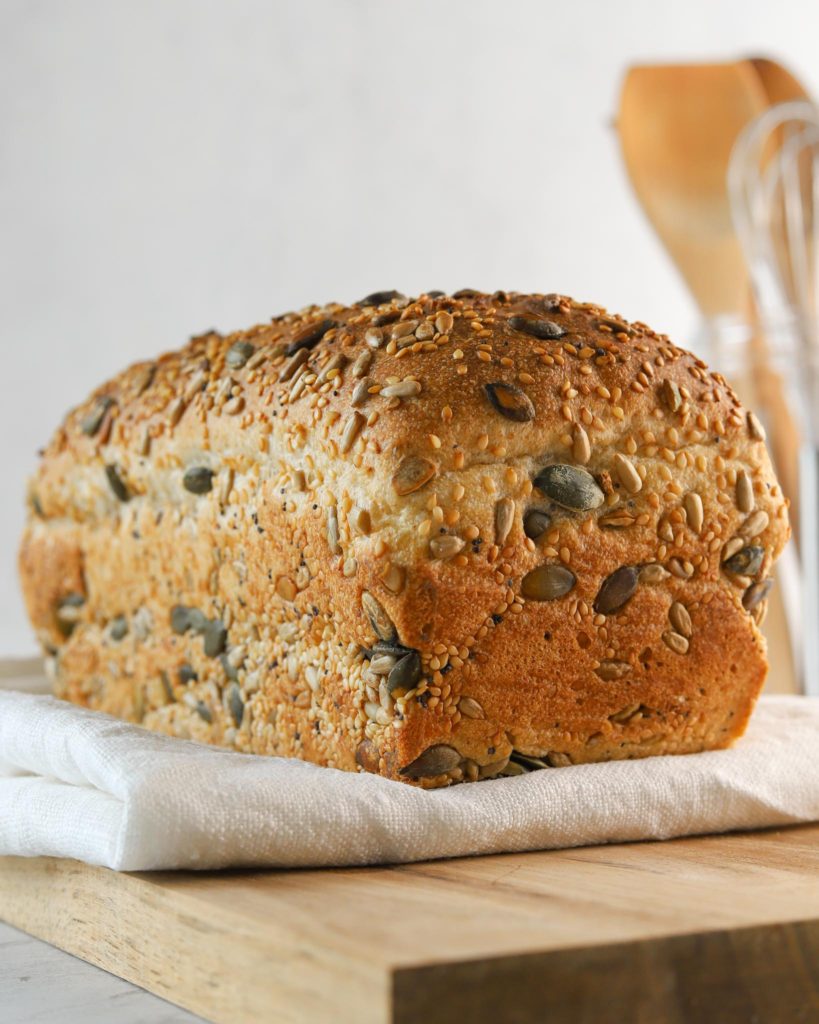
I love the taste and crunch of the seeds covering the entire outside of this bread. This bread has a mild sourdough flavor with sweetness and depth coming from the addition of maple syrup and butter.
There is very little hands-on time with this bread, just a bit of mixing, a couple of folds, and shaping! Make sure to scroll down for the complete recipe, and don’t miss out on the bakers schedule at the very end of the post to help plan out your bake.
Recipe run through
Day one
Day two
Make Dough
Shape
Proof & Bake

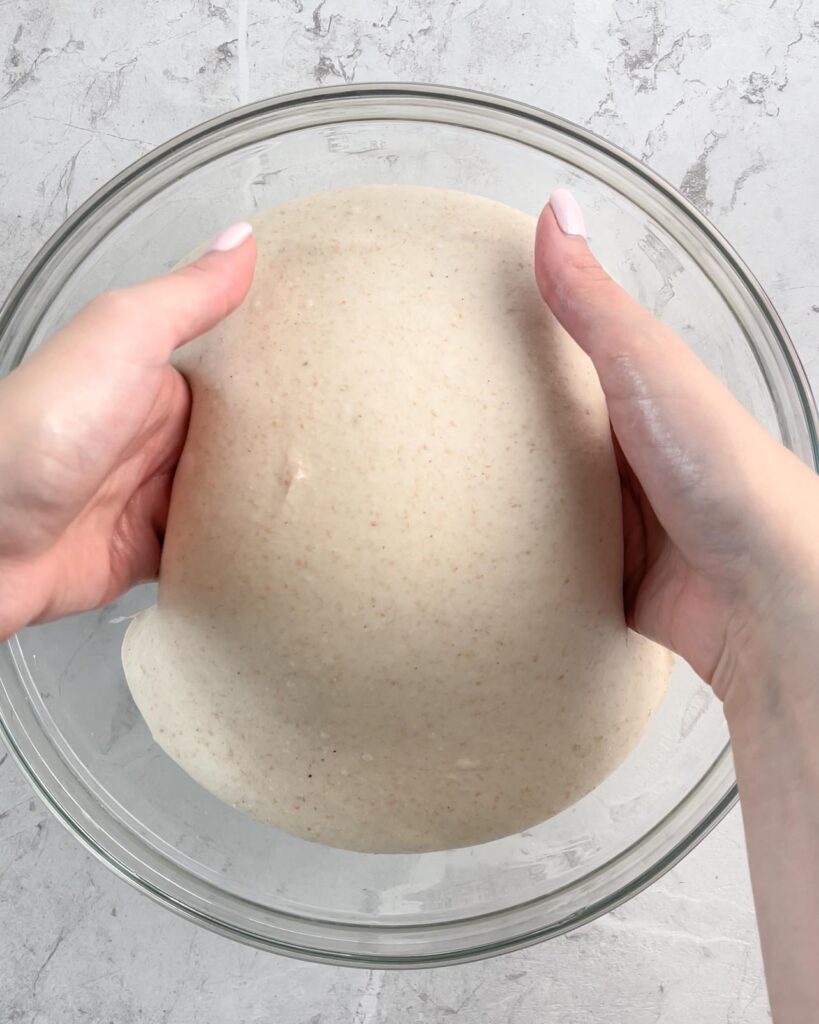
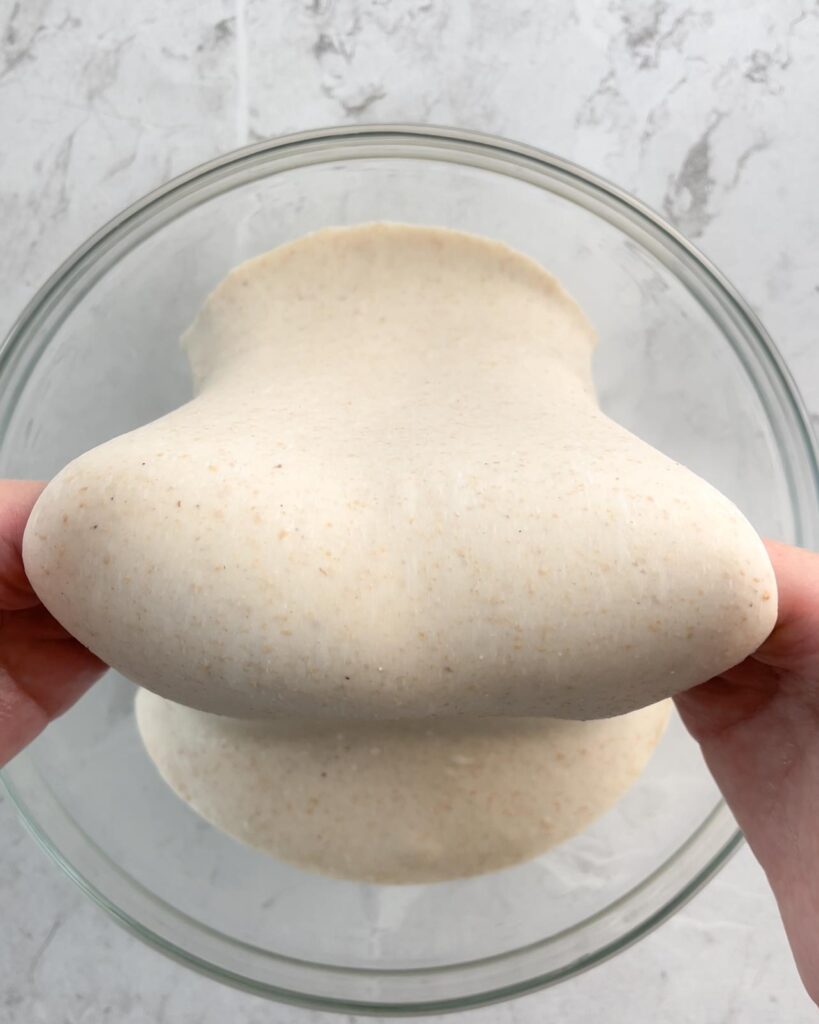
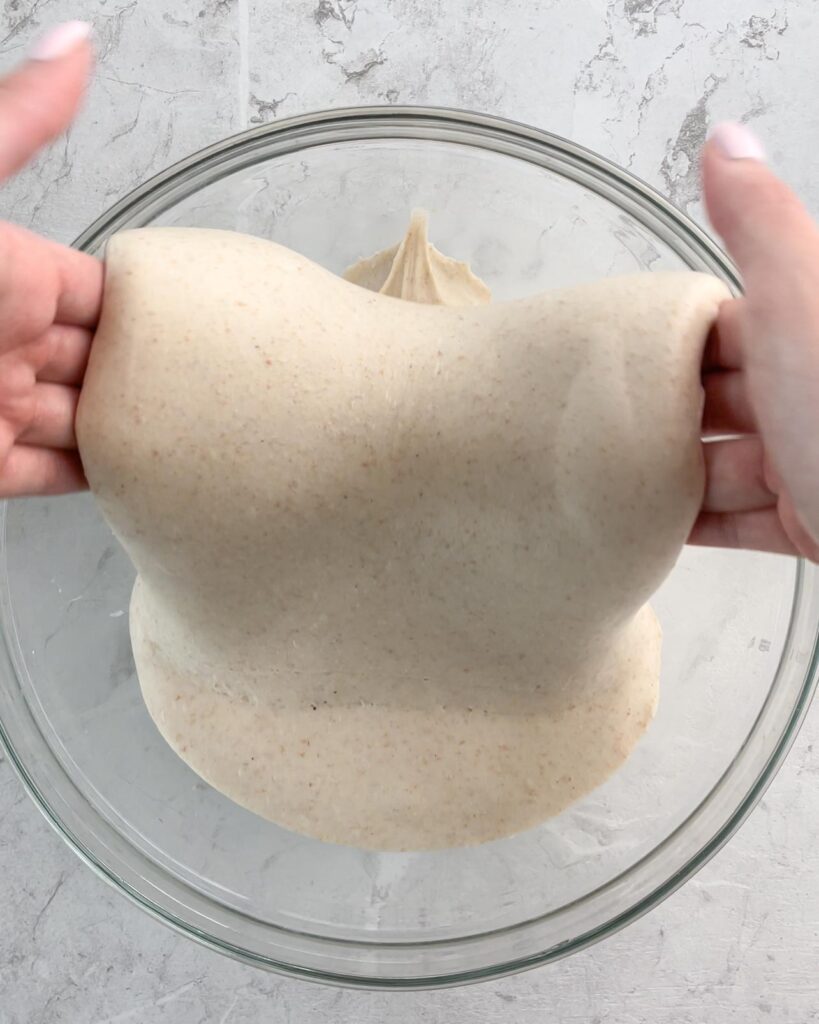
How to Perform Coil Folds
With wet hands, slide both hands under the dough and slowly lift up while pulling the dough towards you, then bring your hands slightly forward, letting the dough coil underneath itself on the way down. Repeat on all four sides.
Watch Me Bake
Easy Seeded Sourdough sandwich bread
Recipe FAQ
What Is An Active Sourdough Starter?
An active sourdough starter is one that has been fed regularly for at least 2-3 days. If you usually store your sourdough starter in the fridge, I recommend taking it out 2-3 days before making this recipe. During these days, you want to feed your starter equal parts flour and water every 12 hours (or at whatever ratio works best for your starter; this can vary a lot). Please make sure it at least doubles in size during the 12-hour rise.
What type of flour is recommended?
I recommend using bread flour or strong white flour with a 13-15% protein percentage. I also recommend adjusting the amount of liquid (in this case, whole milk) to the specific flour you are using. For example, lower protein flours usually require less liquid, while higher protein flours need more liquid.
Can This Bread Be Made Without A Stand Mixer?
Yes, you can. It will be a bit more work and a little heavy, but it is absolutely doable with this dough.
How Do I Scale This Recipe To Yield Only One, Or More Loaves?
Easy! You can half this recipe to make one 9-inch loaf or double or triple the ingredients to make more.
Can This Bread Be Frozen?
You can freeze this bread after it has been baked and cooled. I like to slice up the whole bread before freezing it. That way I can easily grab however many slices I need and then pop them straight into the toaster.


Seeded Sourdough Sandwich Bread
Ingredients
Overnight Sourdough Levain
- 12 g sourdough starter
- 64 g water at 77°F/25°C
- 64 g bread flour
Main Dough
- 600 g bread flour
- 100 g whole wheat flour
- 490 g water at 77°F/25°C
- 140 g levain
- 14 g salt
- 40 g maple syrup
- 80 g softened butter
Topping
- mixed seeds, e.g., sesame, pumpkin, chia, poppy, sunflower seeds
Instructions
Overnight Sourdough Levain
- Gather all your ingredients and add them to a bowl. Use a rubber spatula and mix until just combined. Cover the bowl and let it rise overnight (8-10 hours) until it has doubled/tripled in size.12 g sourdough starter, 64 g water, 64 g bread flour
Main Dough
- Next morning, to the bowl of your stand mixer fitted with a dough hook, add water and levain, and quickly stir to combine.140 g levain, 490 g water
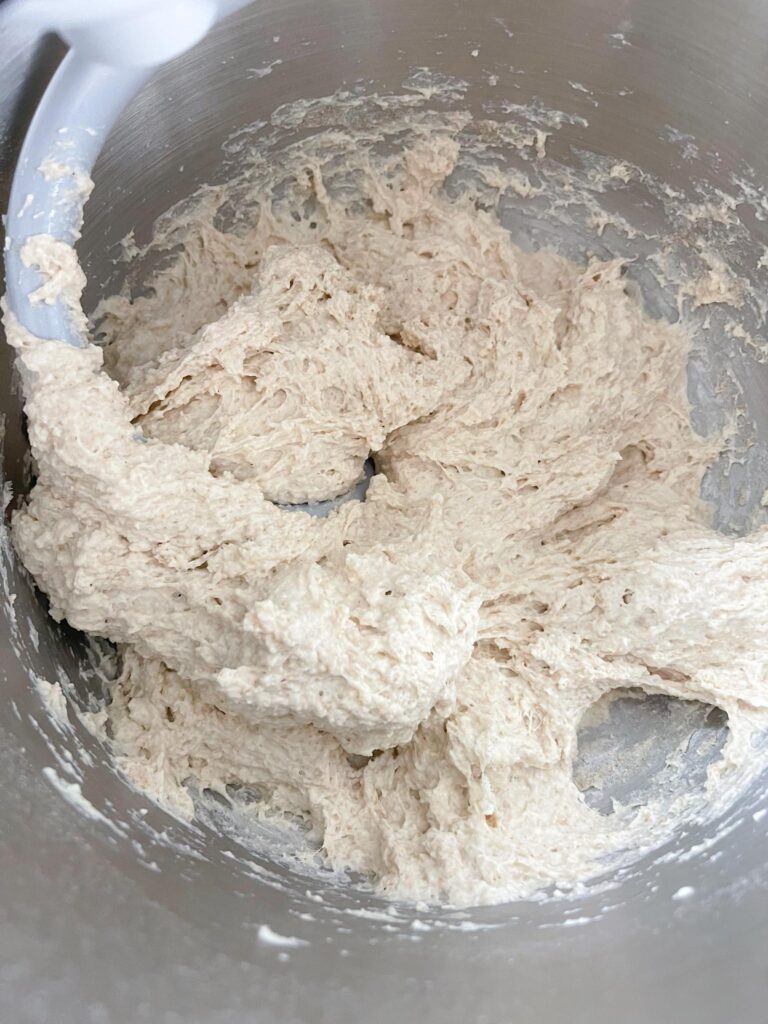
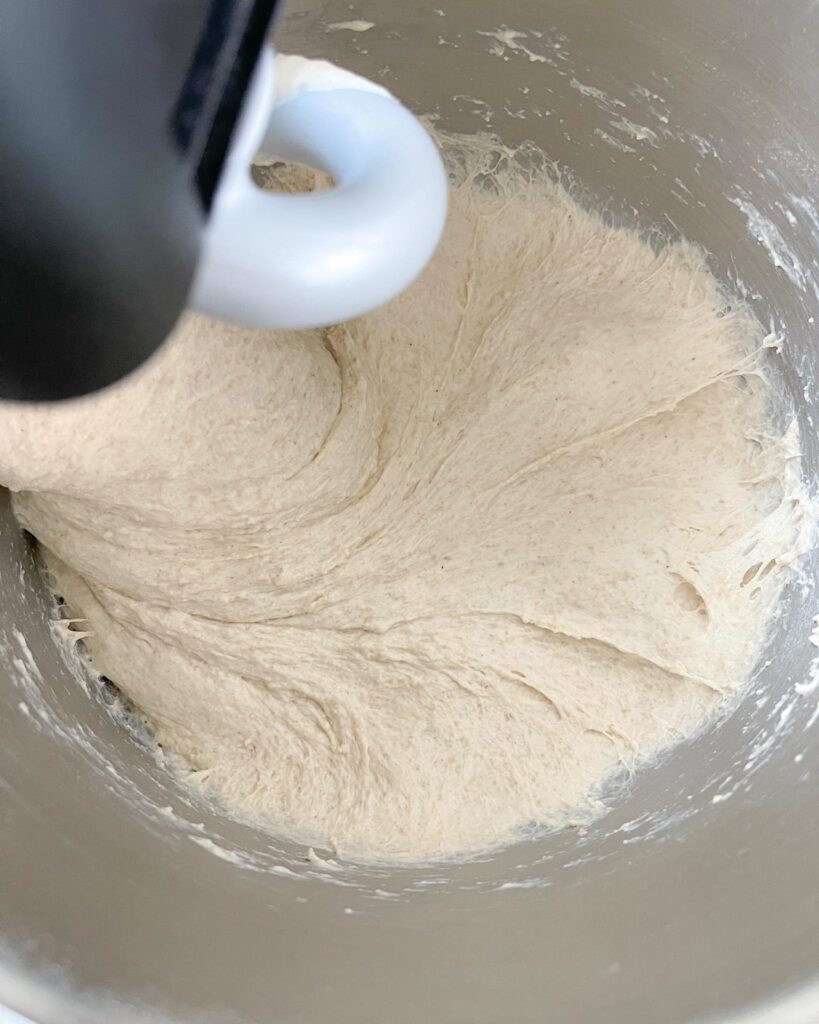
- Add the flours and mix to a shaggy dough. This should not take longer than a couple of minutes. Cover the bowl and let the dough rest/autolyse for an hour.600 g bread flour, 100 g whole wheat flour
- After the autolyse, add salt and maple syrup to the dough and knead on low speed for 5 minutes.14 g salt, 40 g maple syrup
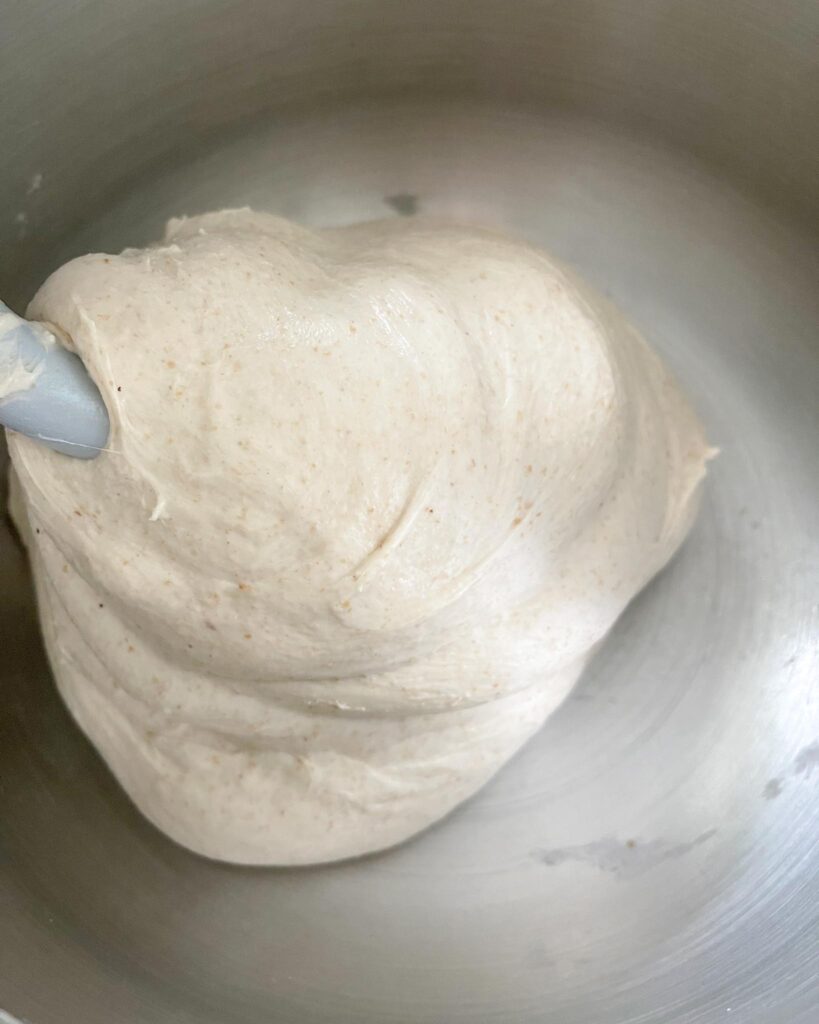
- While the mixer is still on, add cubed, softened butter, one cube at a time. Once you have added all the butter, make sure to scrape down the sides of your bowl. Continue mixing for another 10 minutes on low-medium speed.80 g softened butter
- Transfer the dough to a large, clean baking bowl.
- Let the dough bulk ferment (rise) for 3 hours at 78°F/26°C. Perform the first coil fold after 60 minutes and then the second after 120 minutes.
Pre-shape
- After 3 hours, the dough should have risen slightly and jiggle when you shake the bowl.
- Spray a little water on your work surface, hands, and dough knife with a spray bottle. Then, dump the dough out onto the work surface and divide it into two equal pieces (you can use a scale if you'd like.)
- Working with one piece at a time: With the bench knife in your dominant hand, guide the dough in circles across your work surface while tucking the dough under itself with your other hand. Keep the blade at a 45-degree angle. Repeat this motion until the dough has formed a loosely shaped round with a smooth surface.
- Next, allow the dough to bench rest for 15 minutes.
Shape
- While the dough is resting, line or grease two 9-inch bread pans. Add your mixed seeds to a large dish to roll the shaped bread in later on.mixed seeds, e.g., sesame, pumpkin, chia, poppy, sunflower seeds
- Flour your work surface. Grab one of the dough balls and flip it around so that the seam-side is up.
- Flour the top of the dough. Use your hands to degas and stretch the dough into somewhat of a square (around 9 inches wide).
- Roll the dough up like a roulade as tightly as you can, starting from the side furthest away from you. Tuck in the sides to even out the shape.
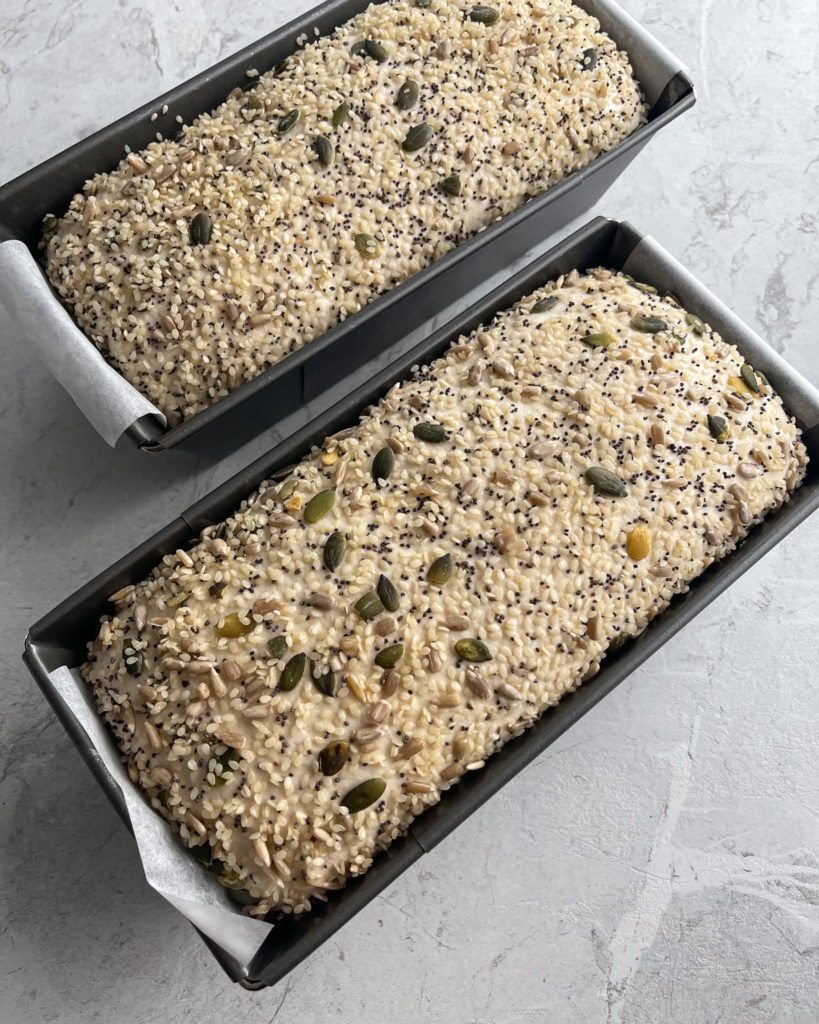
- Spray the surface of the dough with a bit of water to make the seeds stick. Lift the dough using both hands, and roll it in your seed mix.
- Next, place the seeded dough in your prepared bread pan, seam-side down. Repeat the process on the other dough.
- Cover and proof at around 78°F/26°C for 4-6 hours or until the dough reaches the rim of the pan.
Bake
- Preheat your oven to 430°F/220°C.
- Use a bread lame or razor blade to score the surface of the bread. Bake for 20 minutes, then turn down the heat to 390°F/200°C and bake for another 20-25 minutes. Cover with aluminum foil if it browns too quickly.
- Take the bread out of the oven and let them cool for 10 minutes in the pans. Then, take it out of the tin and wrap it in a kitchen towel to cool overnight. The towel creates an environment that makes the bread super soft. Slice and enjoy the following day.


Hello , wonderful recipe and Instructions.
Have 2 questions, do you not bake first half with steam and you said slice and enjoy the following day . This can’t be consumed same day after bake when it cools down . Thank you
Hi Raymond! I do not add any steam, no, but you can do so if you’d like. You can definitely let this bread cool ‘normally’ on a wire rack and enjoy the same day as well. Happy baking!
This is the very best sourdough recipe I’ve ever used! The bread is gorgeous and I also love the layout of your instructions, so easy to follow!
Hi Elise! Is it ok to proof the dough in the fridge overnight before baking?
Hey! Yes – I would reduce the final proof by an hour or so before placing them in the fridge overnight.
Thank you for the perfect recipe all my family liked it
Love ir ..
Because of gluten sensitivities, we can only use King Arthur organic flours. Sadly our local store was out of KA whole wheat flour, so I substituted {using same weight measurements} only white flour. I’m happy to report the seeded sourdough bread made with only white flour is delicious and turned out beautifully. Thank you, Elise, for your wonderful recipes and gorgeous videos.
Elise I love your recipes! They are delicious and easy to follow. I learn so much! This recipe is a favorite for my family.
I’ve been following you for a while and I’ve been waiting to make this recipe! I LOOOOVE this bread so much. Its absolutely delicious. Thank you so much for sharing. I have one question, my dad is on a low sodium diet and I’d like to make this bread for him to be able to eat as much as he wants without any sodium so can I leave out the salt after the autolyse?
Great and easy recipie!
I must say, having the ingredients written under each step in the instructions is revolutionary!
Happy to hear you enjoyed the recipe, Malik!
Came here to say this! Absolutely love the ingredients under each instruction. Brilliant! And soooo useful! Thank you for such a thought, wonderful recipe. I’m a newby and was able to make a delicious loaf. I now make it for my family and friends and they all love it. Even my six year old little neighbor will ask me to bake some for her.
Looks like a great recipe. Wish to attempt it but I do not have sourdough starter at hand.
Can we make this recipe without the sourdough starter? If yes, then how to create the levain without sourdough starter for this recipe?
TIA
beautiful bread
Excellent recipe. The baker’s schedule is extremely helpful. I had some trouble with shaping the bread because my dough was somehow more wet, and the result was still perfect.
Hi Irina! So happy you enjoyed the recipe. All flours absorb liquid differently, so that is most likely why your dough turned out more wet. If you add a little less water next time, the shaping should be easier.
Thank you very much. I did the recipe and it worked
I cut the final fermentation down to 2 hours and put it in the fridge and baked it in the morning
Your recipes are accurate and successful, thank you
I have made this 3 times over the course of the last 2 months and it comes out perfect each time ! I was surprised and happy that the bread rose like crazy during proofing but results after baking were even more impressive — soft billowy sandwich slices with a nice thin brown crust of bread and seeds ! I’ve shared this bread with family and friends and everyone has loved it . It is now my go to for making sourdough bread bc it’s perfect for avocado toast or for sandwiches or just toasted for pb&j. Oh and it lasts easily 3 weeks in a sandwich bag in the fridge and no mold! You just toast to warm it up and it’s still really nice and yummy to eat . I don’t know if it would last longer than that because we ate it before the 3 weeks was up . Anyways , good solid recipe for sandwich loaves !
This as is is an excelent recipe which I’ve enjoyed making a few times. I have also successfully changed it a bit to be dairy-free using 65cc olive oil instead of butter and adding an egg (removing from the water the egg’s weight).
Fantastic recipe – soft yet sturdy and delectable every time! I usually adjust the flours to 200 whole wheat and 500 bread/ap to great results. Thank you!
I wasn’t excited about the overnight towel cooling BUT it is well worth it. Used Date Syrup instead of maple syrup. For Final Proof I left them on the counter for 4hrs then stuck them in the fridge to overnight proof and bake the next day (18hrs later). Taste was soft with a balanced sourdough flavor. Thank you for an amazing recipe that I will share and continue to use.