
Homemade Sourdough Bread
This website contains affiliate links.
Some of the links below are affiliate links. This means that, at no additional cost to you, Bread By Elise may earn a commission if you click through the link and finalize a purchase. Please read our Privacy Policy for more details.
All you need is flour, water, salt, and time. This bread recipe is dedicated to those who want to bake a loaf of simple and tasty sourdough at home. It doesn’t have to be complicated.
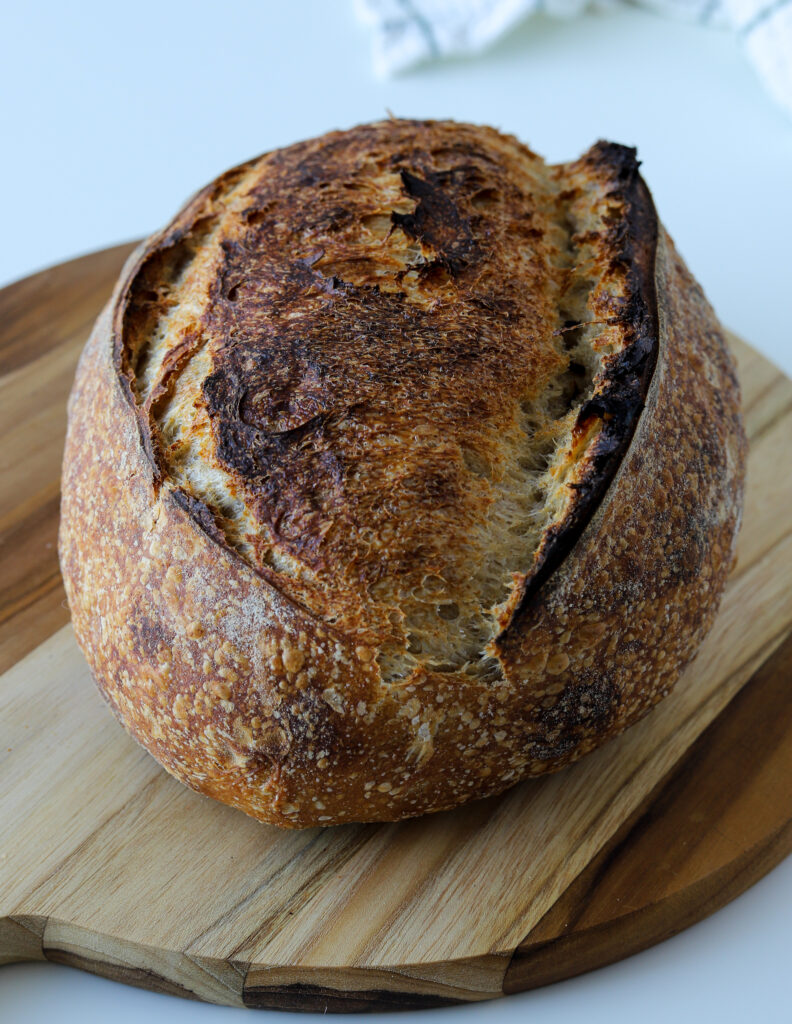
Table Of Contents
Recipe FAQ
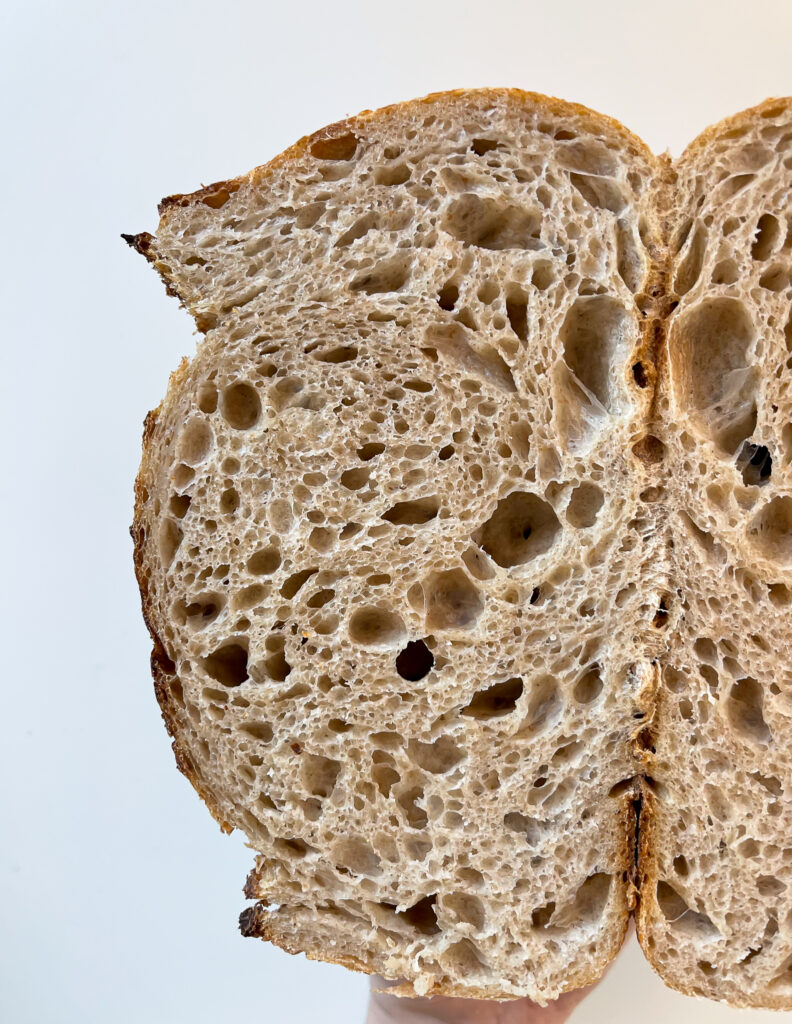
How do I achieve an open crumb with a low-hydration dough?
A common misconception is that you need to add a lot of water to your bread dough if you want an open and airy crumb. While high-hydration bread has a different look, taste, and texture, it’s not necessary to achieve an open crumb. However, proper fermentation is.
This bread is a low-hydration loaf at 72% water. Not only that, but we’re barely even handling it. Lowering the hydration is one of the best ways to learn and understand the process of bread making. You’ll end up with a dough that you can actually handle. Another important factor is the sourdough starter.
What type of flour is recommended?
I recommend using bread flour or strong white flour with a 13-15% protein percentage. I also recommend adjusting the amount of liquid (in this case, whole milk) to the specific flour you are using. For example, lower-protein flour usually requires less liquid, while higher-protein flour needs more liquid.
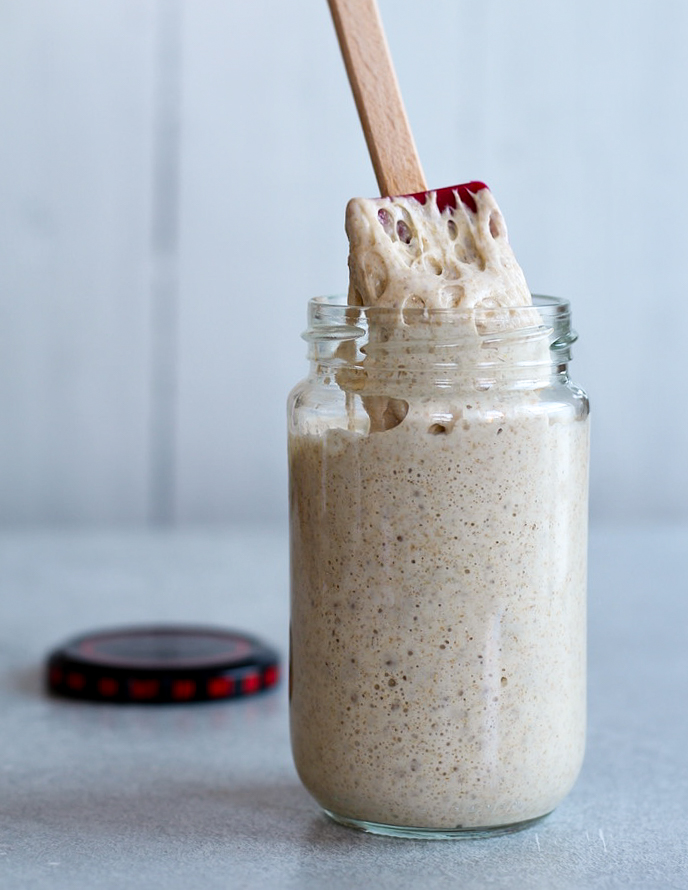
What is an active sourdough starter?
An active sourdough starter is a starter that has been regularly fed (preferably every 12 hours) over the course of multiple days. It’s totally fine to store your starter in the fridge. However, you do want to make sure to take it out of the fridge 2-3 days before you plan to bake with it. Keep it at room temperature for 2-3 days, and feed it with equal parts flour (I like to use a mixture of rye flour and white flour) and water every 12 hours.
What is the difference between sourdough starter and levain?
Levain is the portion of sourdough starter that is used to leaven our bread. The portion that we store (either in the fridge or at room temperature) and keep regularly feeding is what we call a sourdough starter.
My levain didn’t double in size in 5 hours
If your levain is not ready within 5 hours, give it more time. The most important part is that the levain has doubled or preferably tripled in size before you mix it in with the autolysed dough.
What is autolyse?
Autolyse is a process that starts as soon as you mix flour and water. The flour absorbs the water, and enzymes begin to break down the starches and protein. Usually, an autolyse lasts 30 minutes to 2 hours or more. During this period, the dough transforms from shaggy and sticky into a smoother, more extensible dough that requires less kneading.


How To Make Sourdough Bread (Beginner Friendly)
Equipment
- Stand mixer (optional)
- Large bowl
- Proofer box (optional)
- Banneton
- Lame or razor blade
- Bread Pan
Ingredients
Levain
- 25 g active sourdough starter fed 10-12 hours prior (50%)
- 50 g water at 77°F/25°C (100%)
- 50 g bread flour (100%)
Main Dough
- 408 g bread flour (85%)
- 72 g whole wheat flour (15%)
- 346 g water at 77°F/25°C (72%)
- 96 g levain white, 100% hydration (20%)
- 10 g sea salt (2,1%)
Other
- rice flour for dusting the banneton
Instructions
Step 1: Prepare levain
- In a bowl, combine sourdough starter, water, and flour. Cover and rise in a warm spot for 5 hours until it's bubbly and doubled/tripled in size. I use my Brød & Taylor Proofer set at 78°F/26°C.
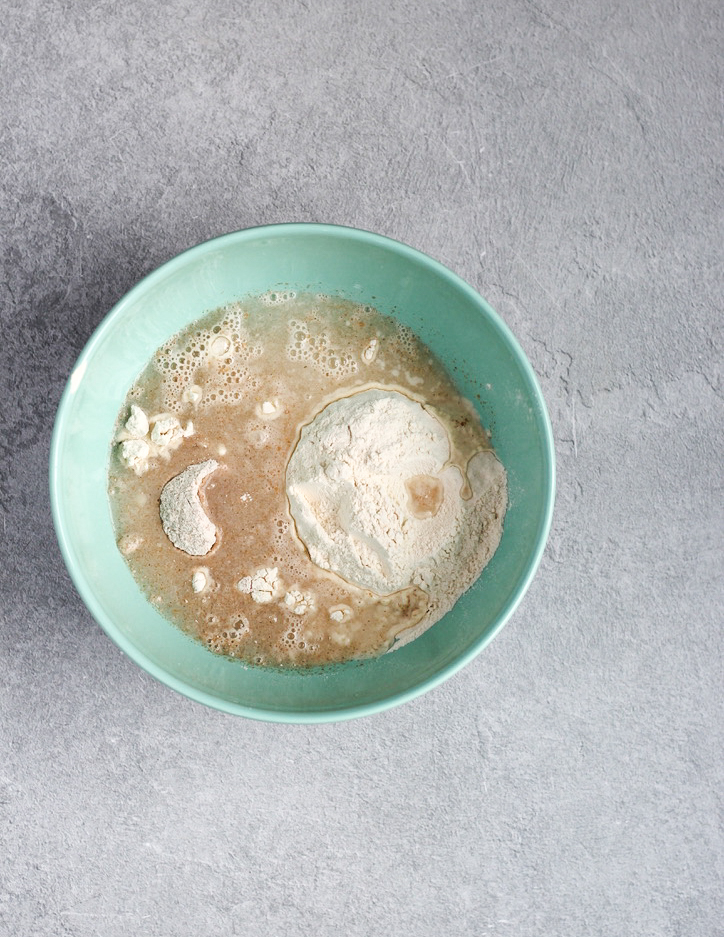
Step 2: Autolyse (Main Dough)
- You can start making the main dough right after you've mixed up the levain. Add bread flour, whole wheat flour, and water to the bowl of your stand mixer fitted with a dough hook. Mix until everything is combined (it shouldn't take longer than a minute or so). Scrape down the sides of your bowl if needed. Cover and rest/autolyse for 5 hours until the levain is ready.
Step 3: Mix in levain and salt
- Add the bubbly and active levain to the main dough. Attach the bowl to your stand mixer fitted with a dough hook. Mix on low speed for about two minutes until combined. Cover the bowl, and rest for 30 minutes.
- Sprinkle in salt and mix on low for two-five minutes until the dough has a smooth and bouncy surface.
- Transfer the dough to a clean, large bowl: cover, and proof at 74°F/23°C-78°F/26°C for 1,5 hours. The best way to achieve an even temperature throughout the entire proof is with a Proofer (linked in "Tools I Recommend").
Step 4: Coil Folds x 4
- With wet hands, slide both hands under the dough and slowly lift up while pulling the dough towards you, letting the dough fold underneath itself on the way down. Repeat on all four sides. Proof for 1,5 hours.


- Repeat the folding three more times, letting the dough rest for 1,5 hours between each coil fold. Total proof time: 7-8 hours*.
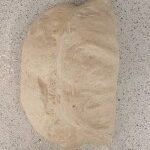
Step 5: Shape And Cold Proof
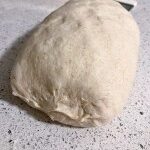
- Prepare a 10-inch banneton by dusting it with rice flour. Transfer the dough onto a lightly floured work surface. With the help of a bench scraper, fold in the right side, then the left side, and roll down towards you.
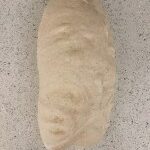

- Pinch the sides to seal.
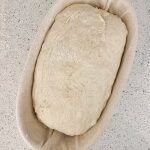
- Gently lift the dough into the prepared banneton, seam side up. Cover, and place it in the fridge to cold-proof overnight (10-18 hours).
Step 6: Bake
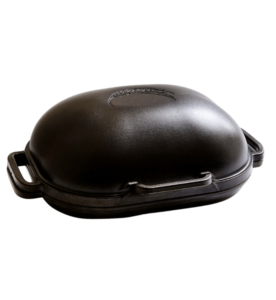
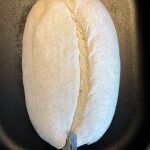
- Place your Bread Pan or large Dutch oven in the oven. Preheat for 45-60 minutes at 500°F/260°C.
- Carefully remove the preheated Bread Pan from the oven. Tip the bread into the pan, seam side down.
- Use a lame or razor blade to score the surface of the bread. Try scoring at a slight angle to give the bread the distinctive "ear." Put the lid back on and bake for 20-25 minutes.

- After 20-25 minutes, remove the lid, turn down the heat to 430°F/220°C and bake for another 15-25 minutes until the bread has a deep golden color with a nice caramelized crust.
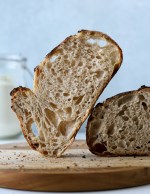
- Transfer to a wire rack and cool for at least one hour before slicing.


Great recipe ! Worked perfectly for me as a new sourdough beginner – less than 6 months! Thank you so much for sharing!
Hi, Najète. Thank you so much for the kind words and the 5-star rating – I really appreciate it!
I just had a bite of this bread. It is delicious,and pretty full proof I would say, since I am a beginner myself and I got it right. Thank you!
Hello!
Just had a question please, what do the percentages in the ingredients mean?
Thanks!
Hi! Those are bakers percentages, you don’t have to worry about them unless you want to scale the recipe 🙂
Hi Elise, love your site and your photos! This recipe looks great, but I have a couple of questions.
1. I don’t have a stand mixer, do you have any advice for hand mixing?
2. Is it okay to use a round bannetton? I have attempted the Tartine method before where you pre-shape with bench knife, rest and then shape into a round. Would something like that work here?
Thanks in advance!
Hi! Thank you for your kind words. You can absolutely hand mix this dough. Check out my Instagram highlight called “Recipe Sourdough Bread #2” for a video demonstration on how I like to mix my bread doughs by hand. It’s totally fine to use a round banneton. Happy baking!
Hi Elise! I used this recipe the first time i baked sourdough bread, and it is fantastic! Thank you for the detailed and informative recipe.
Hei, hvilken hvetemel bruker du? Kjøper du mel i vanlig butikk??
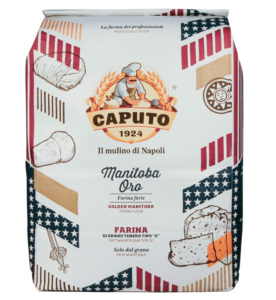
Hei! Jeg bruker ofte kolonihagen sitt siktet hvetemel og Manitoba Oro fra Caputo.
Hi!
I’ve just made my second batch using this recipe. It’s easy to follow, and the bread turns out delicious. However, my dough seem to be very “liquid” if that makes sense? I’m following your steps (also including feeding the starter), so I’m not sure what I’m doing wrong. I’m using regular white flour and “Rugmel” from Møllerens. Could that be the issue?
Thanks in advance 🙂
Hi! You could try adding less water next time if you find the dough difficult to handle. This makes it easier to practice dough handling. As you get more comfortable over time you can start increasing the water percentage.
Hi!
I do not know what went wrong but this recipe did not work out for me. As someone mentioned before this dough was very “liquid”. I followed exactly your steps but somehow it was impossible to shape a “ball”. So I ended up with no bread 🙁
I was thinking that my type of flour ( i used regular bread flour) is not good for this recipe or maybe adding less water next time?
I am beginner sourdough baker but I already made couple of breads before and they turned out great. So this is something new for me and I would like to know what’s the issue and how to prevent it from happening again. I’m still learning. 🙂
Thank you for advice.
Hi! Do you happen to know the hydration percentage of the sourdough bread you’ve made in the past? If so, let me know, and I’ll help you calculate how much you should lower the hydration to get the dough consistency you’re comfortable with. From there, it’s all about practice, and you can eventually add more water to the dough if you’d like.
Hei, deigen min er ekstremt klissete, kan jeg ta mer mel? Eller er det meningen? Veldig bra oppskrift forresten!❤️
Hei! Hvis du synes deigen er vanskelig å håndtere, så kan du teste med litt mindre vann neste gang. Det blir lettere å håndtere den etterhvert, bare å øve ❤️
I made it several times and It Is Wooooow! Thanks a lot !!!
Buna!
Am facut paine cu maia, urmand aceasta reteta. Foarte buna painea! Sunt incepatorare la brutarit, dar fiind atenta la ce ai scris, am reusit sa manipulez aluatul astfel incat sa iasa foarte bine. Uneori apar mici diferente intre ceea ce spui tu si ce iese, dar trebuie tinut cont de temperatura, timp si ceea ce simti in legatura cu maiaua si respectiv aluatul.
Multumesc!
Hi Elise!
This recipe is awesome! My fiance has been loving when I try your recipes every weekend.
I’m hoping to add roasted garlic to my next loaf, and I’m wondering when in the process would be best to do this?
Thanks in advance!
Hi! That is awesome. I would add the roasted garlic right after mixing in the salt!
Been making sourdough off and on for a few months now, this is by far the easiest to follow and best results I’ve had. I also managed to leave the dough in the fridge for 36 hours and it still worked beautifully! Thank you.
Excelente explicación del proceso. Muchas gracias por su publicación.
Hi Elise,
Have been using your recipes for about a year now, by far the best and morst reliable ones I’ve found, I just know that everything I try will turn out succsessful and just like the pictures! I make a loaf of this bread weekly and just noticed something, so thought I’d ask. The levain measurements result in 125 grams of levain, but the recipe says to add 96 grams to the dough. I’ve always added the whole levain and it’s wokring great, just wondering whether you suggest adding less than the whole mixture.
All the best, really hope you keep sharing your amazing creations with us!!
Hi Elise! Last year I tried someone else’s recipe several times, but it didn’t give me results I liked, so I gave up. But some time ago I saw your pictures about your sourdoughs and they made me inspired again. I signed up, made my starter and tried again. I baked my second sourdough this morning, and I couldn’t be more satisfied with it – just like the loafs from bakery! My whole family loved it! I can’t wait to try more of your recipes. Thank you!
I made my 10th loaf using this recipe and OMGGGGGG!!! I feel like a professional baker with how it tastes. BEST RECIPE EVER! Thank you so much!
My very first loaf turned out great and just a little flat as I am not practiced in shaping 🙂 I was wondering if you had any recommendations for baking this particular recipe in a pullman pan?
Your other sandwich loaf recipes varied from this one, so I wasn’t sure if I could follow this exactly and proof overnight in the pan or else shape in the morning and proof before baking, etc. Thanks for any advice!
I’ve used this recipe a couple times and getting great taste, but my crumb structure is still staying slightly dense in the middle but open on the ends. Do you have any tips for this? Thank you!
I have used this recipe and the breads came out very nice! But alas, yesterday was a disappointing day for the outcome. Can you please give em some tips on why the sourdough bread spread out and came out way flatter than the others i made? i was so distraught and wanted to make another one as soon as i saw the flat bread but too bad i work Monday to Friday so i will have to be patient until Friday rolls around again.
Hi Elise
What cast iron Dutch oven would you recommend for a batard?
Hi! I recommend the challenger bread pan; it is linked in this post under “Tools I Recommend.”
Best crumb I’ve had yet. Very simple instructions. Beautiful and delicious loaf.
If you’re a beginner this is a great recipe to start. You will never want to buy supermarket bread ever again!
Thank you, Sarah!
Great recipe. I have been using it for years but have made adjustments as my family likes it. SO tasty. Thanks Elise!