How To Make Sourdough Baguettes
This website contains affiliate links.
Some of the links below are affiliate links. This means that, at no additional cost to you, Bread By Elise may earn a commission if you click through the link and finalize a purchase. Please read our Privacy Policy for more details.
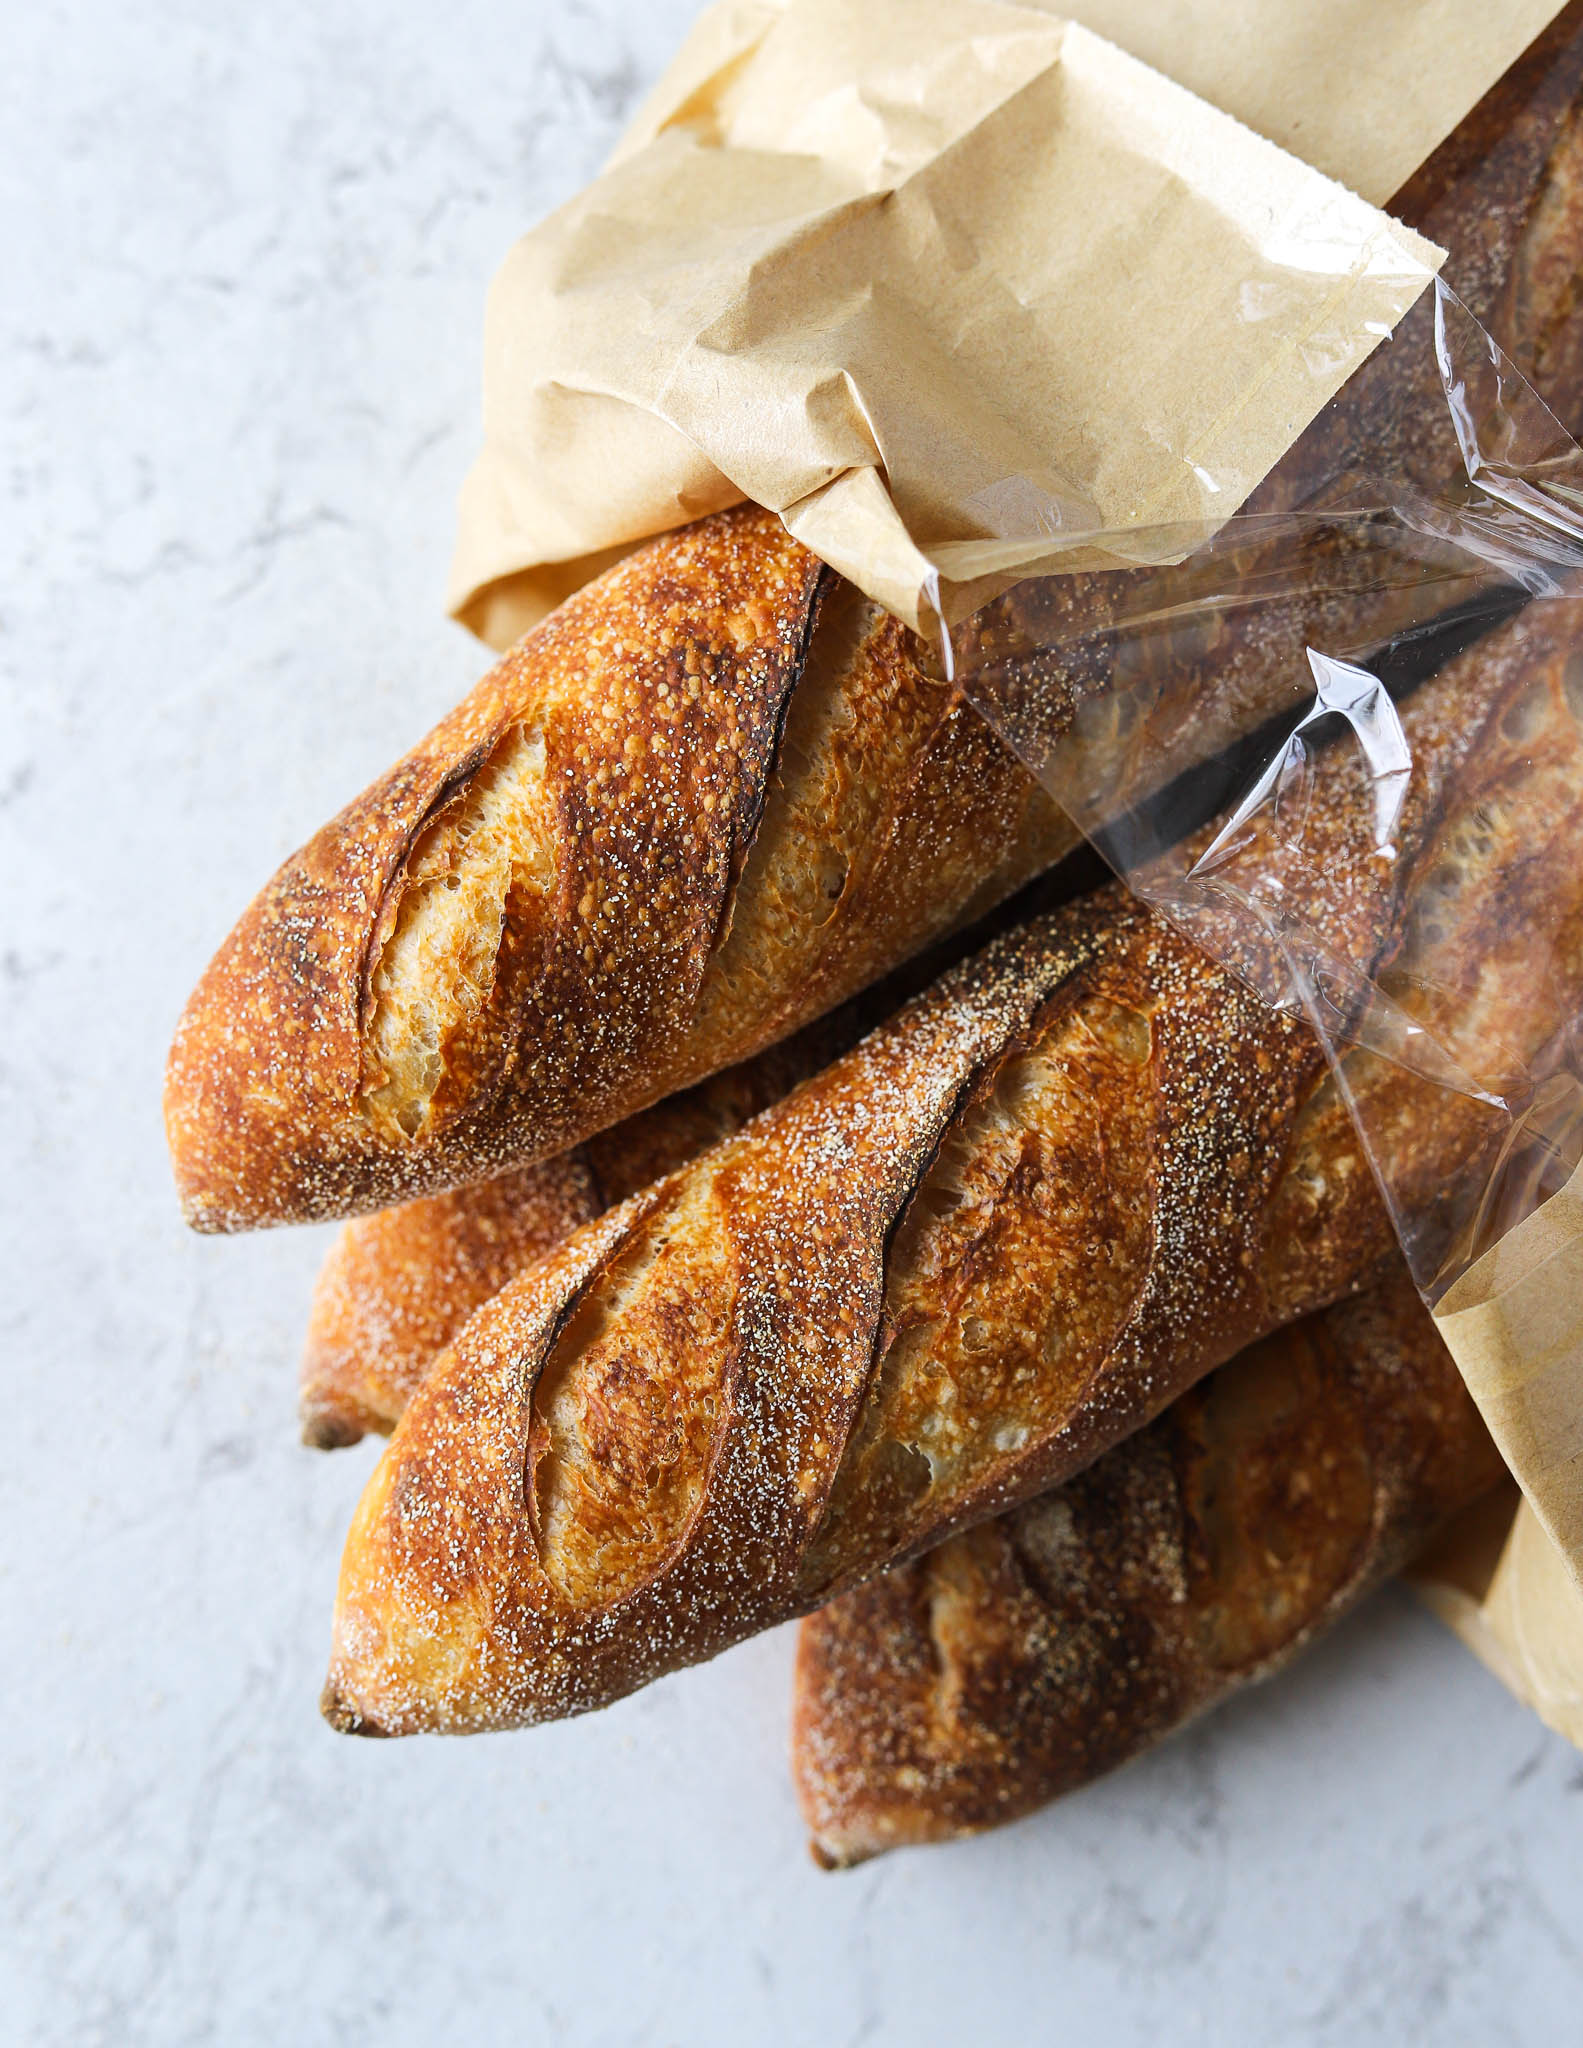
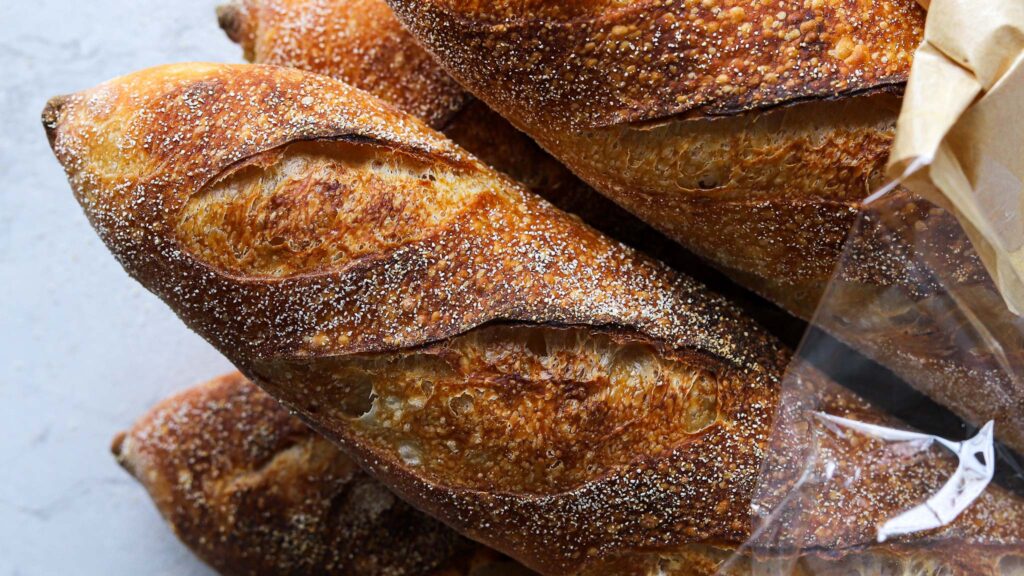
These sourdough baguettes are my newest baking obsession. With their crunchy outside and airy, chewy crumb, they’re simply sourdough perfection. In this detailed step-by-step recipe, I’ll guide you through the entire process.
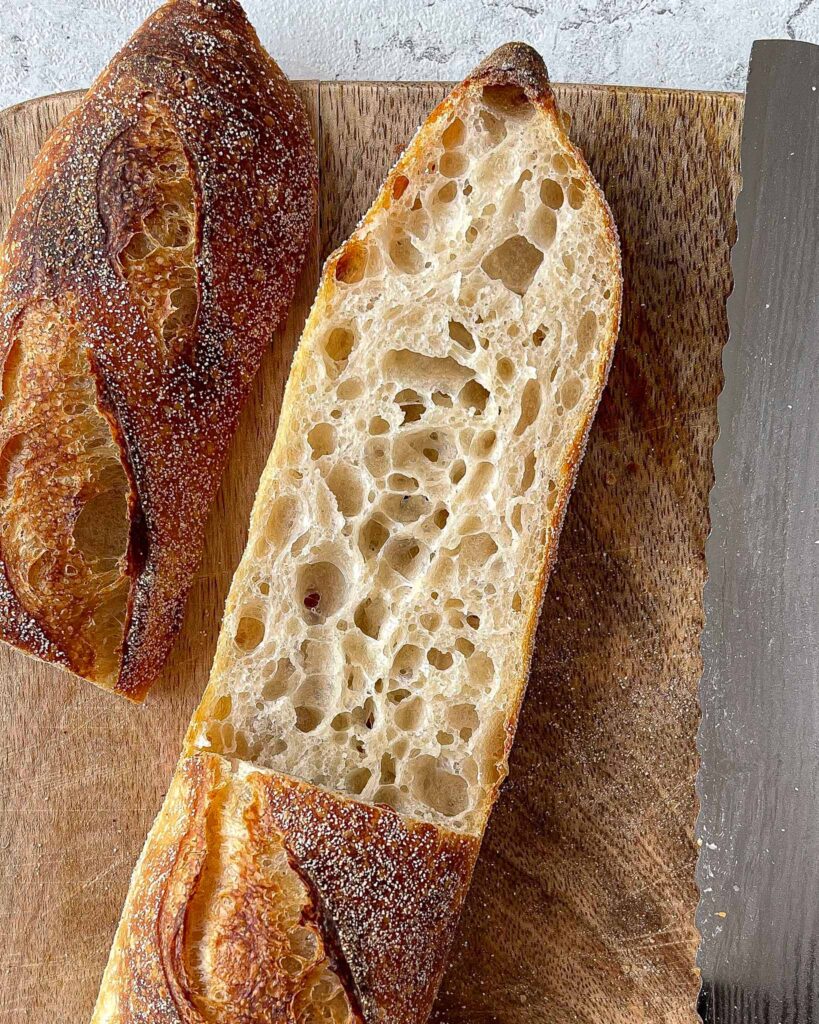
Table of contents
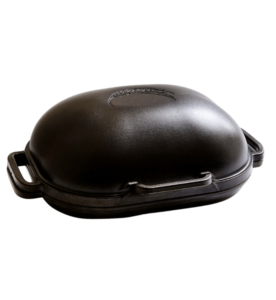
Making baguettes in the Challenger Bread Pan makes the baking process easier when baking in a home oven. It ensures even heat distribution and locks in steam, resulting in that coveted crispy crust, and airy crumb we all love. Make sure to read through the recipe and watch the recipe video below before you begin.
Recipe run through
Day one
Main Dough
When the levain is active, and at its peak, you can start to make the main dough. In a large bowl, quickly mix the water and levain, then add the flour and mix with your hands or silicone spatula until it forms a shaggy dough. You don’t want to overwork the dough, so make sure to stop once everything is just combined:
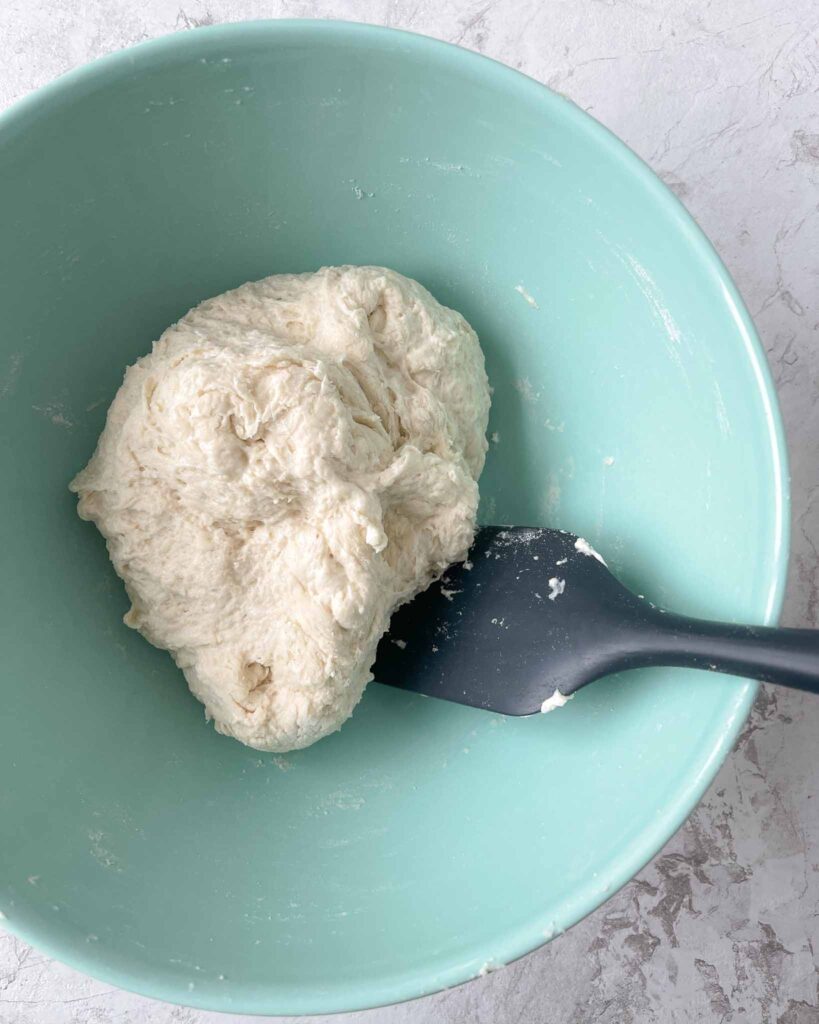
Now you want to let the dough autolyse for 45 minutes before mixing in the salt. I prefer hand mixing, but you can also use a stand mixer.
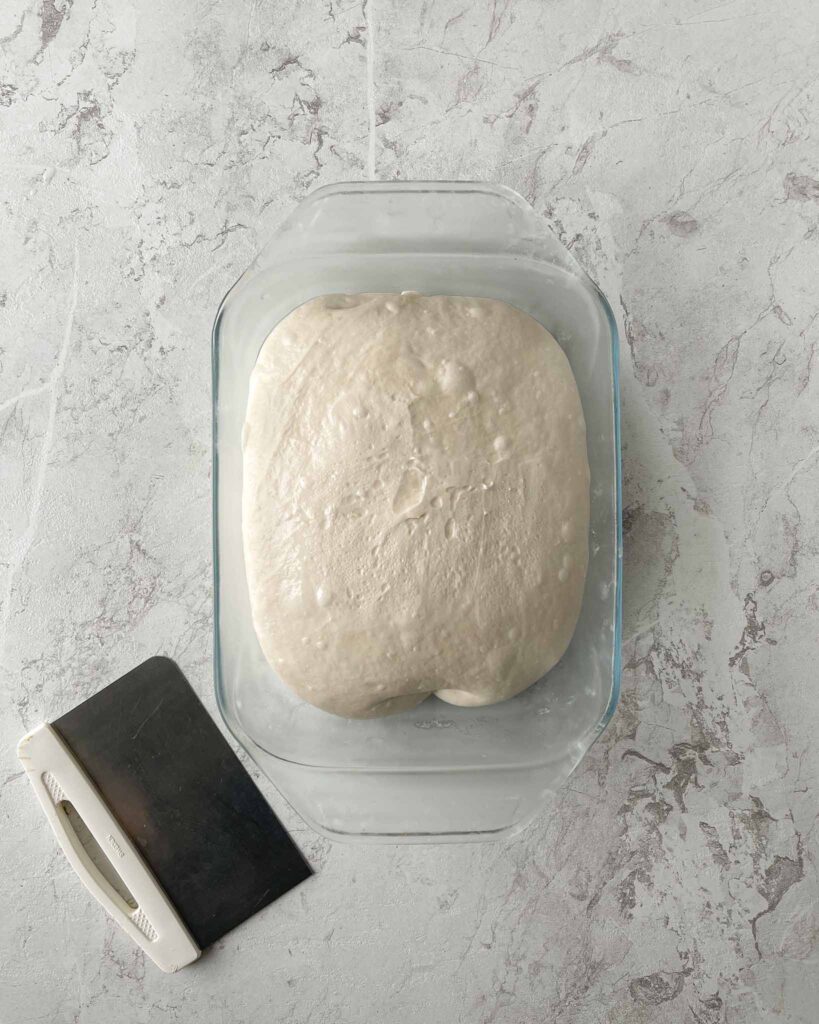
After mixing in the salt, transfer the dough to a clean bowl or dish. It is now ready for its first proof of 4-5 hours. After the first hour of proofing, you want to perform the first coil fold. With wet hands, slide both hands under the dough in the center until your fingertips touch. Slowly lift the dough up and towards you until the dough lets go of the bowl. Fold the dough underneath itself by lowering and moving your hands forward. Turn the bowl 180° and do the other side. Turn the bowl 90° and repeat (basically folding all four sides). Repeat every hour (4-5 folds total).
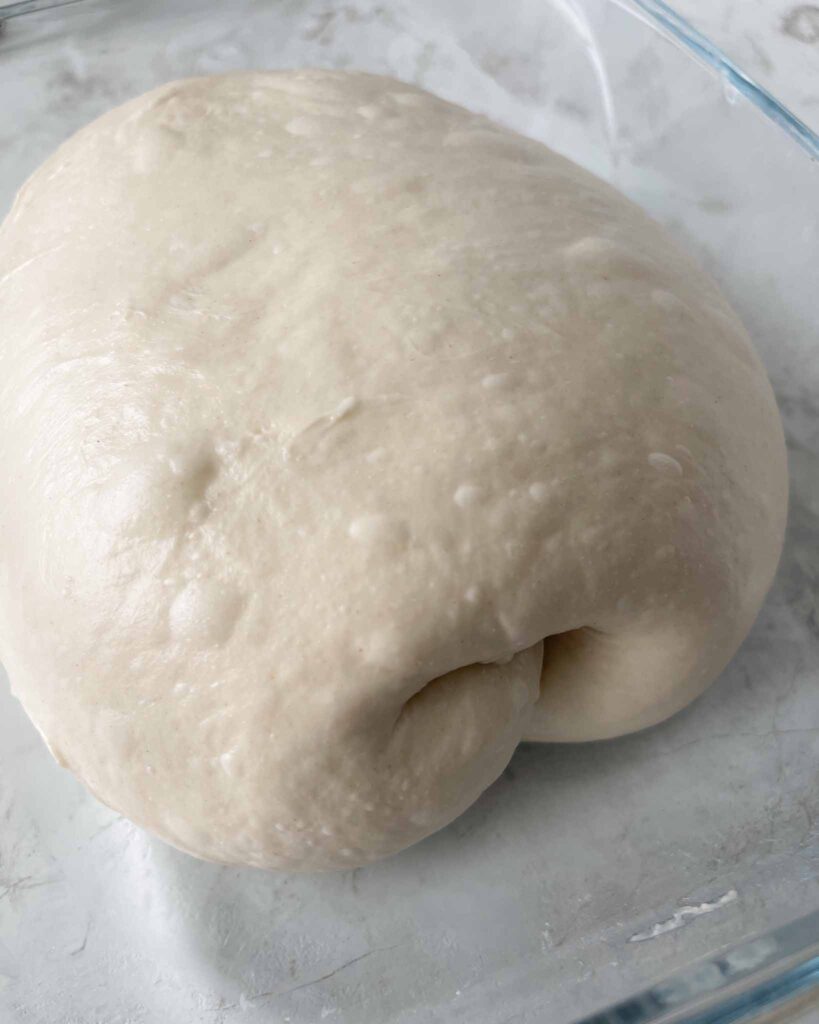
At the end of the first proof, the dough should be jiggly and strong and have risen about 60% in volume. Place the dough in the fridge to cold-proof for a minimum of 12 hours, up to 36 hours.
Day two
Pre-shape
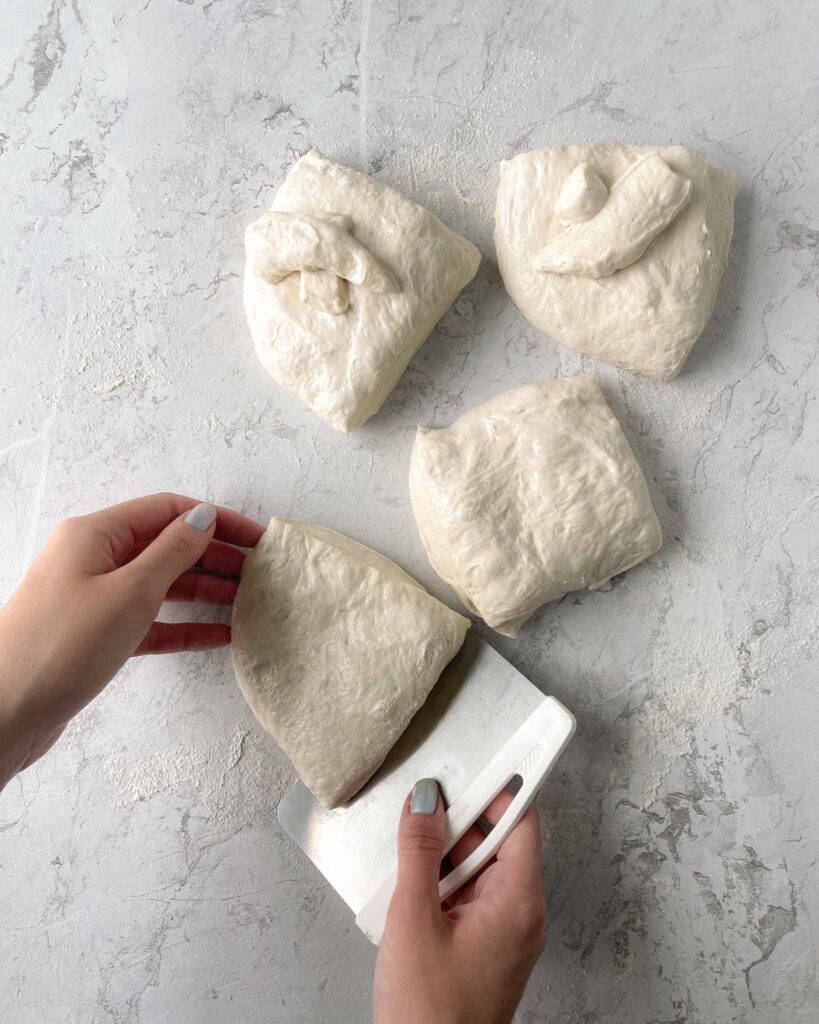
Take the dough out of the fridge and flour your work surface lightly. Have more flour close to you in case you need it. Use your digital scale to weigh the dough. Divide the number by four and divide the dough into dough pieces of that weight (approximately 175 grams each).
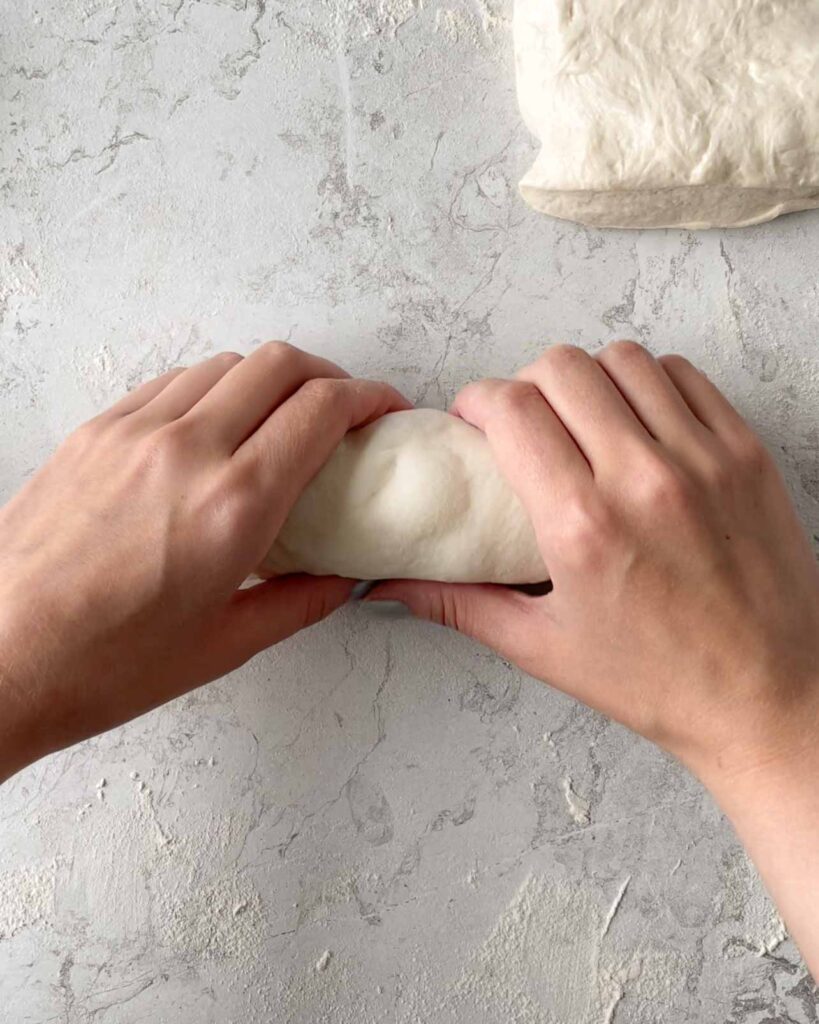
Pre-shape the dough pieces by tightly rolling them up into cylinders. Cover, and rest for 30 minutes.
Shape
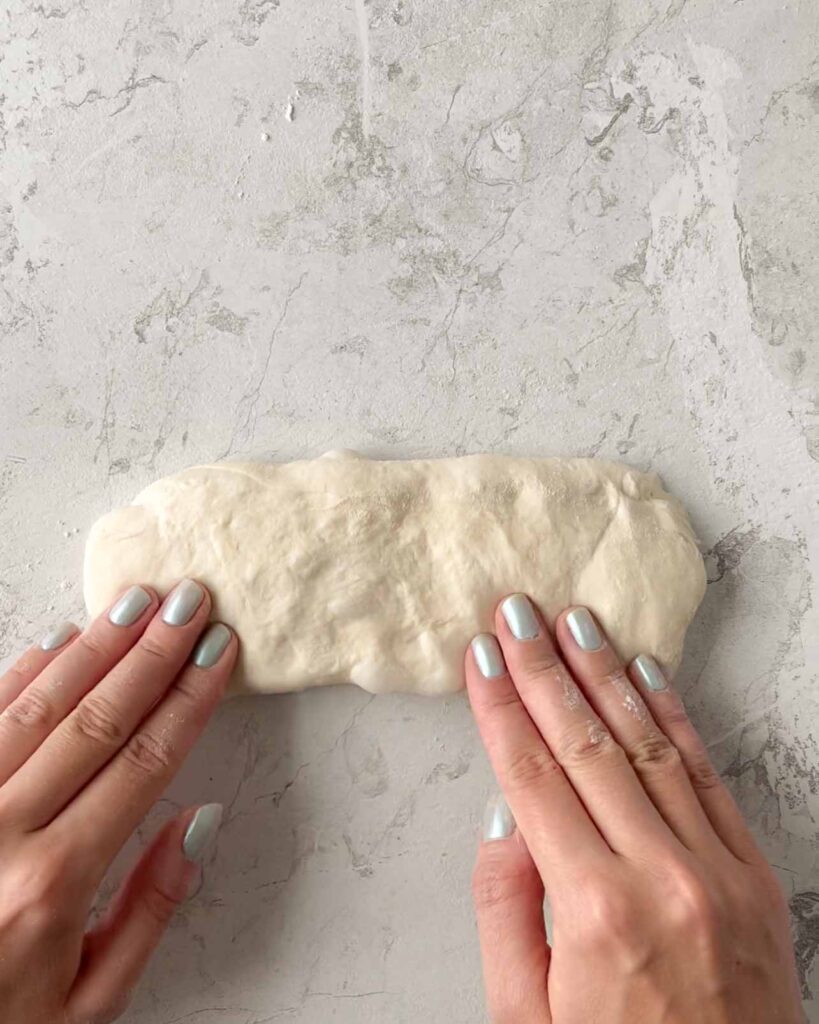
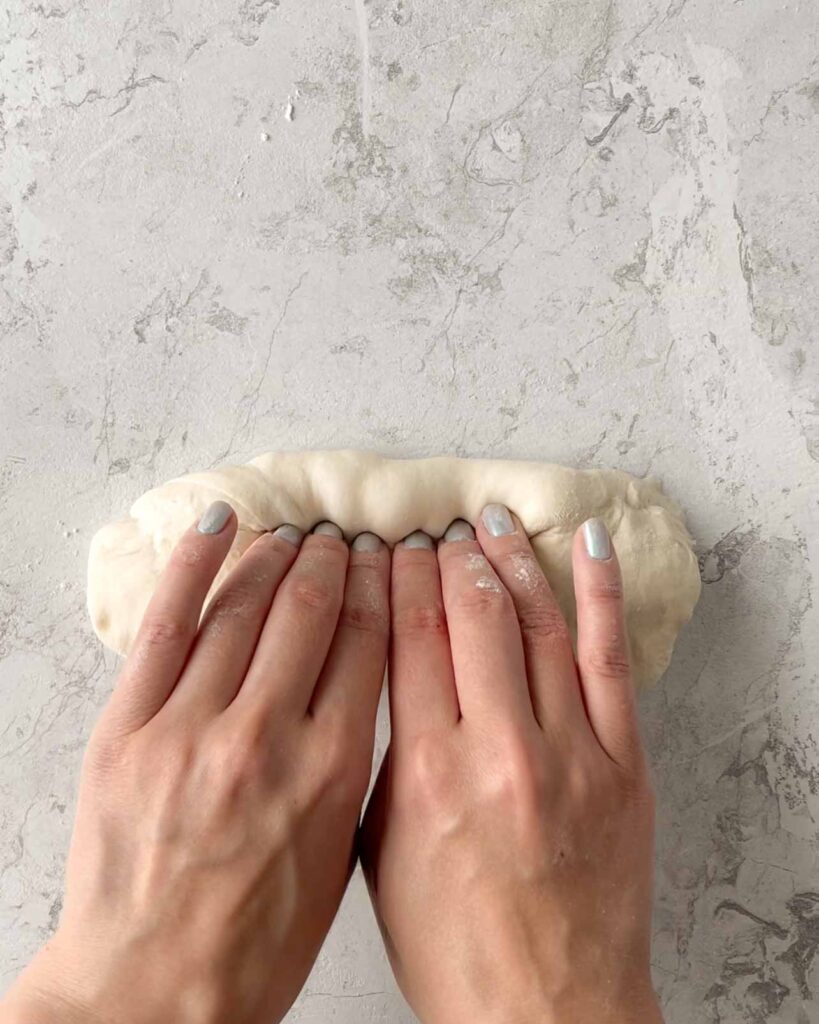
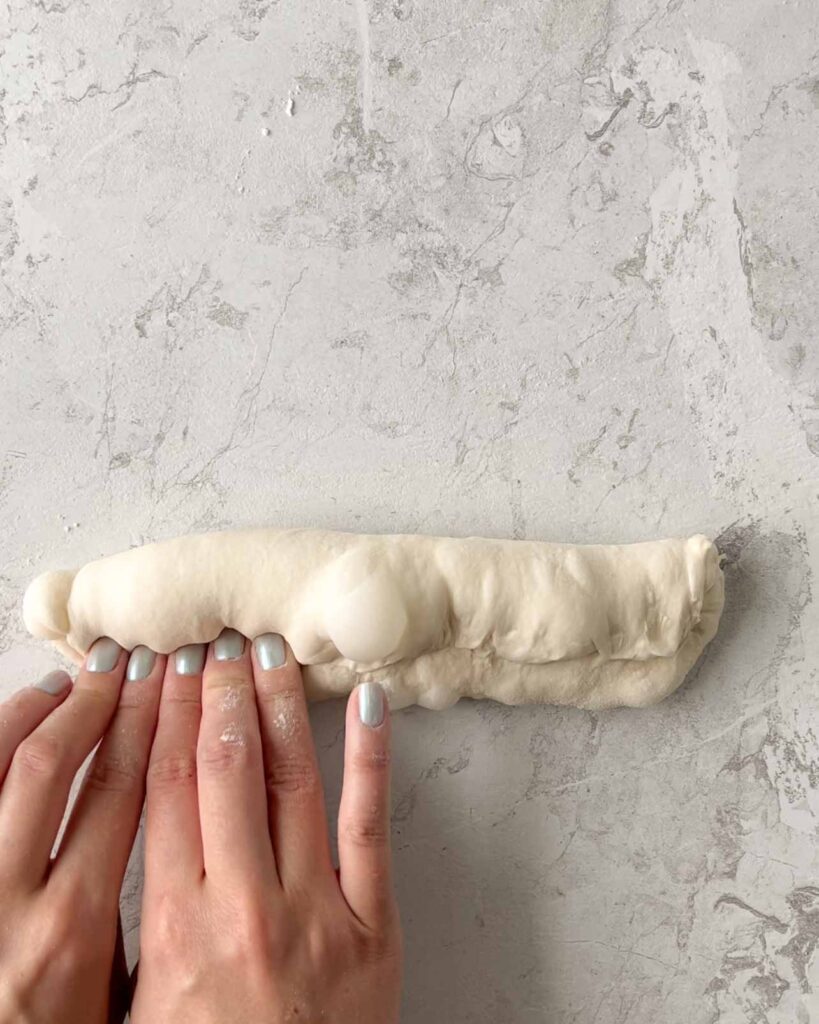
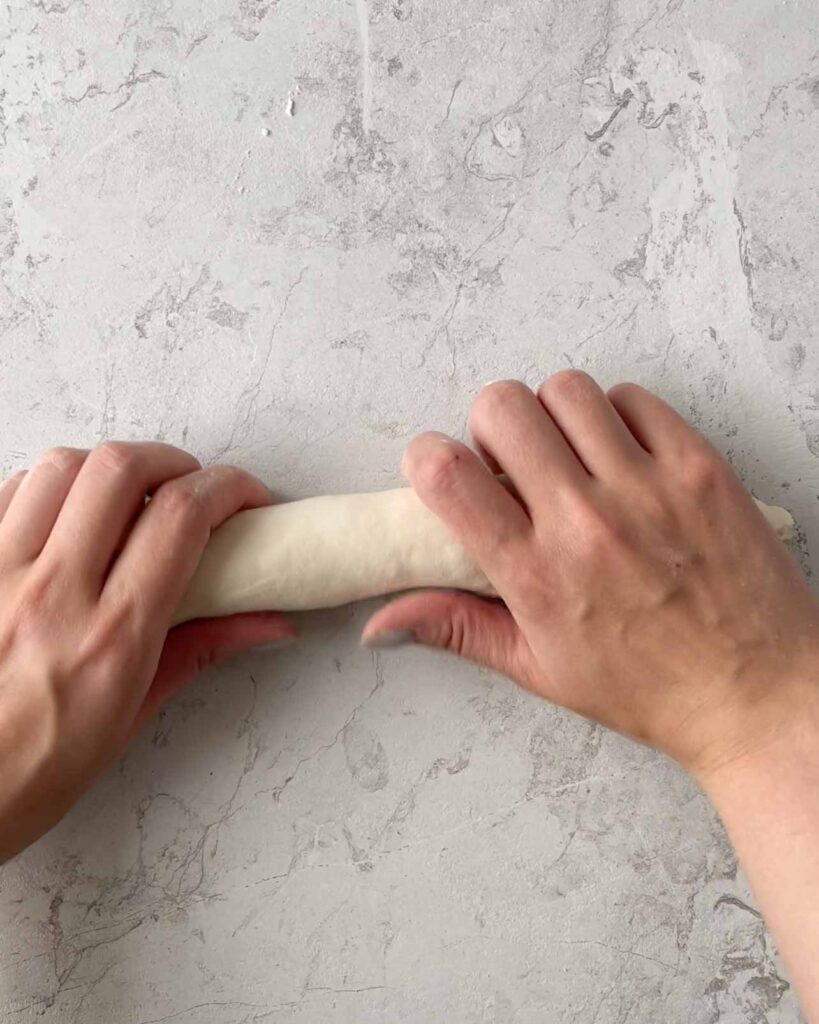
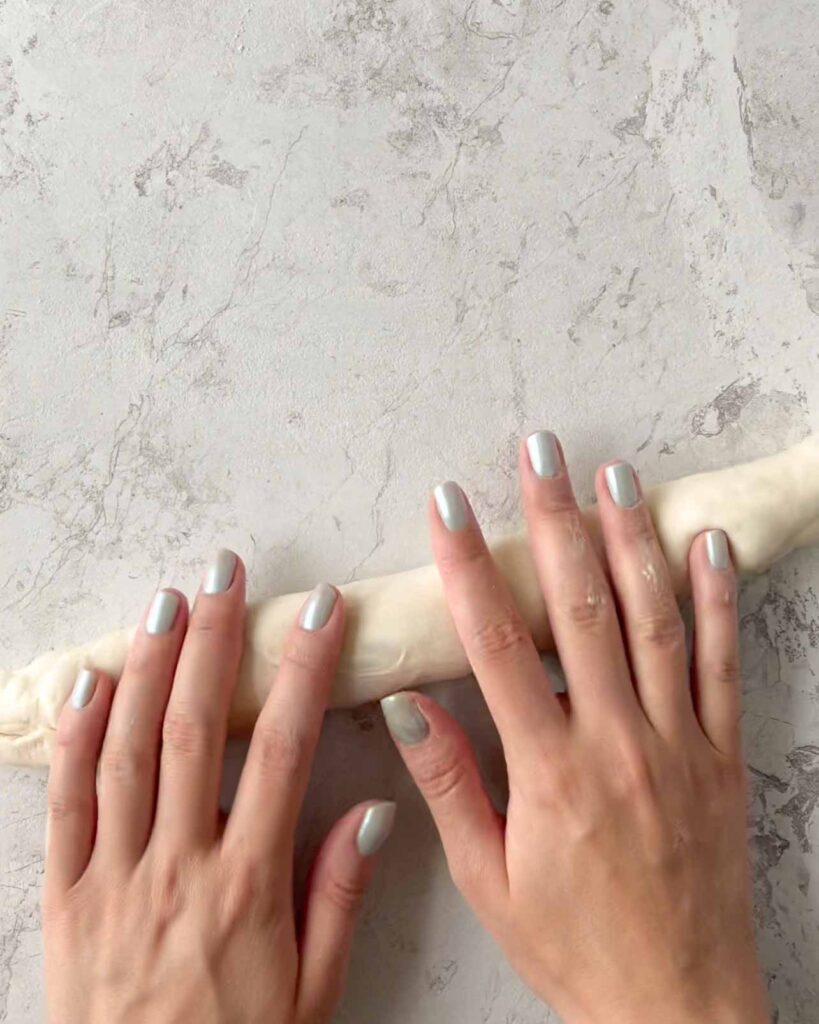
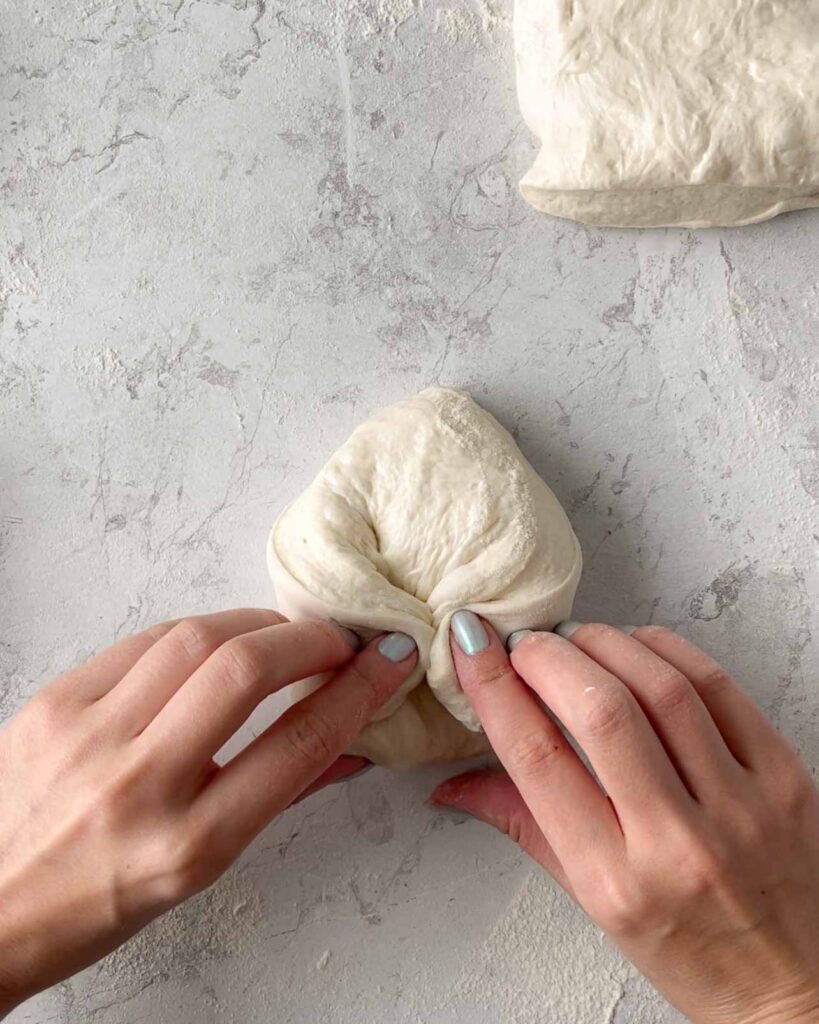
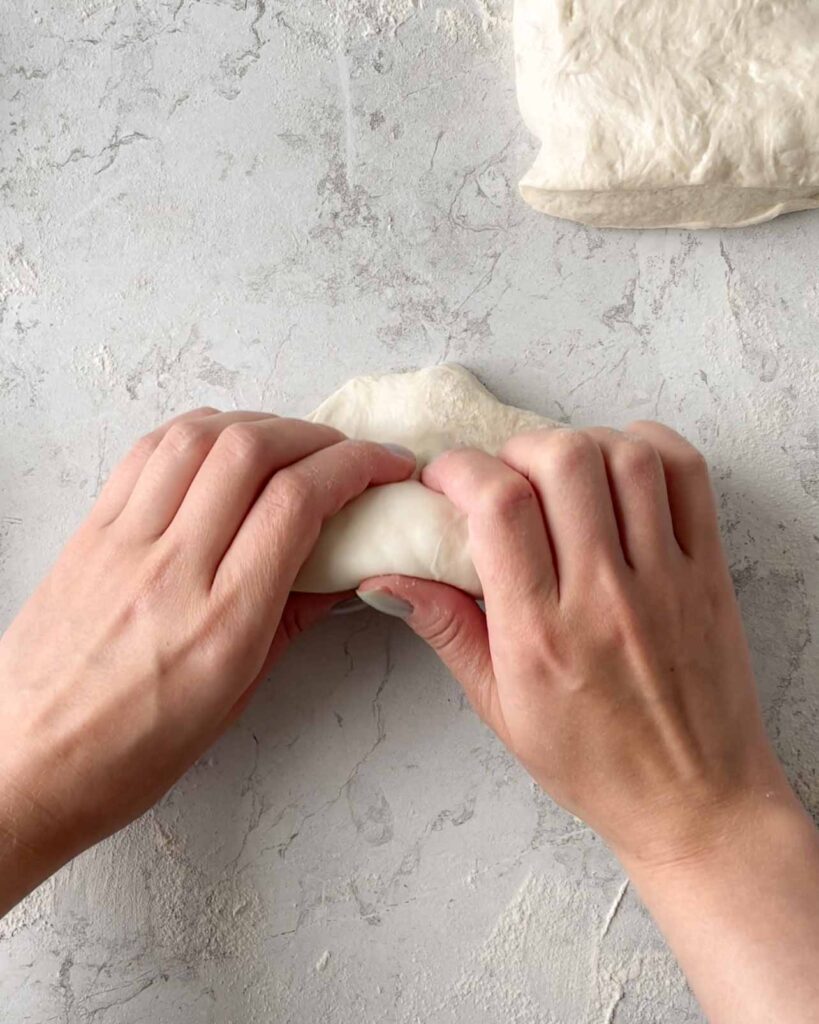
Stretch/flatten each dough piece slightly. Use your hands and fingertips to tightly roll the dough down towards you, sealing the seam as you go. Roll the cylinders with your hands until it reaches the desired length, 10-11 inches/25-28 cm.
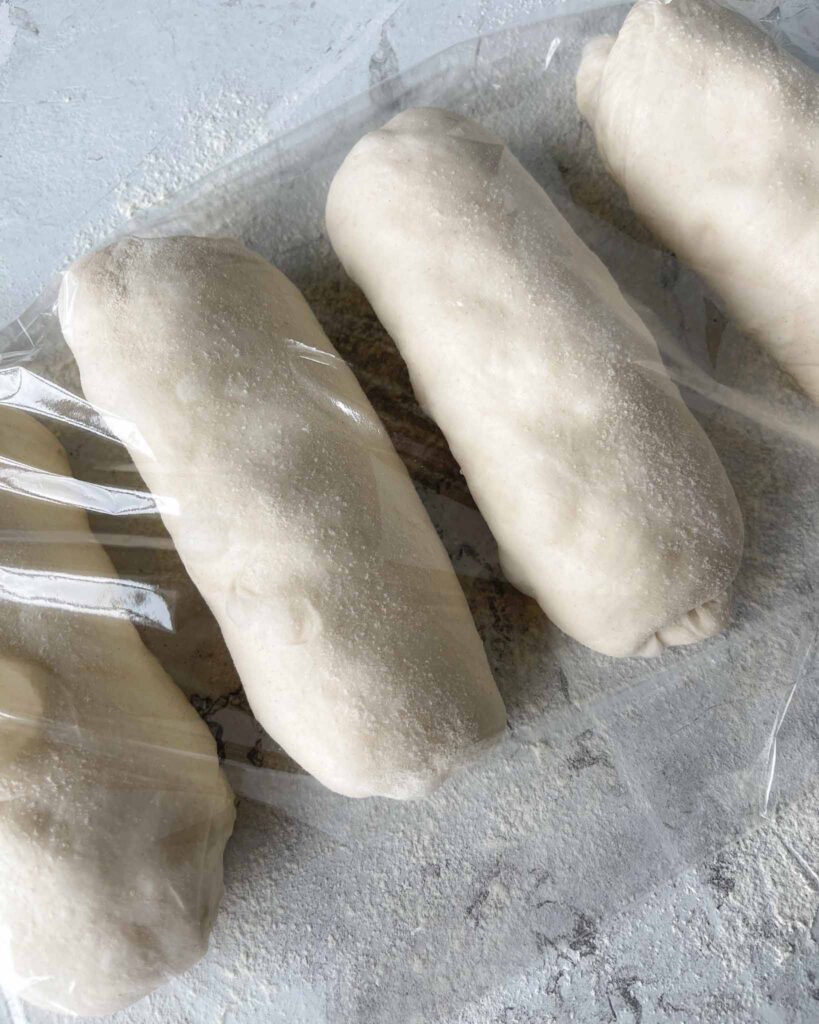
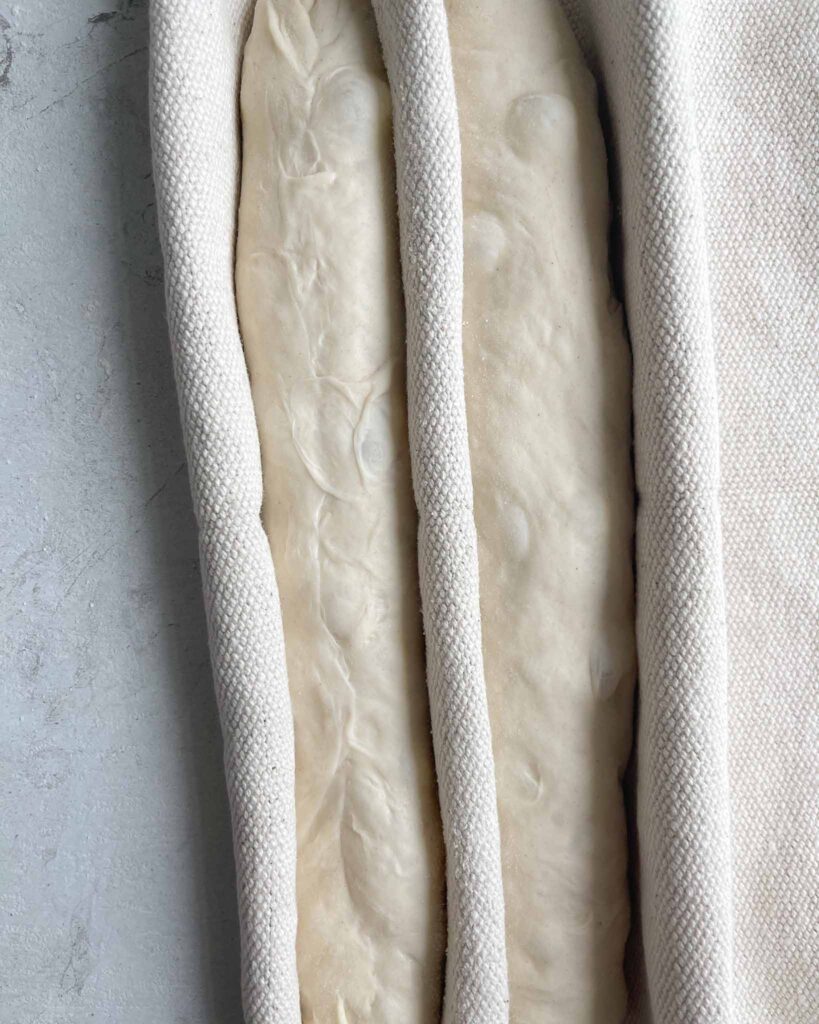
Place the shaped baguettes, seam side up, in a floured baguette couche or thick kitchen towel. Let the baguettes proof for one hour. Meanwhile, preheat your oven + Challenger Bread Pan to 500°F/260°C for one hour.
Bake
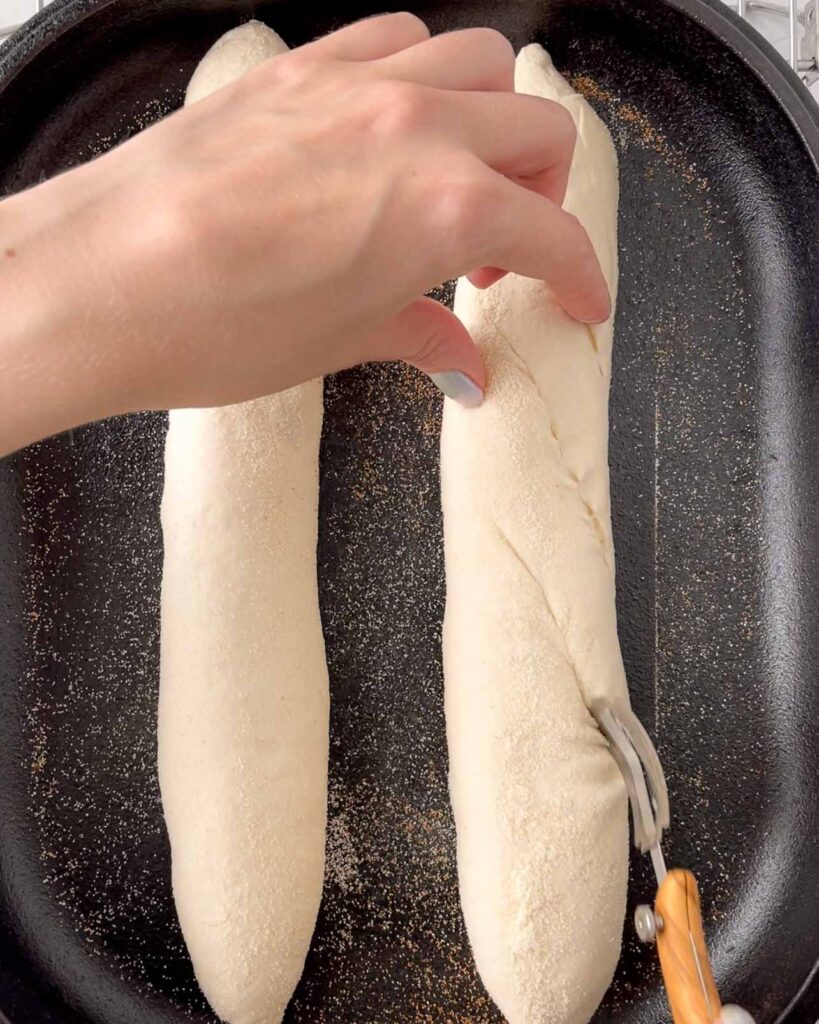

Bake two baguettes simultaneously: Place the sourdough baguettes, seam side down, in the preheated Bread Pan. Using a curved lame, make 3-4 elongated scores down the baguette. Cover with the lid and bake for 10 minutes. Then, remove the lid, turn down the heat to 430°F/220°C, and bake for another 10-15 minutes until golden brown. Repeat the process for the other two baguettes.
Making baguettes in the challenger is super easy. First, we bake them for 10 minutes with the lid. The lid will naturally trap steam from the baguettes, creating the perfect environment for them to rise in the oven. Then, after 10 minutes, we remove the lid to release the steam, allowing them to get that beautiful golden, crunchy crust.
Shop the Tools


Watch Me Bake
Sourdough Baguettes
How to:
- 0:00 – Hand mix
- 0:26 – Coil fold
- 0:56 – Pre-shape
- 1:50 – Shape
- 2:28 – Score

Sourdough Baguettes in Challenger Bread Pan
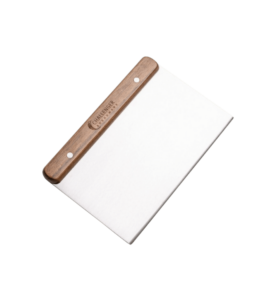
Equipment
- Challenger Bread Pan
- Digital kitchen scale
- Cooking Thermometer
- Mixing Bowl
- Brød & Taylor Proofer Box
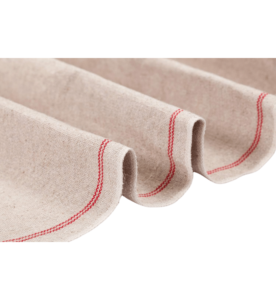
- Baguette Couche
- Curved Lame
Ingredients
Levain
- 14 g active sourdough starter 100% hydration
- 30 g all-purpose flour
- 30 g water at 80°F/27°C
Main Dough
- 370 g manitoba flour
- 259 g water at 80°F/27°C
- 74 g levain
- 8 g sea salt
Instructions
Levain
- Add all the ingredients to a bowl and stir to combine. Place the levain in a warm spot, ideally at around 78°F/26°C, for 4-5 hours or until it reaches its peak (doubled/tripled in size).
Main Dough
- When the levain has peaked: In a large bowl, add water, levain and flour. Use your hands to mix just until it forms a shaggy dough. This shouldn't take longer than a minute or so. Cover, and autolyse/rest for 45 minutes.
- After 45 minutes: sprinkle salt on top of the dough. Mix with your hands for 4-5 minutes until all the salt is incorporated and the dough feels bouncy and smooth. Watch the recipe video above to see how I like to hand mix my doughs.
- Transfer the dough to a clean bowl, cover, and proof at 78°F/26°C for 4-5 hours. After the first hour of proofing, you want to perform the first coil fold. With wet hands, slide both hands under the dough in the center until your fingertips touch. Slowly lift the dough up and towards you until the dough lets go of the bowl. Fold the dough underneath itself by lowering your hands. Turn the bowl 180° and do the other side. Turn the bowl 90° and repeat (basically folding all four sides). Repeat every hour (3-4 folds total).
- The dough should be jiggly and strong at the end of the first proof. It should have risen about 60% in volume.
- Transfer the dough to the fridge, and let it cold-proof for 12-36 hours.
Pre-shape
- Place the dough on a floured work surface and divide it into four equal pieces (approximately 175 grams each). Use your kitchen scale to make sure they are of even size.
- Gently roll each dough piece into cylinders, as demonstrated in the recipe video.
- Cover, and rest for 30 minutes.
Shape
- Stretch/flatten each dough piece slightly. Use your hands and fingertips to tightly roll the dough down towards you, sealing the seam as you go. Roll the cylinders with your hands until it reaches the desired length, 10-11 inches/25-28 cm.
- Place the shaped baguettes, seam side up, in a floured baguette couche or thick kitchen towel. Loosely cover with plastic wrap and let the baguettes proof for one hour. Meanwhile, preheat your oven + challenger bread pan to 500°F/260°C for one hour.
Bake
- Bake two baguettes simultaneously: Place the baguettes, seam side down in the preheated Bread Pan. Make 3-4 elongated scores down the baguette using a curved lame.
- Cover with the lid and bake for 10 minutes. Then, remove the lid, turn down the heat to 430°F/220°C and bake for another 10-15 minutes, until golden brown. Repeat the process for the two remaining baguettes.


Bonjour
Pourrais je avoir la traduction en français
S’il vous plaît ?
Merci
Nadia
Love how clearly every step is explained, plus baker’s schedule is very helpful. Tomorrow I’ll have a go. Thanks!
Hi, I really want to try this recipe but I don’t have Manitoba flour. Could I use bread flour or all-purpose?
Hi! Bread flour should work just fine.
I just baked these this morning using sourdough
starter of your recipe and they turned out great! Crusty on the outside and chewy on the inside, just the way I like it!
The video and baker’schedule was very helpful. Thank you for the wonderful recipe! I’ll definitely bake these again.
Really great recipe. The only issue I had was when it came time to transfer the baguettes onto the pre-heated bread pan (I used a pizza stone because that’s what I have). I wasn’t sure how get the baguettes out of the kitchen towel/couche and onto the baking surface… I ended up managing on my own using a cutting board as a transfering tool, but a bit more detail on that step would have been useful. Excellent instructions otherwise!
I love this recipe I was just wondering do you recommend putting an ice cube in the challenger bread pan or doing it with out
I bake without the ice cube.
Thank you so much for providing such detailed steps and video! This recipe was so easy to follow! Even though my finished product turned out a bit wonky it was still amazingly delicious! Only problem is the baguettes were gobbled up too quickly by my kids, they have requested me to make them daily!!! Thanks again and please keep the recipes and videos coming !
Would be helpful if you answered on insta! Also there’s a 4 hour recipe that I had much more success with than this recipe. Seems this one is more about selling the bread pan ???? 15 hour proofing is ridiculous
Hi! Sourdough bread takes time, and it is not something you make if you are in a hurry. The long fermentation is essential and is what creates flavor and texture that is, in my opinion, incomparable to a sourdough baguette made in just four hours. Recommending products I love is a part of my job, and I do not see anything wrong with that.
This was my second time ever making baguettes and I couldn’t be happier. I had to use a simple steaming setup (cast iron pan filled with boiling water in the bottom of the oven) because I didn’t have a Dutch oven the right size or shape to fit the bread in, but it still turned out great. The bread had a lovely crisp crust and a super soft, moist, chewy, and airy interior. The flavour was great. I will definetly make this again. Also, just a note: rice flour is a lot better at preventing the dough from sticking to the tea towel, and it doesn’t really affect the flavour or texture.
This was probably my 4th attempt at baguettes and the first that I was happy with. The crumb is perfect and the crust is just what I was looking for. Highly recommend this recipe.
Thank you, Jim!