Whole Wheat Sandwich Bread
This website contains affiliate links.
Some of the links below are affiliate links. This means that, at no additional cost to you, Bread By Elise may earn a commission if you click through the link and finalize a purchase. Please read our Privacy Policy for more details.
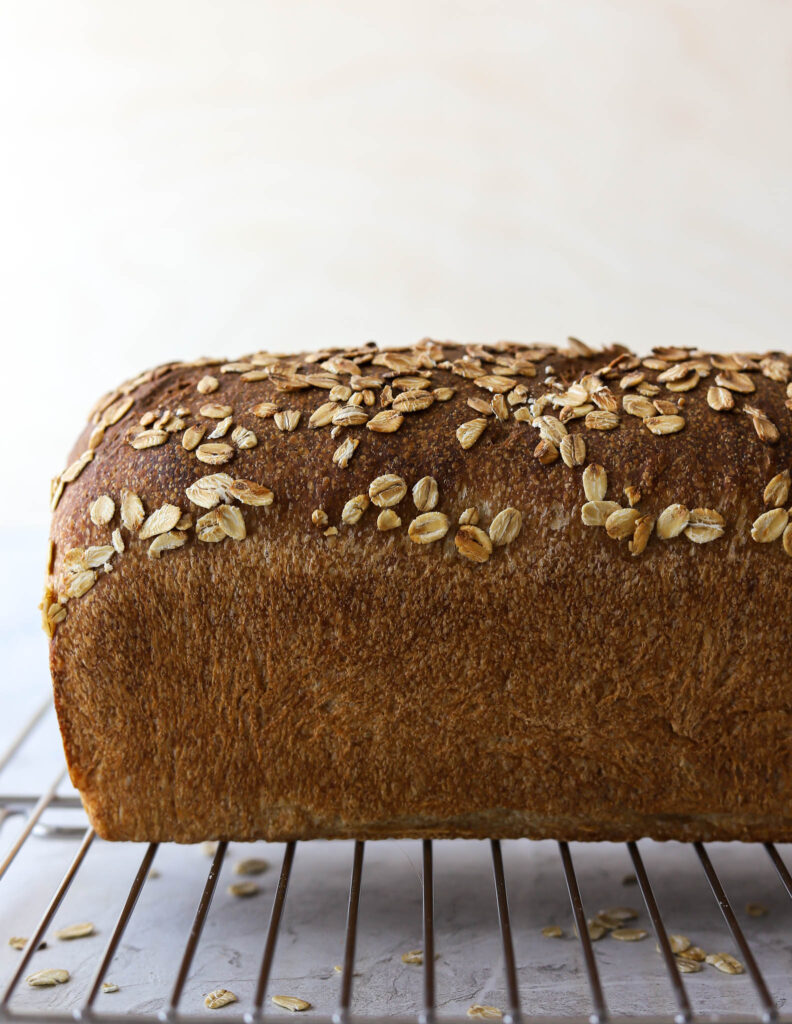
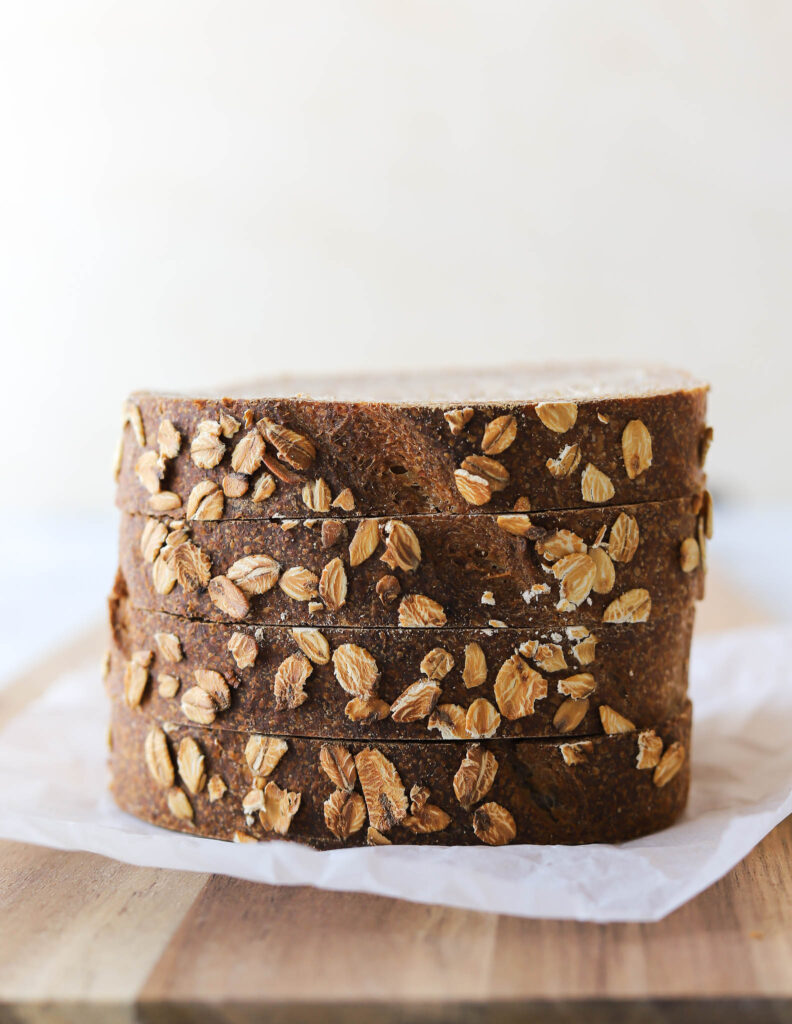
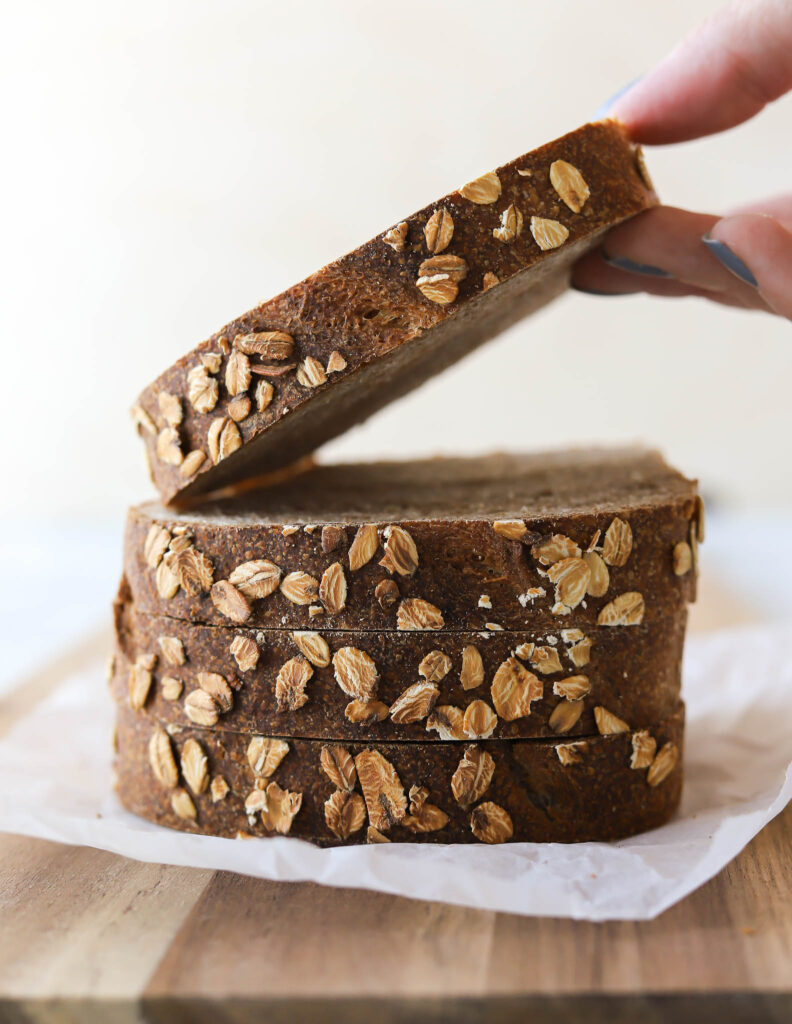
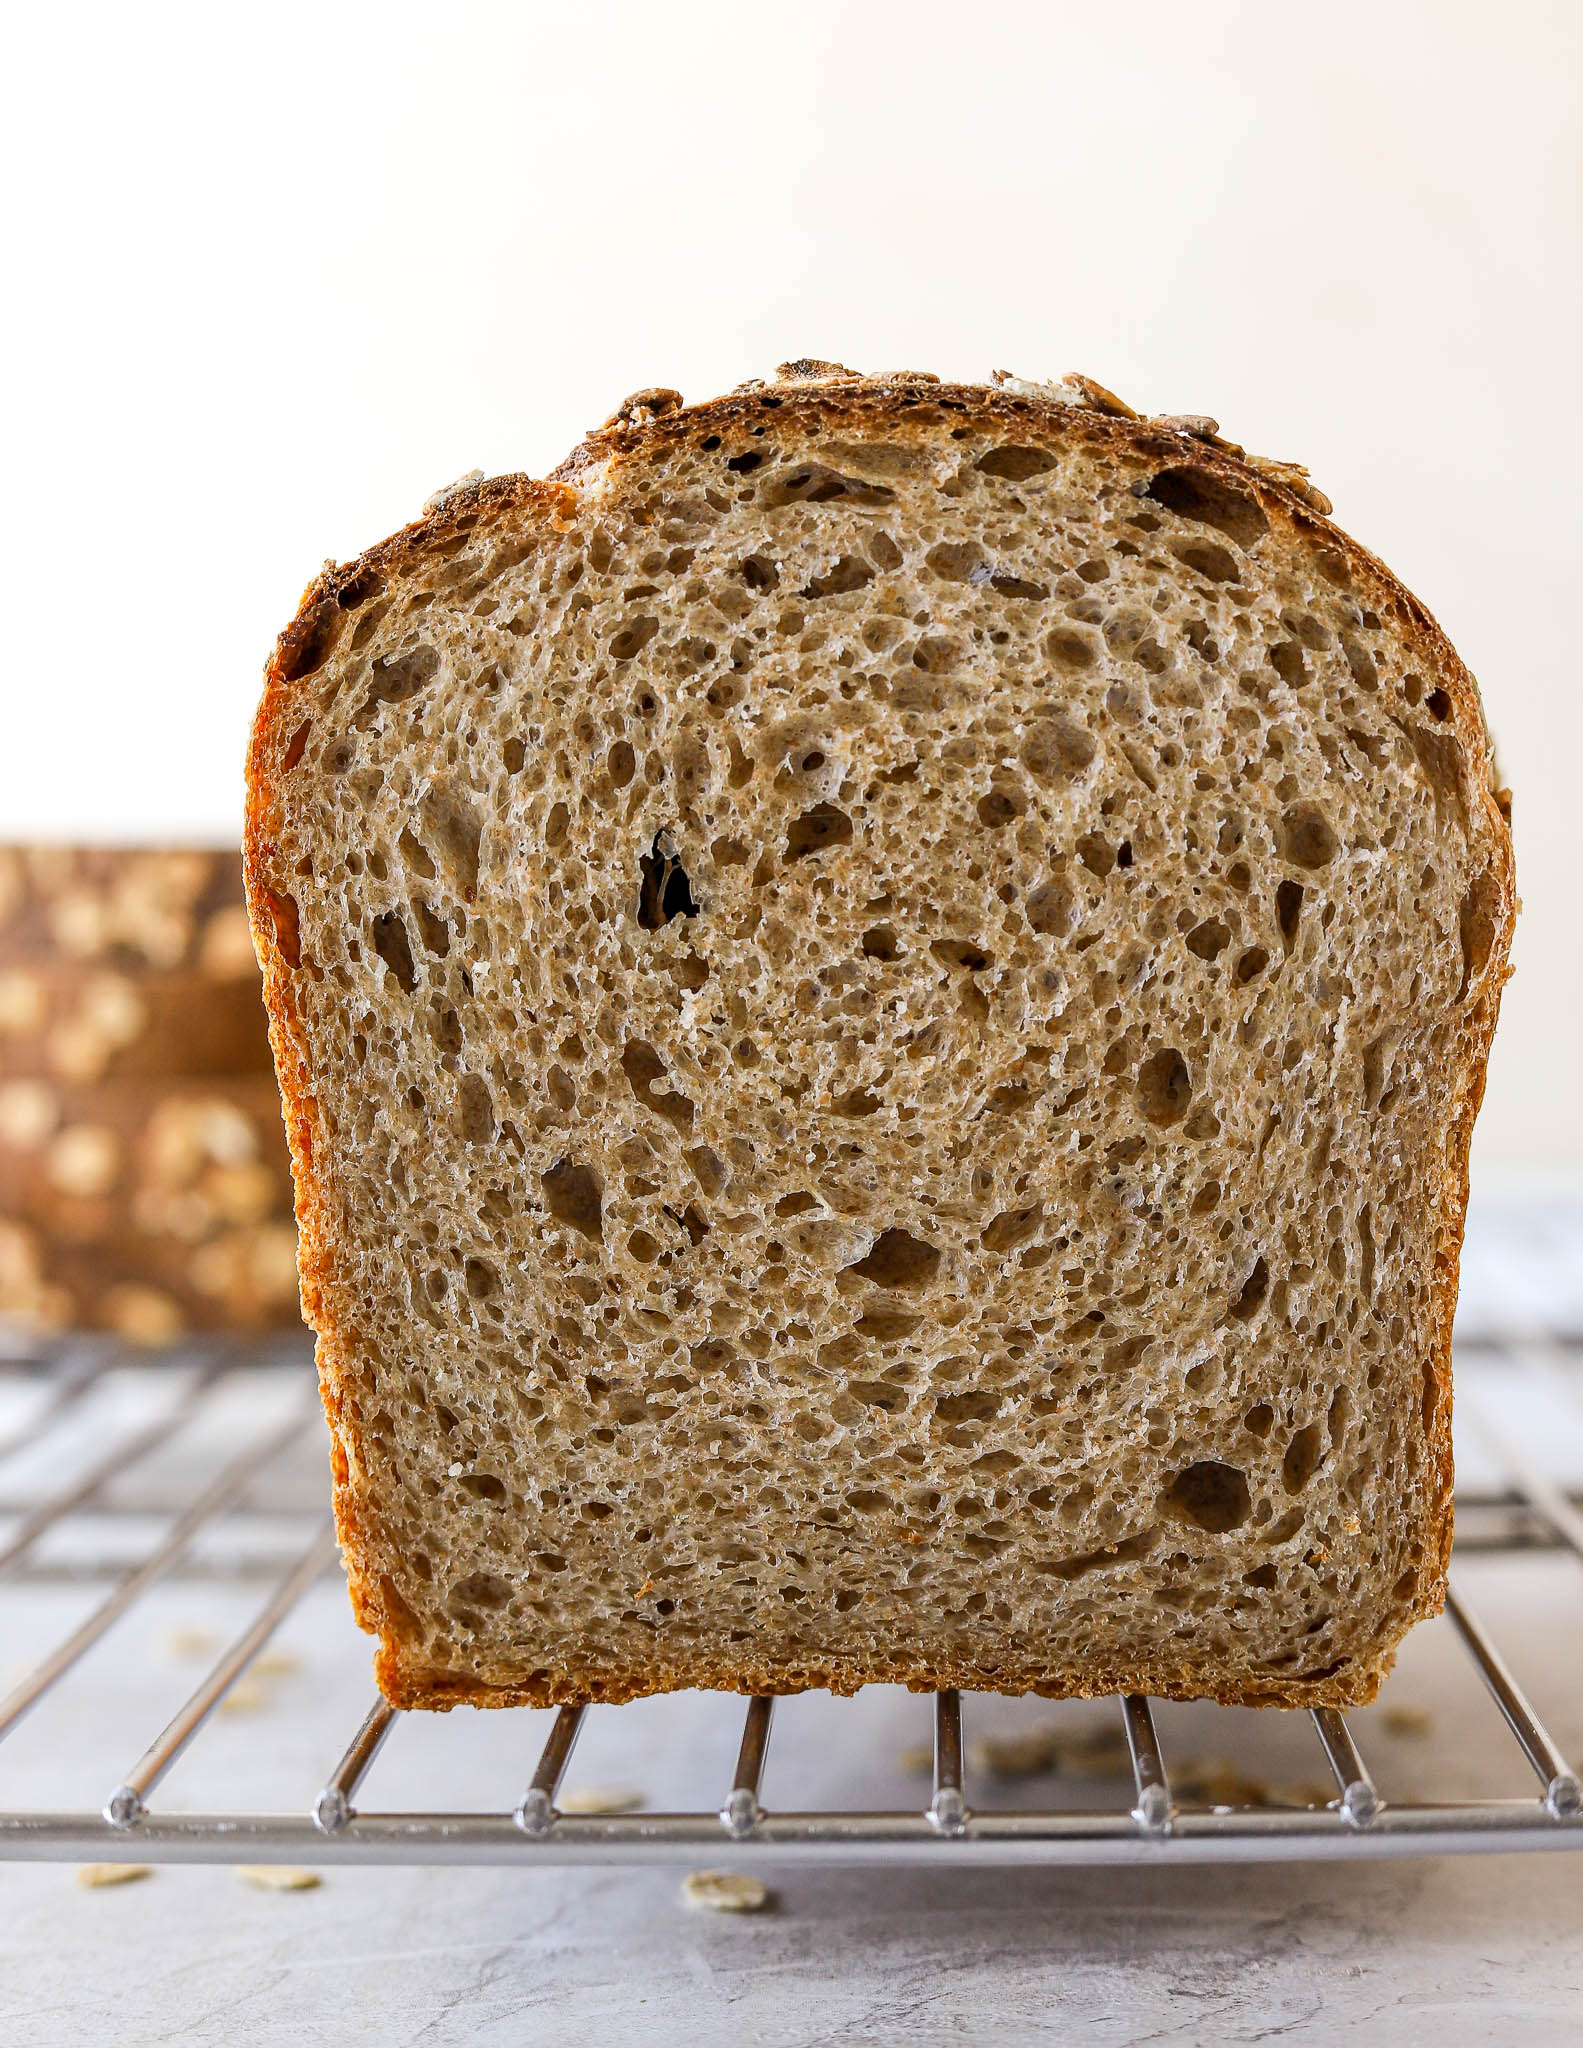
Learn how to make a simple, healthy, and delicious 50% Whole Wheat Sourdough Bread. The perfect everyday sandwich bread! The recipe is for one loaf, but you can easily double it if you want to make two.
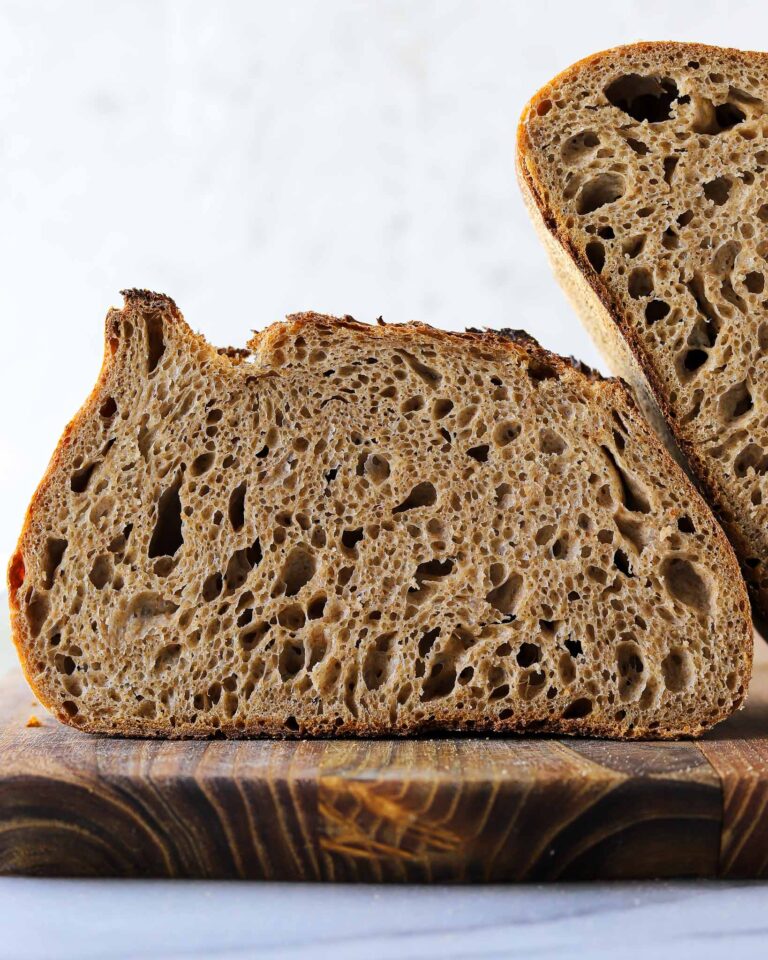
This bread is made with tangzhong for the benefit of extended shelf life. It has a super flavorful and crispy crust with a soft yet sturdy crumb.
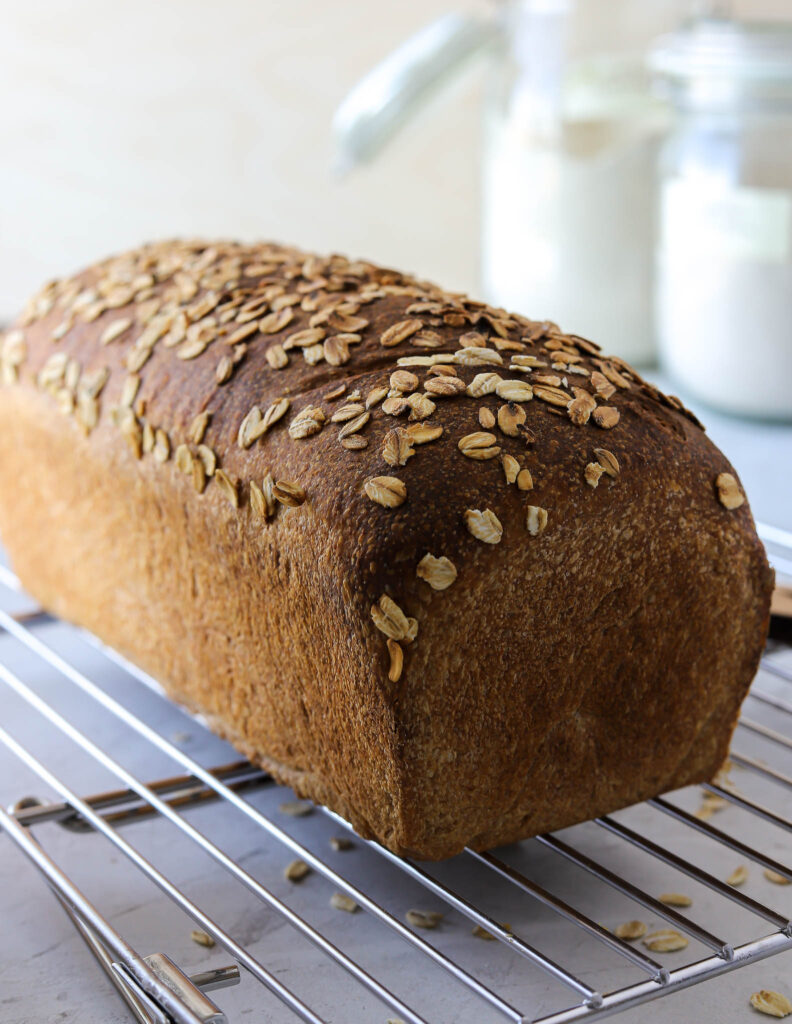
Table of contents
Recipe run through
There are three parts to this recipe; the levain, the tangzhong, and the main dough.
Scroll down for the complete recipe and ingredient list.
Levain
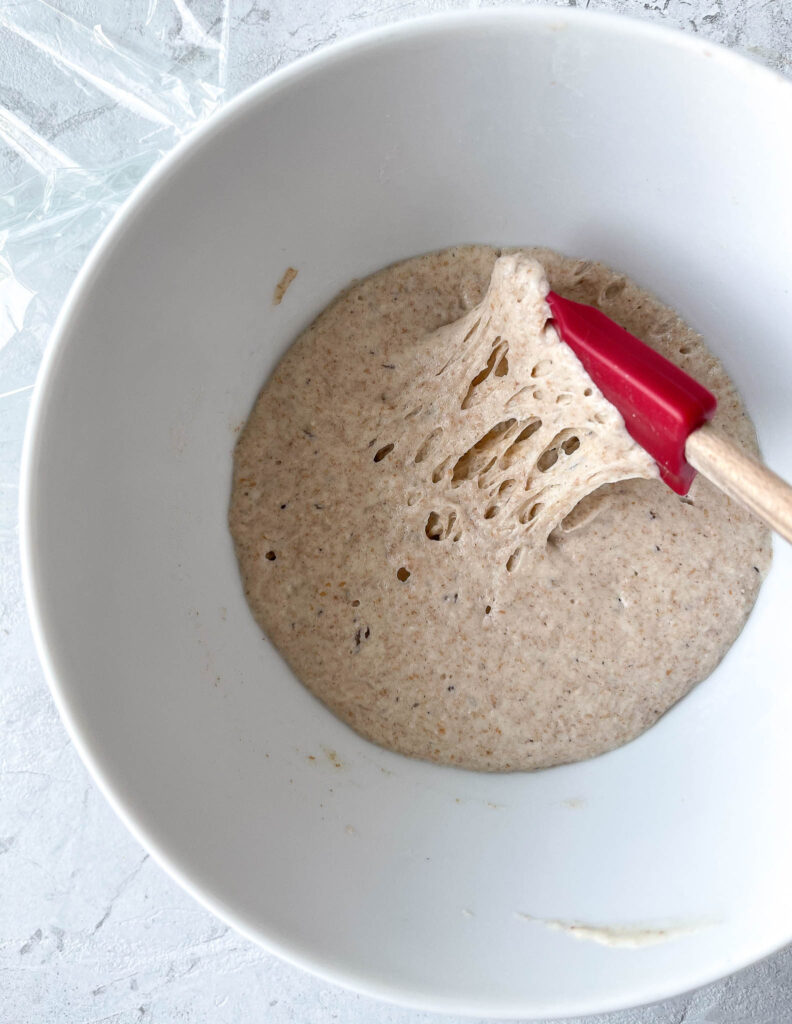
- Active sourdough starter – An active sourdough starter is a starter that has been fed regularly (every 12 hours) for at least two days. The starter should double or preferably triple in size during the 12 hours rise.
- Bread flour – I used strong bread flour at 13% protein for this.
- Whole wheat flour – I used organic whole wheat flour for the best flavor.
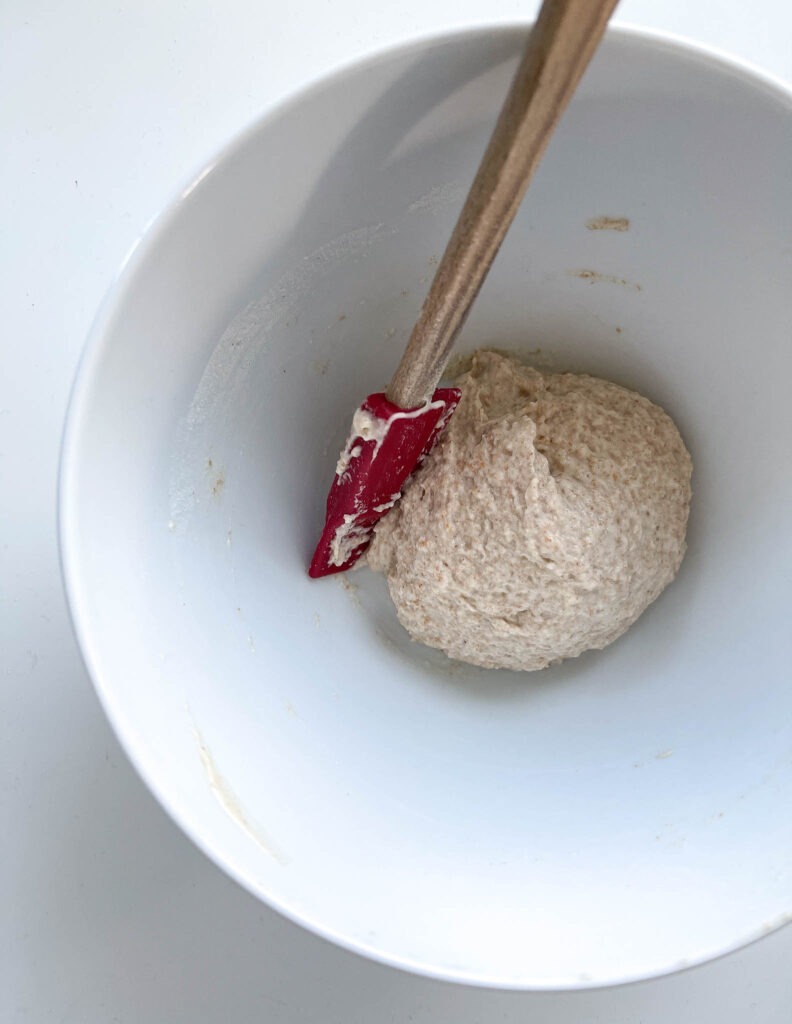
- Water – We’re making a levain at the ratio of 1:2:2. One part sourdough starter, two parts flour, and two parts water. I used water at 77°F/25°C.
Tangzhong
Tangzhong is a Japanese baking technique that I often use in my recipes. It involves pre-cooking a portion of the recipe’s flour and liquid, causing the mixture to thicken and gelatinize. In my experience, the Tangzhong causes the bread to remain softer with an extended shelf life. All you need is:
- Water
- Bread flour
- Whole wheat flour
Main Dough
- Whole wheat flour – Organic whole wheat flour.
- Bread flour – Bread flour at 11-13% protein.
- Water – I used water at 77°F/25°C.
- Levain – All the levain.
- Tangzhong – All the tangzhong.
- Honey – For a little sweetness. Honey compliments whole-wheat very well.
- Salt – A must in any dough.
- Butter – Unsalted butter at room temperature or olive oil. If you’d like to use olive oil, simply mix it in with the other wet ingredients (read the full recipe below).
How to shape Whole Wheat Sourdough Sandwich Bread
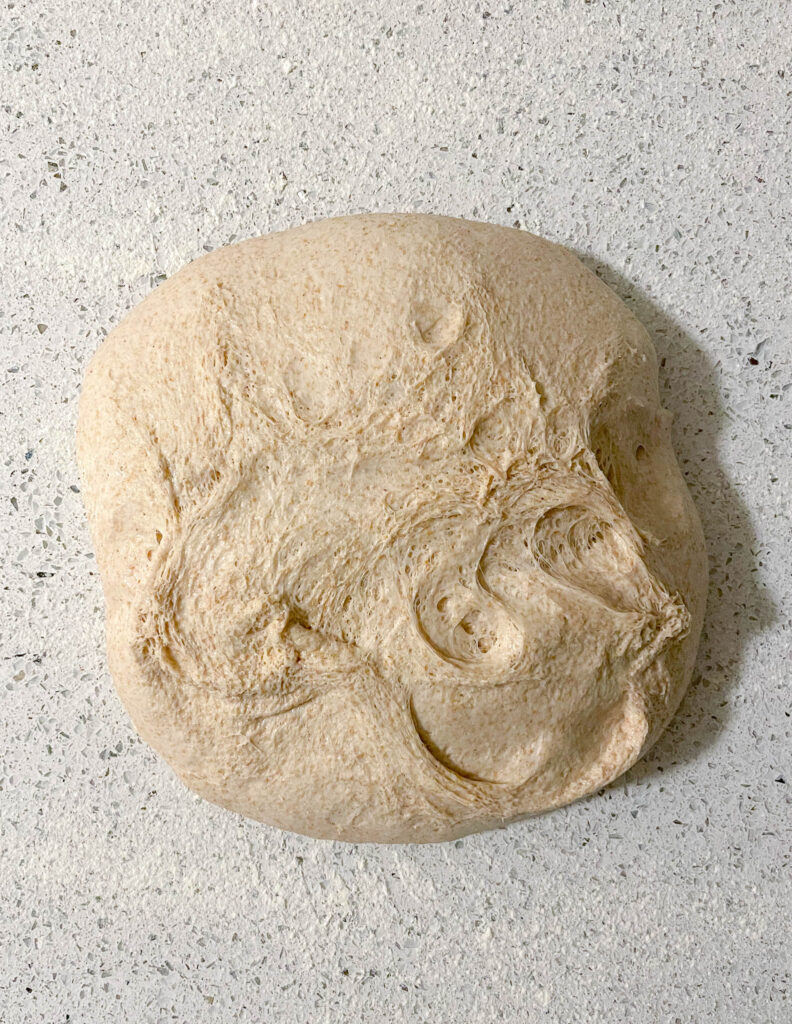
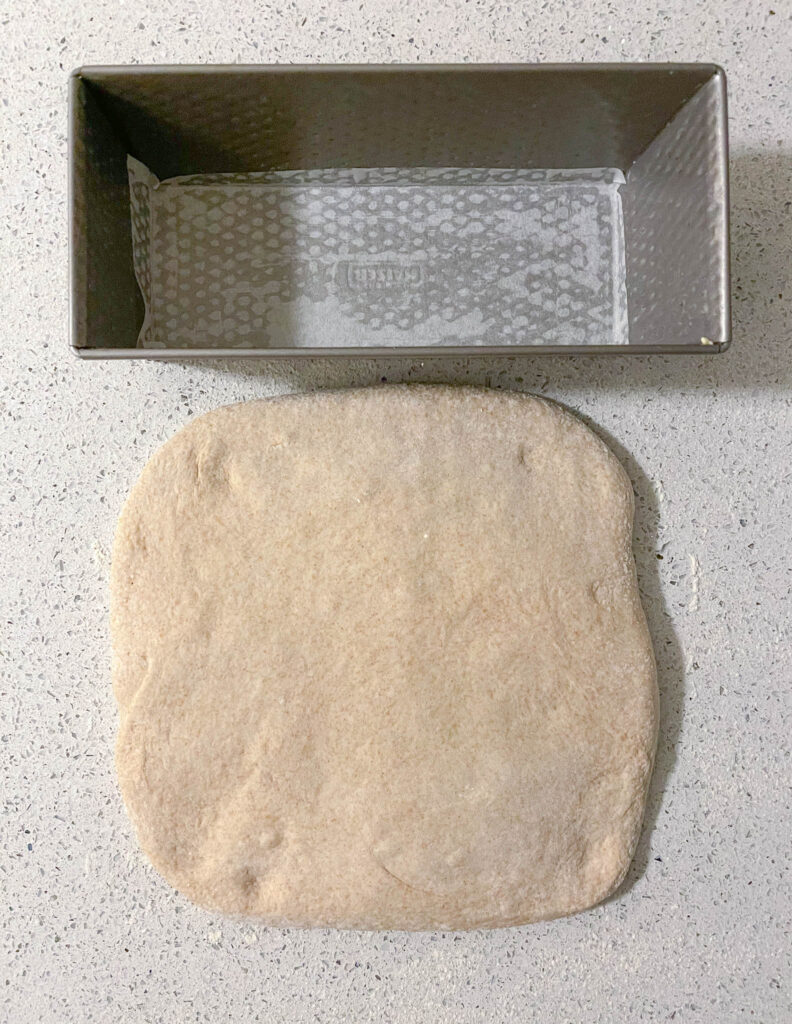
- Place the dough on a lightly floured work surface. Flour the top of the dough. Use your hands to gently flatten it into a square about 10x10in/25x25cm (same length as your bread pan).
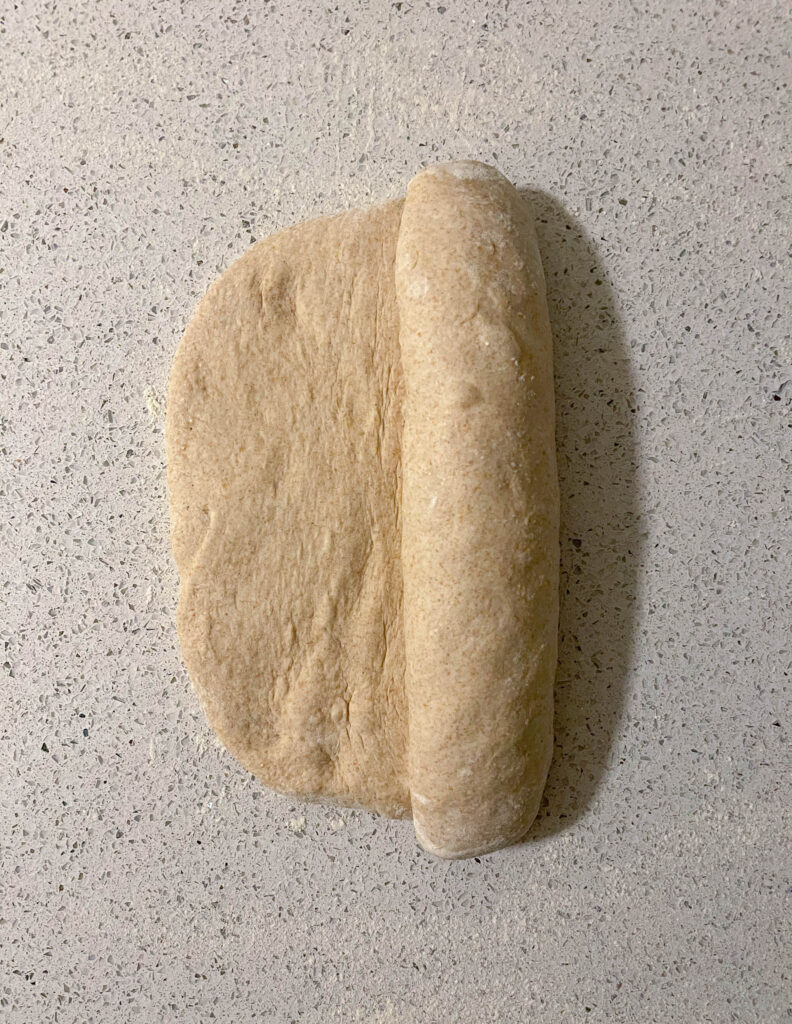
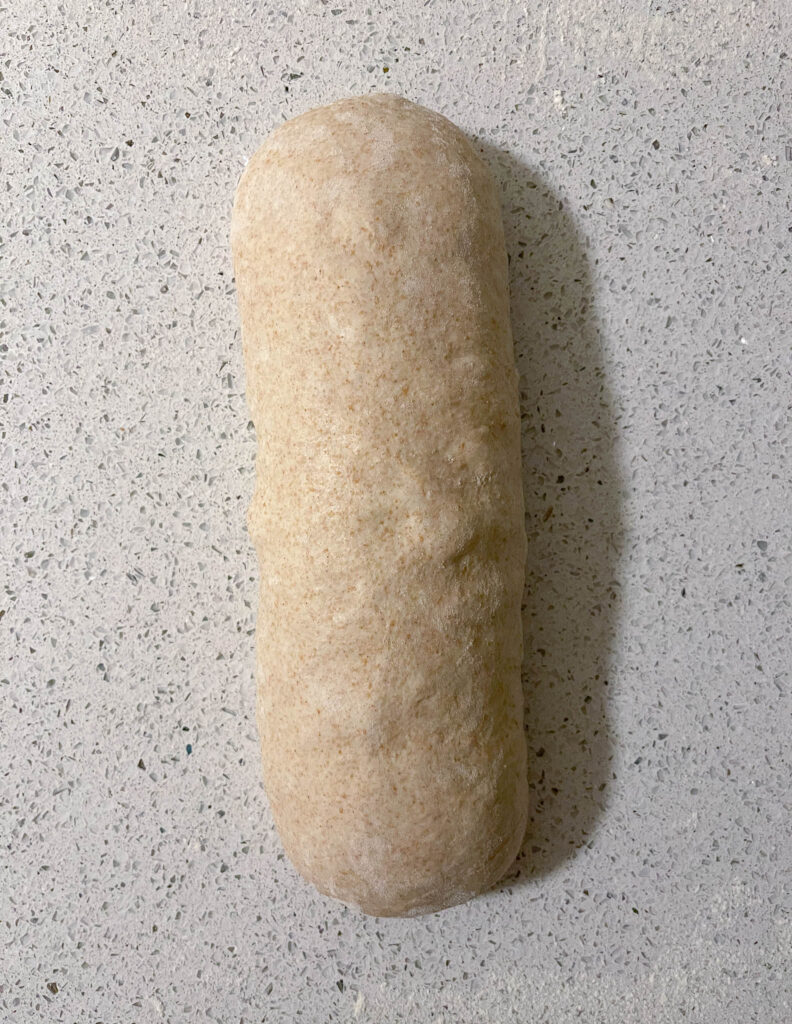
- Roll the dough up like a roulade as tightly as you can, starting from the side furthest away from you. Tuck in the sides to even out the shape.
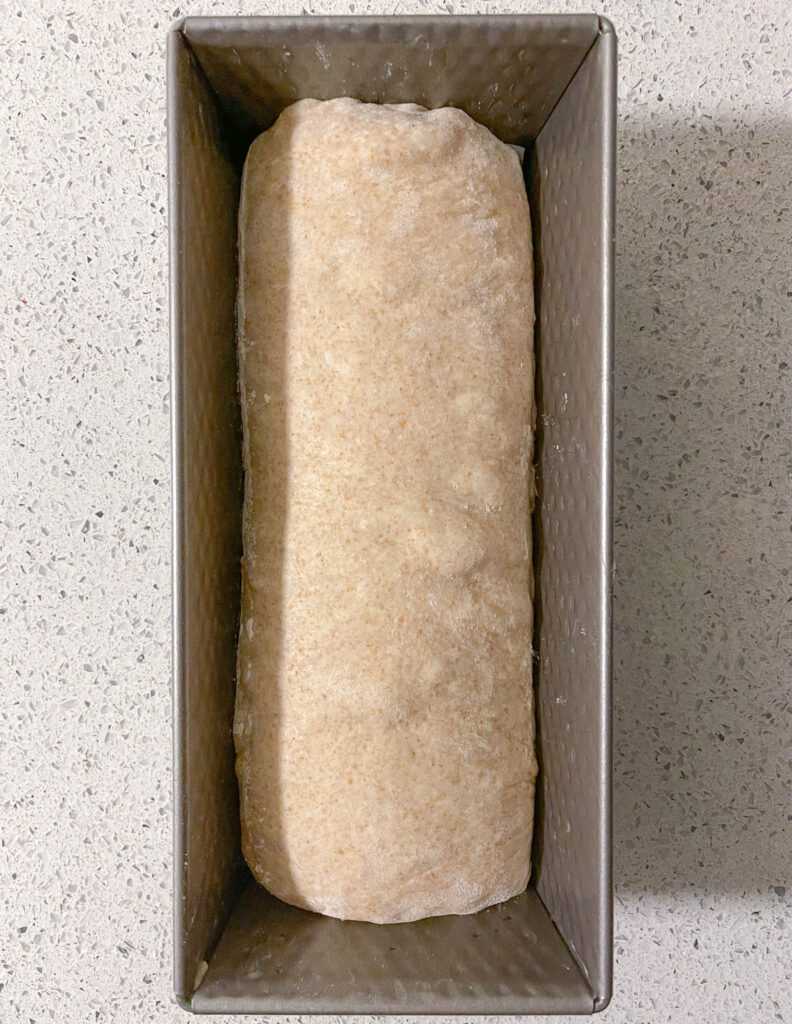
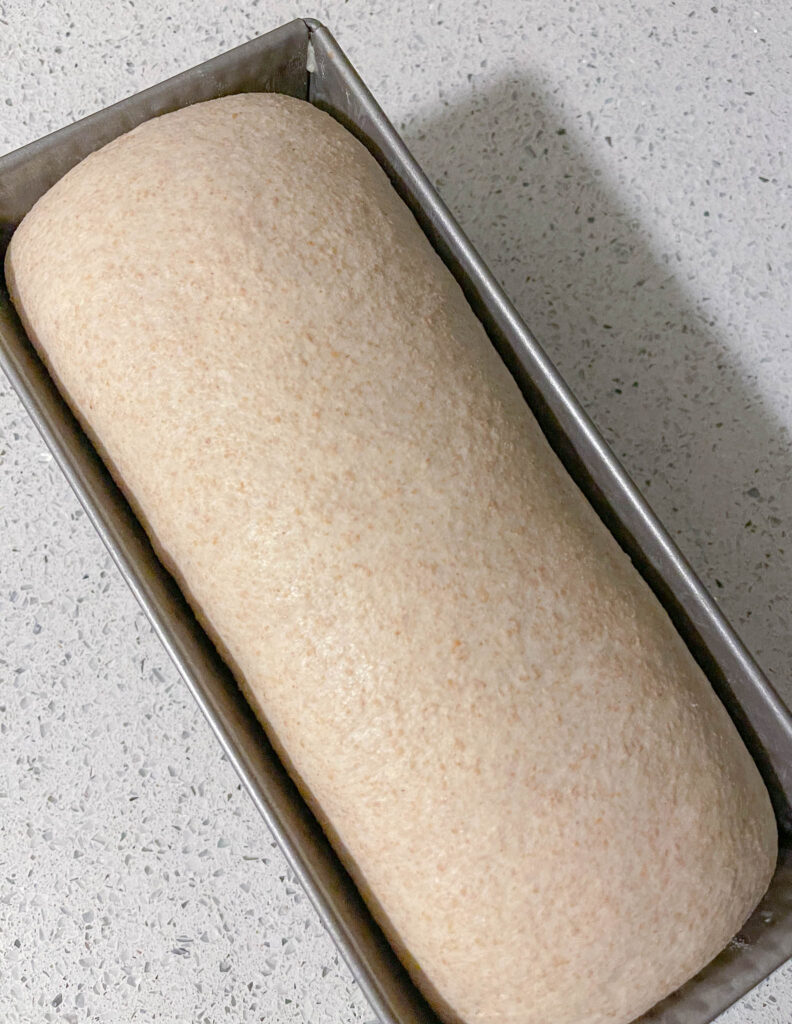
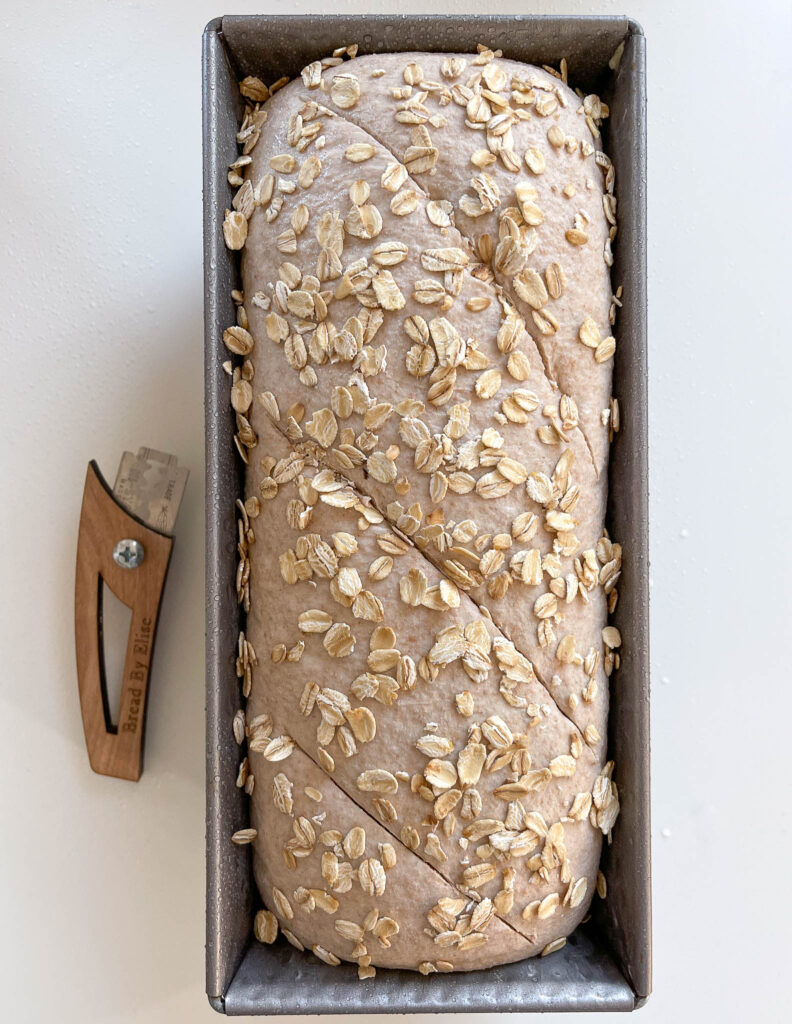
- Use both hands to lift up the dough and place it in a greased/lined 10-inch bread pan, seam-side down.
Watch Me Bake
Whole Wheat Sourdough Sandwich Bread
Shop the Tools
50% Whole Wheat Sourdough Sandwich Bread (With Tangzhong)
Equipment
- Stand mixer
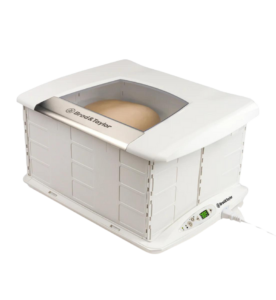
- Brød & Taylor proofer (optional, but I highly recommend it)
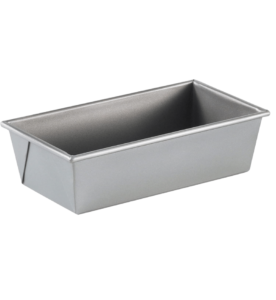
- 10-inch bread tin
Ingredients
Levain
- 20 g active sourdough starter
- 20 g bread flour
- 20 g whole wheat flour
- 40 g water
Tangzhong
- 100 g water
- 10 g whole wheat flour
- 10 g bread flour
Main Dough
- 205 g whole wheat flour
- 205 g bread flour
- 220 + 20 g water
- 100 g levain
- 120 g tangzhong
- 20 g honey
- 10 g salt
- 30 g butter, room temperature or olive oil*
Instructions
Levain
- Gather all your ingredients and add them to a bowl. Use a rubber spatula and mix until just combined. Cover the bowl and place it in a warm spot for 5 hours or until the levain has doubled/tripled in size.
Tangzhong
- Mix flour and water in a small pot. Heat up over medium heat. Stir until the mixture thickens and reaches a temperature of 150°F/65°C.
- Transfer to a clean bowl. Cover with plastic wrap that is touching the entire surface of the tangzhong. Cool to room temperature.
Main Dough
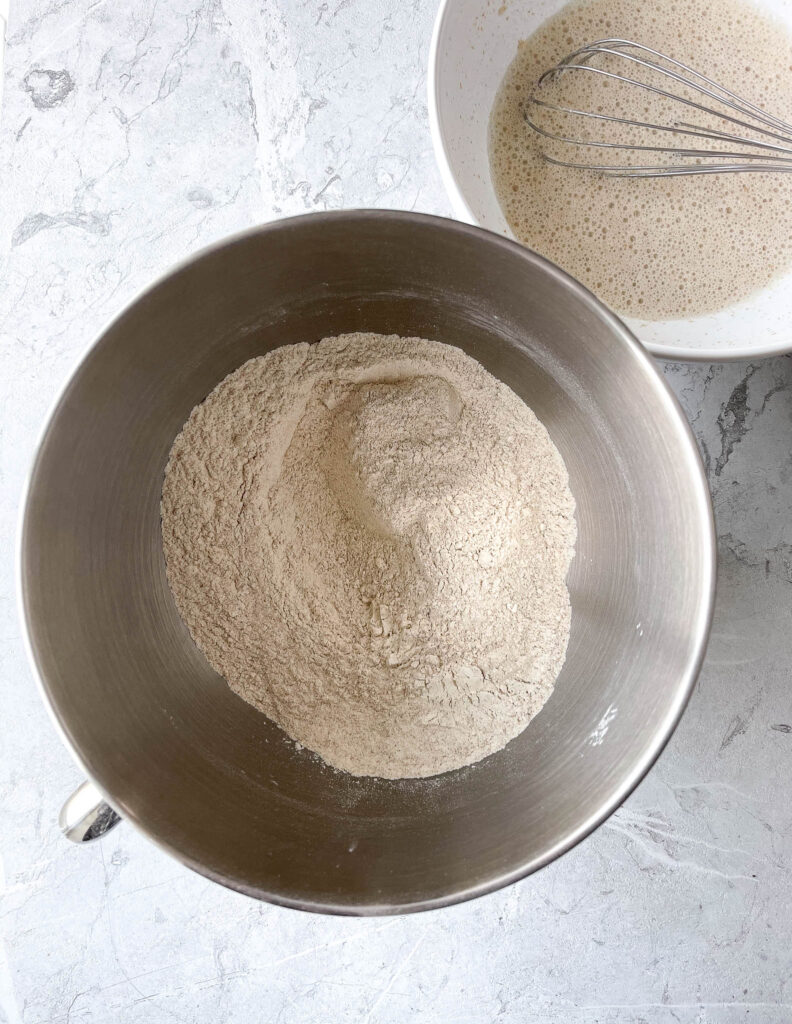
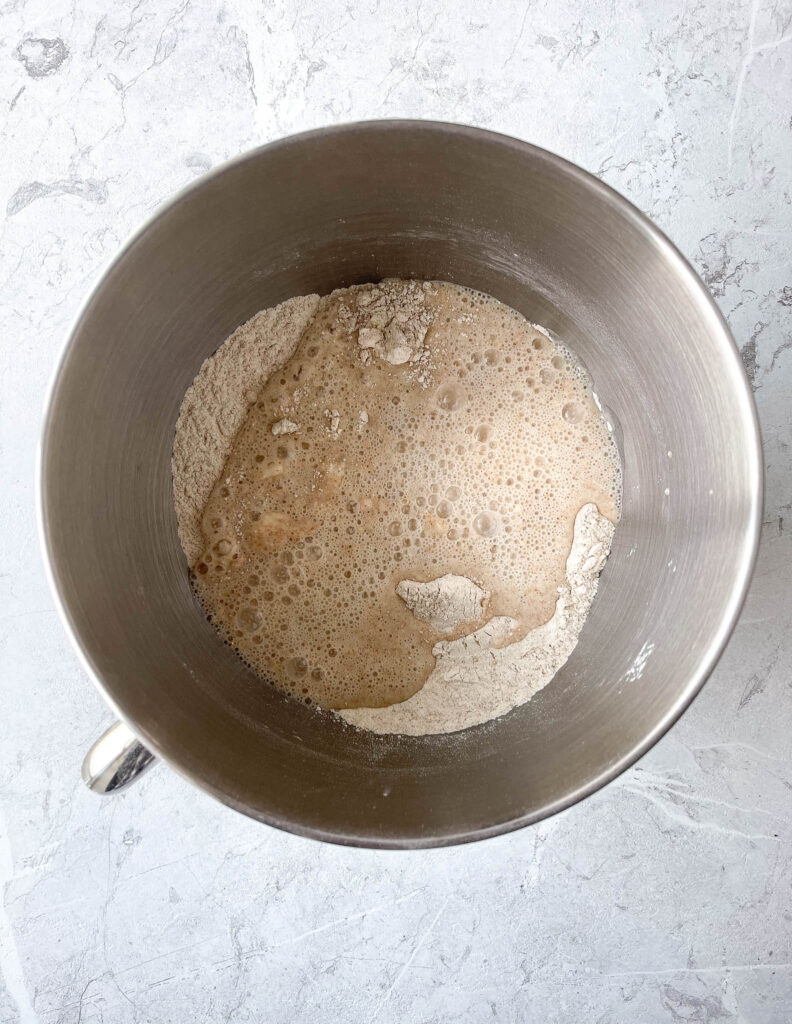
- Add water (220g), levain, tangzhong, and honey to a large mixing bowl. Quickly mix the ingredients using a whisk until the mixture is somewhat smooth and lump-free.
- Add the flours to the bowl of your stand mixer fitted with a dough hook. Pour in the water mixture and mix at low speed until just combined. Cover the bowl and rest/autolyse for 30 minutes at room temperature.
- After 30 minutes, add in the salt and 20g water. Mix for 2-3 minutes at medium speed.
- Slowly add in the cubed butter, one cube at a time. When all the butter is added, continue kneading for about 5 minutes at medium speed until the dough has formed a ball and cleared the bowl's sides.
- Place the dough in a lightly oiled, large bowl: cover and proof for 90 minutes at around 75°F/24°C. After 90 minutes, perform the first coil fold*. Cover and proof for another 90 minutes. After 90 minutes, perform a second coil fold*.
- Proof for another 1-2 hours until the dough has doubled in size. Total proof time: 4-5 hours at 75°F/24°C.
Shape
- Place the dough on a lightly floured work surface. Flour the top of the dough. Use your hands to gently pat it into a square about 10x10in/25x25cm (same length as your bread pan).
- Roll the dough up like a roulade as tightly as you can, starting from the side furthest away from you. Tuck in the sides to even out the shape. Use both hands to lift up the dough and place it in a greased/lined 10-inch bread tin, seam-side down. Cover and proof at around 75°F/24°C for 3 hours or until the dough reaches the rim of the pan.
- After about 3 hours, place the dough in the fridge for overnight proof (10-15 hours).
Bake
- Preheat your oven to 390°F/200°C for 45-60 minutes.
- Take the bread out of the fridge. Use a spray bottle to spray a little bit of water on the bread's surface. Sprinkle on a handful of oats. Score the bread using a lame or razor blade.
- Bake for 40-45 minutes until golden brown—the internal temperature when finished: 200°F/95°C. Cool completely before slicing.






Hi, i made this dough yesterday, and the bread is in the oven as i write this. But my dough is veeeeery sticky, have i done something wrong?
Hi Nora! Thanks for the five-star rating! This question is difficult for me to answer without seeing the result. You can always add less water if you find the dough too liquid/challenging to handle.
Thank you for such a detailed instructions and for including your schedule, I can’t wait to try this recipe
I made this bread and it was gone in a day! My husband and I ate the whole loaf for toast, sandwiches, and to go with pasta. I am so grateful to have found a recipe that is reliable. It puffed up just as the pictures look and tasted really good. I’m going to try not to buy bread from the store ever again now! I just mixed my levain for baking tomorrow. 🙂
Hi Elise, I made this bread yesterday and the dough rose up quite well. However, it shrunk 1/4 and had some big bubbles on the surface when I left it for cold retard… May I know what’s wrong with it? I let it proof until it reaches the rim of the pan before putting it into the fridge (4°C~8°C) to chill overnight. Also, should I degas the dough before shaping it?
Hi! It sounds like your bread might have over-proofed a little. There’s no need to degas this dough; just gently flatten it with your hands before you roll it up into a log (as described in the “how to shape” section of this recipe).
Excellent! Merci
Elige, eres una trome tus recetas muy buenas…mucha gracias por compartir tus recetas, Saludos desde Perú
the bread was amazing, i only had a little problem wich i would like to ask about, in the proofing i did in the fridge i noticed my dough went down instead of rising… i placed it in the oven almost the exact moment i took it out of the fridge… i never rose again.. what did i do wrong??
thank you very much for taking your time and posting such wonderful recipes, very detailed making it very easy to understand.
Hi! It sounds like the bread might have over-proofed a little. My suggestion would be to place the bread into the fridge a little earlier next time; that way, it won’t collapse/over-proof during the overnight fridge rest. Happy baking!
this recipe is AMAZING!! it was my first time making bread with my sourdough starter and it turned out wonderfully! i had to bake it in a 9″ by 5″ loaf pan because i didn’t have a 10″, but it still worked great! thank you so much for sharing!
I just finished making this for the second time and it’s absolutely lovely. Its got a great flavour and a beautiful soft yet chewy texture. The first time I made it I used the oats, and the second time I covered it in seasame and poppy seeds before the overnight ferment (just because I personally prefer their flavour) and it worked out great. I don’t have a stand mixer, but I found that the slap and fold kneading technique worked fine. Mine didn’t get as tall as the one in the pictures but the crumb looked the same so I’m guessing the loaf pan I used was a tad wider.
The same happened to me. Maybe my tin had higher rims than yours? You wrote it’s 10 inch long, but how wide und high is it?
My bread tin is 10″ x 4.5″ x 3″, it is linked in the recipe under “Tools I Recommend.”
I love this recipe but the dough is super sticky. I have had to add more flour after the autolyse both times. Next time I’ll try adding less water. The bread came out great though. Your recipes are amazing.
Everything was perfect except my pan didn’t release the bread well. I had to slide a knife down the edges which damaged the sides. I’m so bummed because other than that it was perfect! I used the usa pan which is supposed to be nonstick.
Can I skip the cold proof and just let the dough rise to the top before baking?