Sweet Sourdough Buns w/ Coconut & Pastry Cream
This website contains affiliate links.
Some of the links below are affiliate links. This means that, at no additional cost to you, Bread By Elise may earn a commission if you click through the link and finalize a purchase. Please read our Privacy Policy for more details.
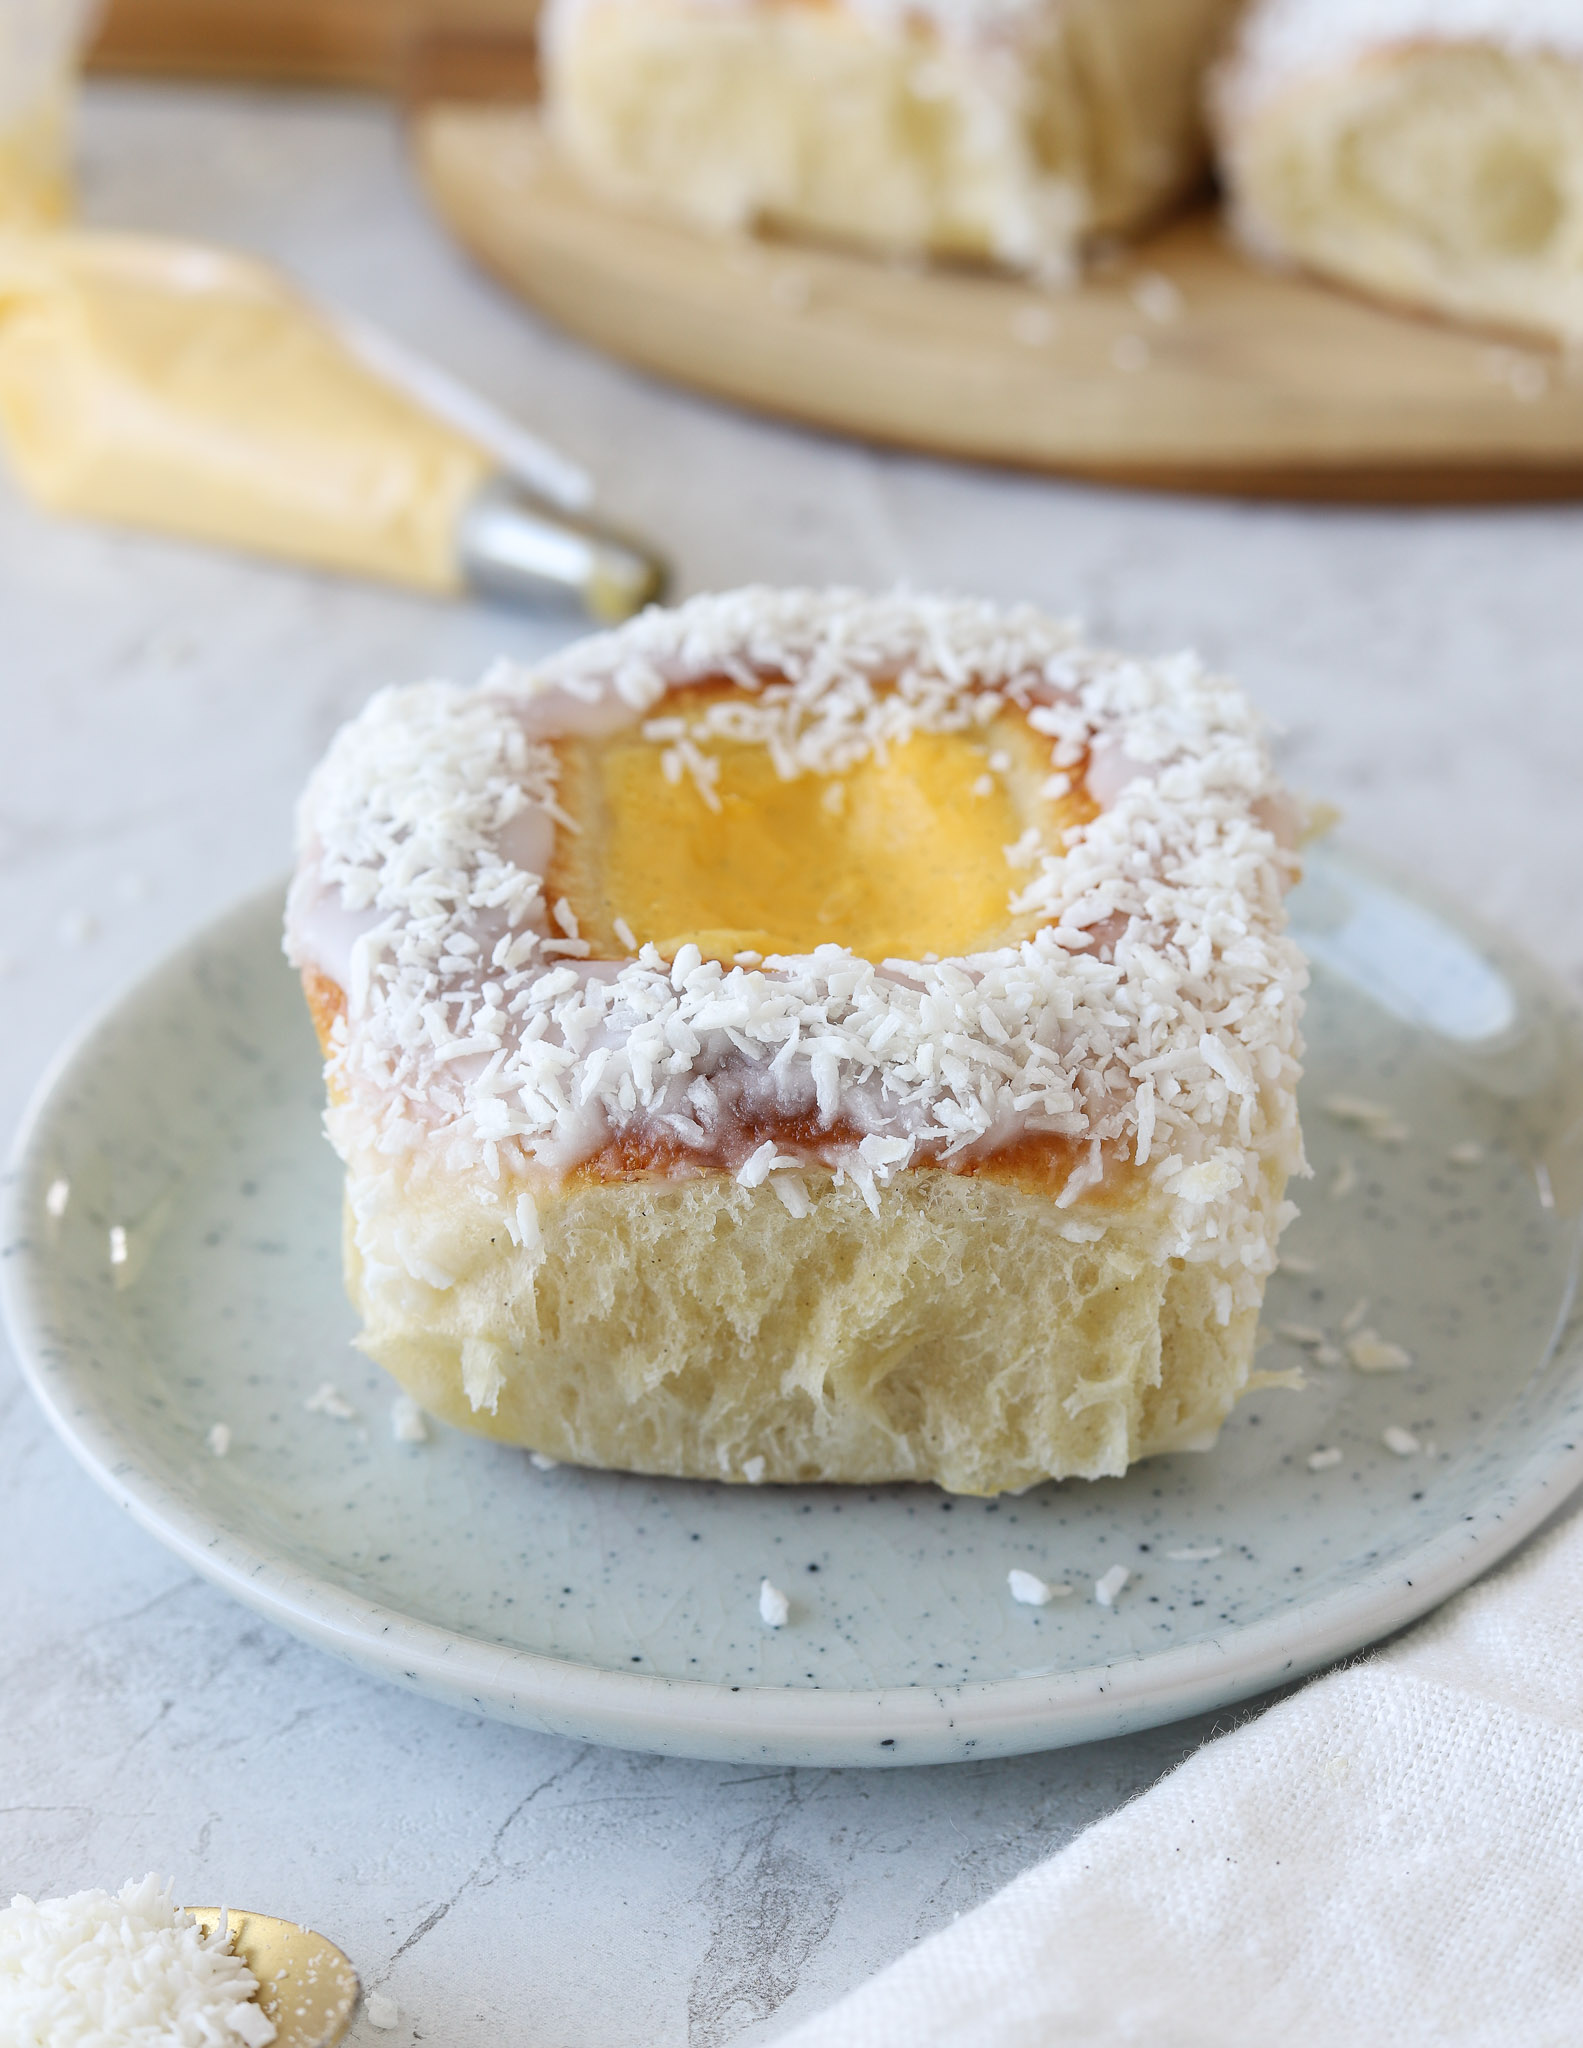
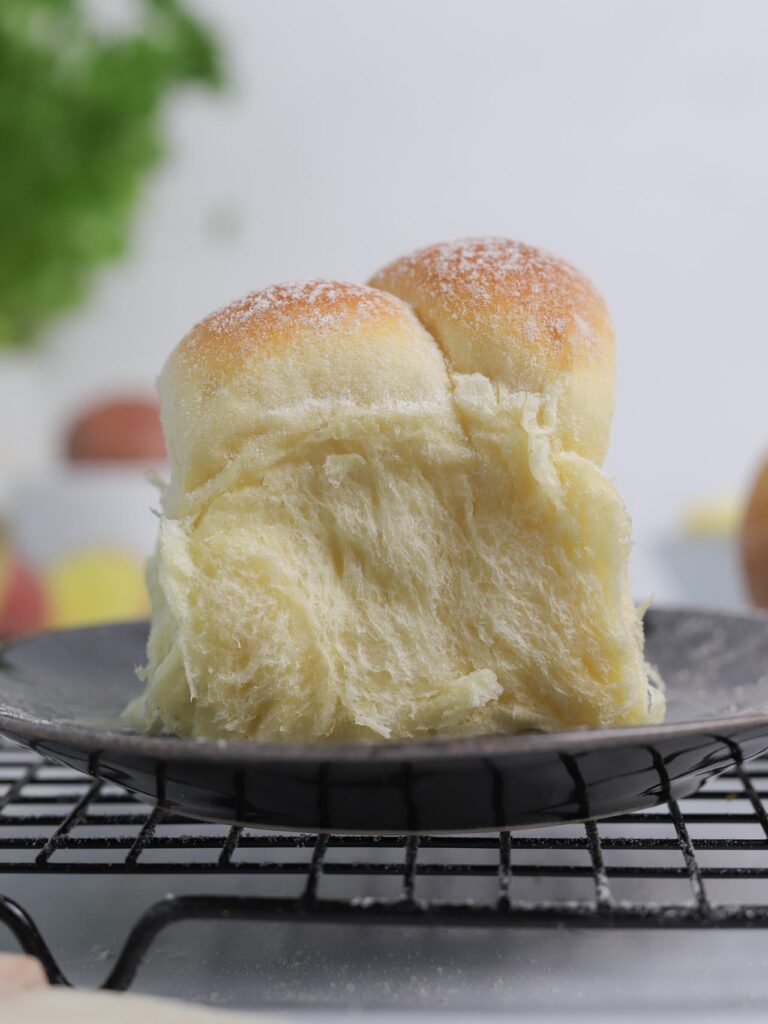
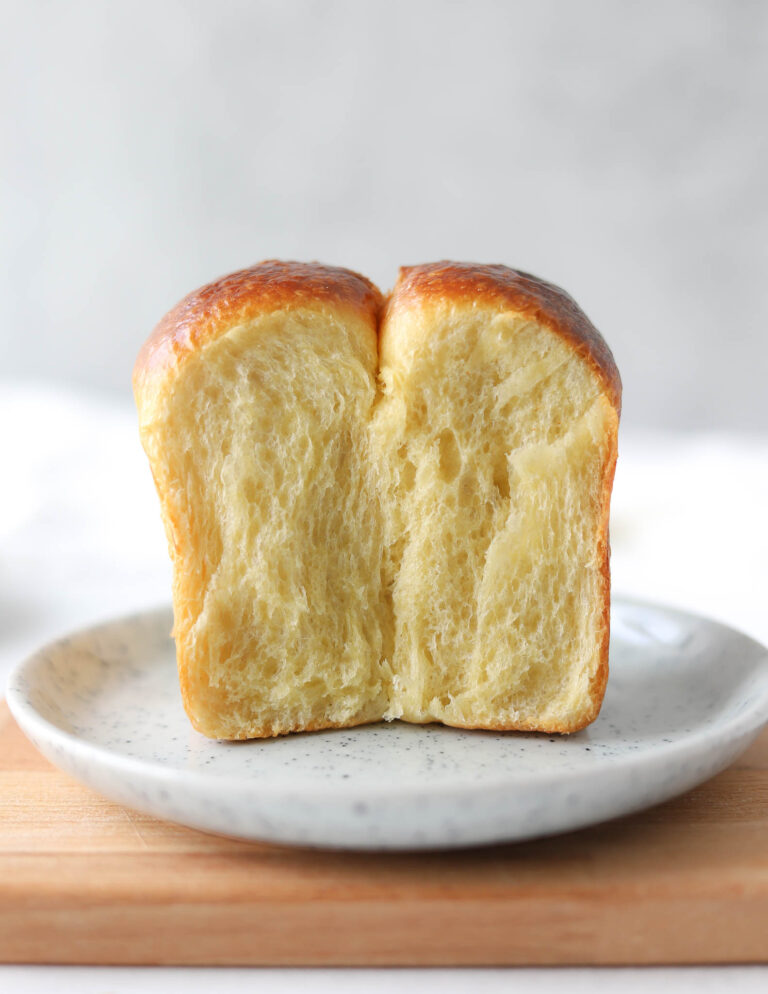
School buns, or ‘skoleboller,’ are one of my all-time favorite Norwegian pastries! They are soft and sweet, filled with pastry cream, and topped with powdered sugar glaze and desiccated coconut.
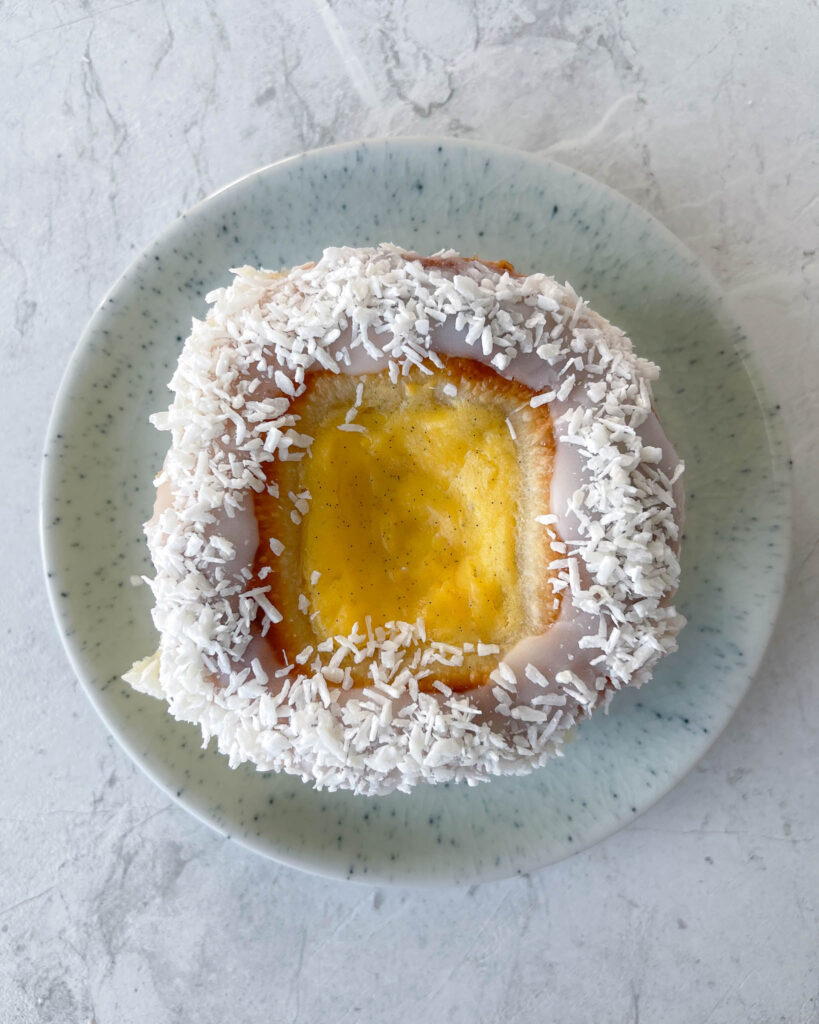
How To Make Norwegian School Buns ‘Skoleboller’
This recipe has four parts: the sweet levain, main dough, vanilla pastry cream, and powdered sugar glaze. Scroll down for the complete recipe and check out the Baker’s Timeline to help plan your bake.
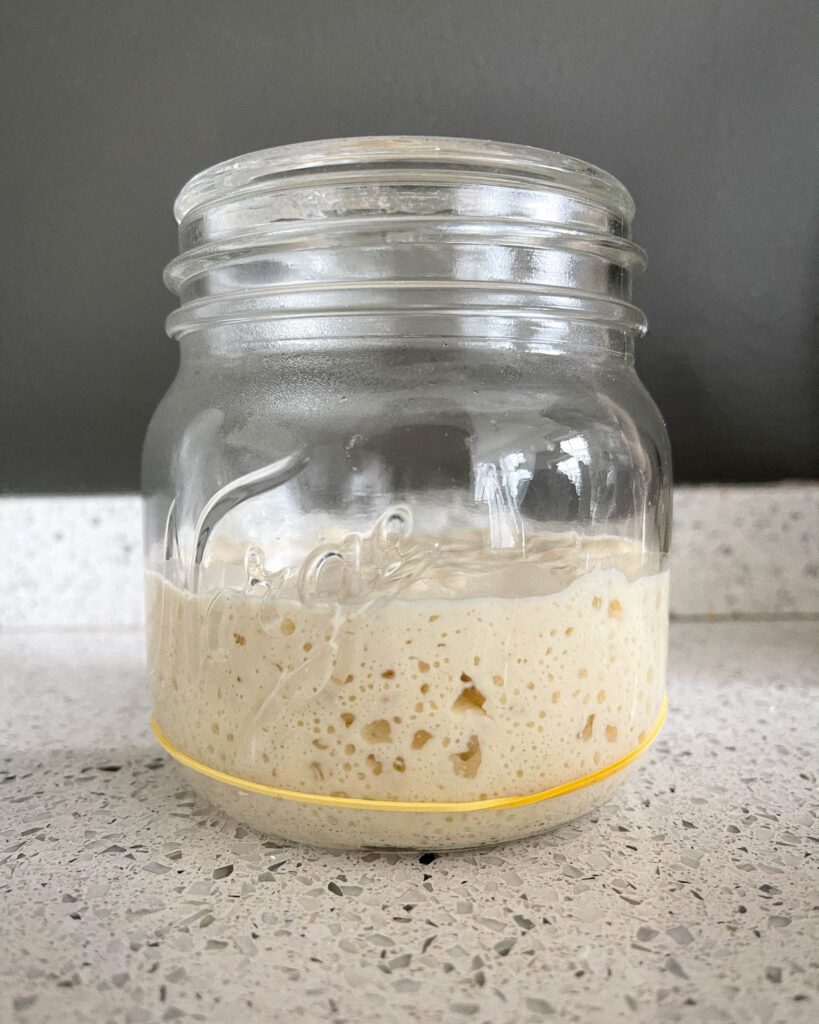
Sweet Levain
In this recipe, we are using a sweet, young levain to minimize the amount of sourness in the buns. The levain should smell milky and sweet when it’s ready – not sour. For the best results, use an active, white sourdough starter at 100% hydration.
- Sourdough Starter – An active sourdough starter at 100% hydration, fed 12 hours prior with only white/all-purpose flour.
- Milk – Whole milk, cold from the fridge
- Flour – All-purpose flour.
- Sugar – Regular granulated sugar.
Main Dough
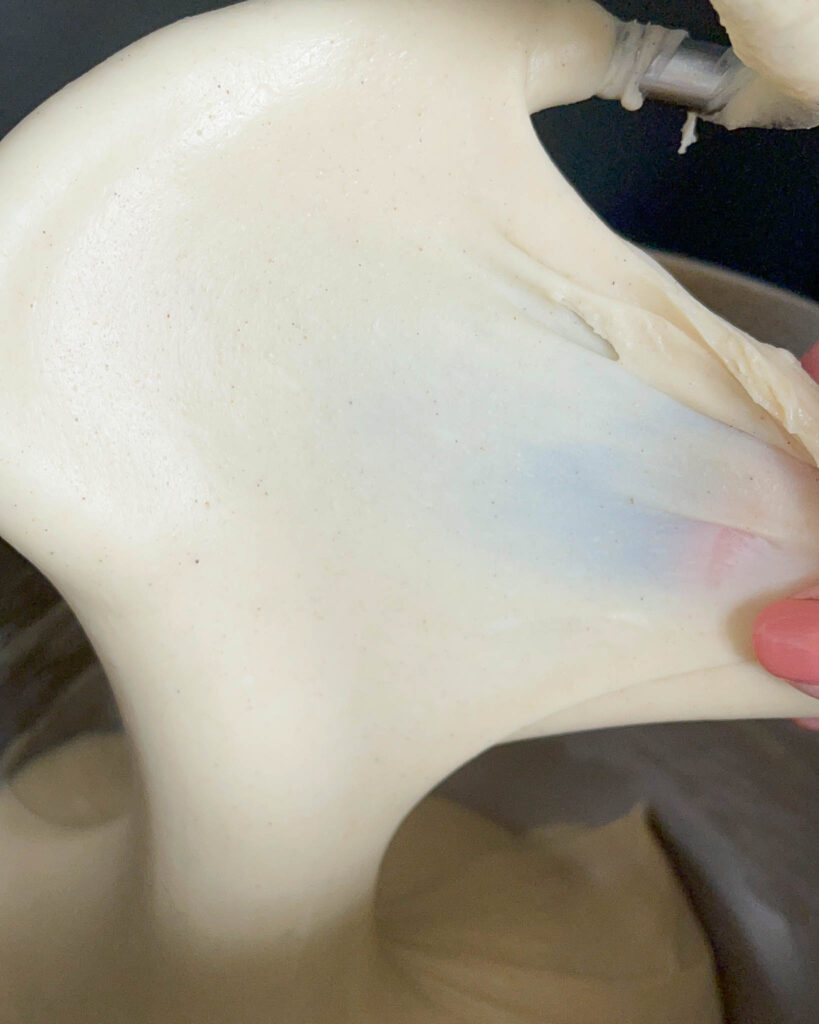
The key to a soft bun is to knead the dough long enough. Note: all flours have different levels of thirstiness. I recommend starting low on hydration and adding more milk if necessary. See the recommended amounts in the recipe card below.
- Bread Flour – At 11-13% protein.
- Sugar – Regular granulated sugar to sweeten the dough.
- Sea Salt – We always need a little bit of salt in our doughs.
- Ground Cardamom – YUM.
- Egg – One large egg (Around 60g)
- Whole Milk – Cold from the fridge
- Levain – All of the sweet levain
- Butter – Cubed, unsalted butter at room temperature
- + One egg – For the egg wash
Vanilla Pastry Cream
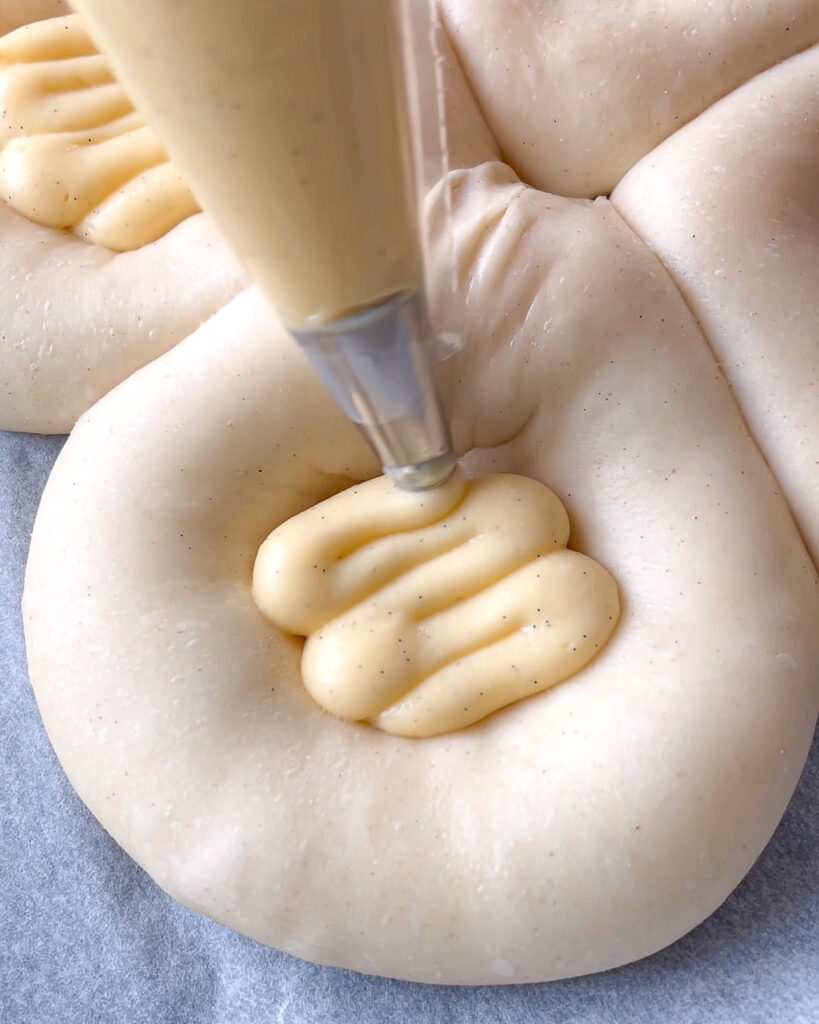
The vanilla pastry cream is everyone’s favorite part about the Norwegian school buns! Use your knuckles to create an indentation in the middle of each bun. You want to really press down the dough to ensure the filling stays inside the bun even as the buns rise in the oven.
- Whole Milk
- Vanilla Bean pod or Vanilla Extract
- Sugar
- Corn Starch
- Egg Yolks
- Sea Salt
- Unsalted Butter

Powdered Sugar Glaze
After the buns have cooled down, they are topped with a thick, powdered sugar glaze and desiccated coconut.
- Powdered Sugar
- Water
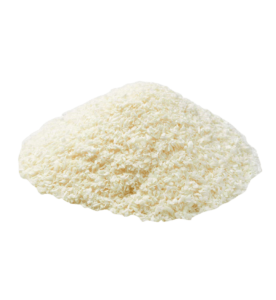
- Desiccated Coconut
Shop the Tools
Watch Me Bake
Sourdough School Buns
Norwegian School Buns ‘Skoleboller’ (Sourdough)
Equipment
- Digital kitchen scale
- Stand mixer
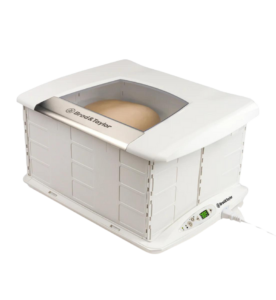
- Brød & Taylor proofer box (optional, but recommended)
Ingredients
Sweet Levain
- 40 g active sourdough starter white, 100% hydration. Fed 10-12 hours prior
- 40 g whole milk cold
- 40 g white flour or bread flour
- 10 g sugar
Main Dough
- 500 g bread flour 11-13% protein
- 80 g sugar
- 9 g sea salt
- 2 g ground cardamom 1 tsp
- 1 large egg
- 230-250 g whole milk cold
- 130 g sweet levain
- 90 g unsalted butter room temperature
- + 1 egg for egg wash
Vanilla Pastry Cream
- 240 g whole milk
- 1/2 vanilla bean pod or 1/2 tsp vanilla extract
- 40 g sugar
- 15 g corn starch
- 3 egg yolks
- 1 pinch sea salt
- 15 g unsalted butter
Powdered Sugar Glaze
- 200 g powdered sugar
- Roughly 35 g water
Topping
- Desiccated coconut
Instructions
Sweet Levain
- Start by mixing active sourdough starter, milk, flour, and sugar in a bowl. Cover and rise in a warm spot for 4 hours or until the levain has doubled/tripled in size.
Main Dough
- Start by gathering all the ingredients. Add them all, except the butter, to the bowl of your stand mixer fitted with a dough hook. Mix on medium speed until the dough comes together. Cover, and autolyse/rest for 30 minutes.
- Start your mixer again and knead on medium speed for 5-10 minutes.
- After 5-10 minutes: slowly add in the softened butter, one cube at a time.
- When all the butter is added, continue kneading at medium speed for 15-25 minutes until your dough passes the window-pane test.
- Gently shape the dough into a round. Transfer it to a clean, lightly oiled baking bowl and proof in a warm spot, ideally at around 78°F/26°C, for two hours.
- After two hours, transfer the dough to the fridge to cold-proof for a minimum of six hours (or up to fifteen hours).
Shape
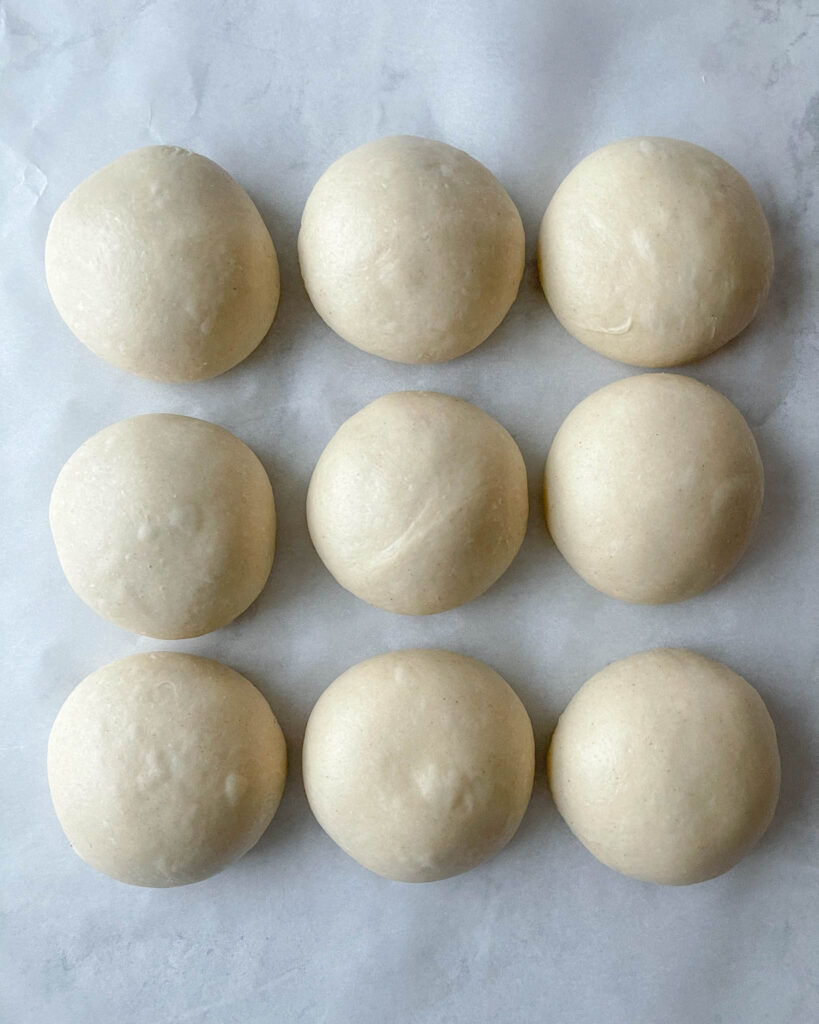
- Take the dough out of the fridge, let it rest at room temperature for about 30 minutes. Next, weigh the dough and divide it by the number of buns you would like to make, either 9 large (roughly 120g each) or 12 smaller buns (roughly 90g each).
- Use your bench knife to cut the dough into equal pieces. Then, shape the dough pieces into seamless rounds. Transfer them to a lined baking tray. Use your hands to gently push down the rounds to make them more of a disc shape. Cover the tray loosely with plastic wrap.
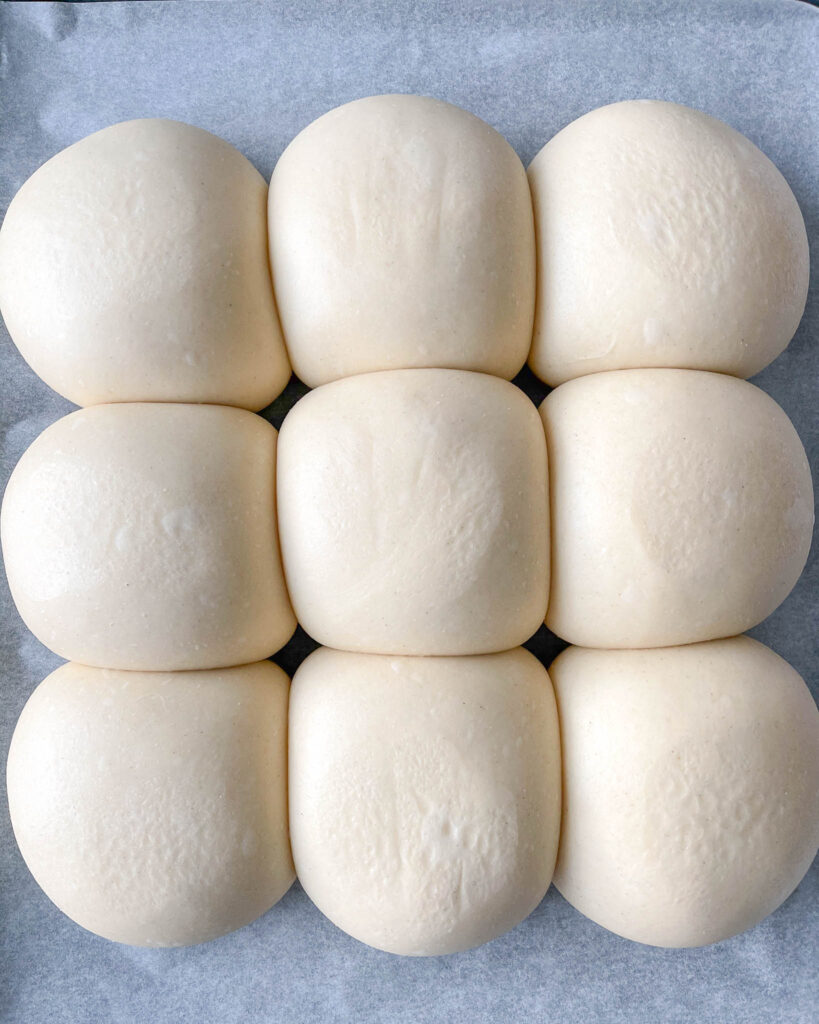
- Since my baking tray is too large for my proofing box, I let them proof at room temperature (around 68°F/20°C) for 10 hours. You want the buns to be all puffed up and doubled in size before you bake them. This may take anywhere from 9-12 hours, depending on your environment, temperatures, and sourdough starter.*
Pastry Cream Filling
- In a bowl, whisk together egg yolks, sugar, corn starch, and salt.
- Cut the vanilla bean pod in half (lengthwise) and scrape off the vanilla bean with a knife.
- Add the milk and vanilla bean to a small pot. Heat up over medium heat until you can see small bubbles forming around the edges of the pot, almost to a boil.
- Take the pot off the heat and slowly pour it over the egg mixture a little at a time while constantly whisking.
- Place a fine-mesh strainer over the pot and strain everything back into the pot. Heat up over medium heat, still constantly whisking, until the pastry cream is thick and shiny.
- Remove from heat and mix in the butter. If you're using vanilla extract, you want to mix it in now.
- Transfer to a bowl, cover with plastic wrap that is touching the entire surface of the cream. Cool to room temperature, then place it in the fridge.
Assemble And Bake
- Preheat the oven to 430°F/220°C.
- Use your knuckles/fingertips to create an indention in the middle of each bun. You want to make sure to really press down the dough so that the filling stays inside the bun rather than on top of the bun.
- With a spoon or piping bag, fill the centers of each bun with a generous amount of vanilla pastry cream.
- Brush with egg wash and bake for 15-18 minutes until golden brown. Transfer to a cooling rack.
Powdered Sugar Glaze
- When the buns are completely cooled down, you can make the glaze.
- Combine powdered sugar and water and mix until it forms a thick glaze.
- Use a spoon to drizzle the glaze over each bun. Lastly, sprinkle on the desiccated coconut.



Hei!
Lurer på hvordan du klarer å ha en aktiv starter kl 08.00? Min er aktiv etter 3-5 timer, så for meg er det helt umulig..
Har du noen tips, så blir jeg veldig takknemlig for det fordi jeg elsker oppskriftene dine og vil veldig gjerne prøve!!
Takk for hjelpen!
Beste hilsen
Marte
Hei! Da kan du endre litt på hvordan du mater surdeigsstarteren. Test for eksempel å mate den i forholdene 1:8:8 (starter:mel:vann) eks. 5g starter, 40g mel, 40g vann. I tillegg kan du teste å kun mate den med hvitt mel. Da vil starteren heve langsommere. Lykke til!
I would love to make these, but coconut is not well-liked in this household, what about using finely chopped nuts, like pecans or walnut or even hazelnuts?
Go for it! Sounds delicious.
Hi Elise! I made the recipe without the sourdough starter ( on your feed) and it was really good! Reminded me of the buns we would get as a treat after school! Thank you for an amazing recipe!
This is the second time I’ve made these in the last month…I do swap out the pastry cream for a cheese danish style filling.
This batch is for Easter Sunday, it’s Friday afternoon.. do you know how well they will hold up in the refrigerator? (Because of the cheese I need to either freeze or refrigerate…thank you so much for all your awesome recipes.
I made these for Leif Erikson day. The directions were very easy to follow and the results were delicious. I used the tea strainer per the directions for the pastry cream, but it would not have been necessary; I had no solids to speak of. We have a proof setting on our oven, and I was able to proof both sheets of buns that way. The final rise took two hours. Thanks!
Nailed it! I’ve spent lots of time in Norway until I was 20 and have been missing that incredible skolebrød. So excited to have finally brought the experience home to friends and family.
It took me 62hrs though (including the 12hr feed for my starter the night before). Everything was eventually ready to assemble and bake at 9pm (48hrs later) but I was exhausted so I put the buns in the fridge and assembled everything in the morning. Luckily the buns were perfect. I also put the filling in the fridge immediately rather than waiting for it to reach room temp first and it also turned out great. Hoping that I can borrow a proofing box and make them quicker next time. Because there will definitely be a next time 🙂
Tusen takk for den flotte oppskriften ❤️
These came out perfect. Just got back from a trip to Norway and was looking for a recipe to recreate the skolboller we had there and these hit the mark. Our house is on the warm side (close to 80 F) in the summer, so I proofed them overnight in the fridge after shaping and the brought them out for about 6 hrs more at room temp and the puffed up nicely.
Thank you, I benefited a lot and your recipe is wonderful