Dinner rolls you can make the day before
This website contains affiliate links.
Some of the links below are affiliate links. This means that, at no additional cost to you, Bread By Elise may earn a commission if you click through the link and finalize a purchase. Please read our Privacy Policy for more details.
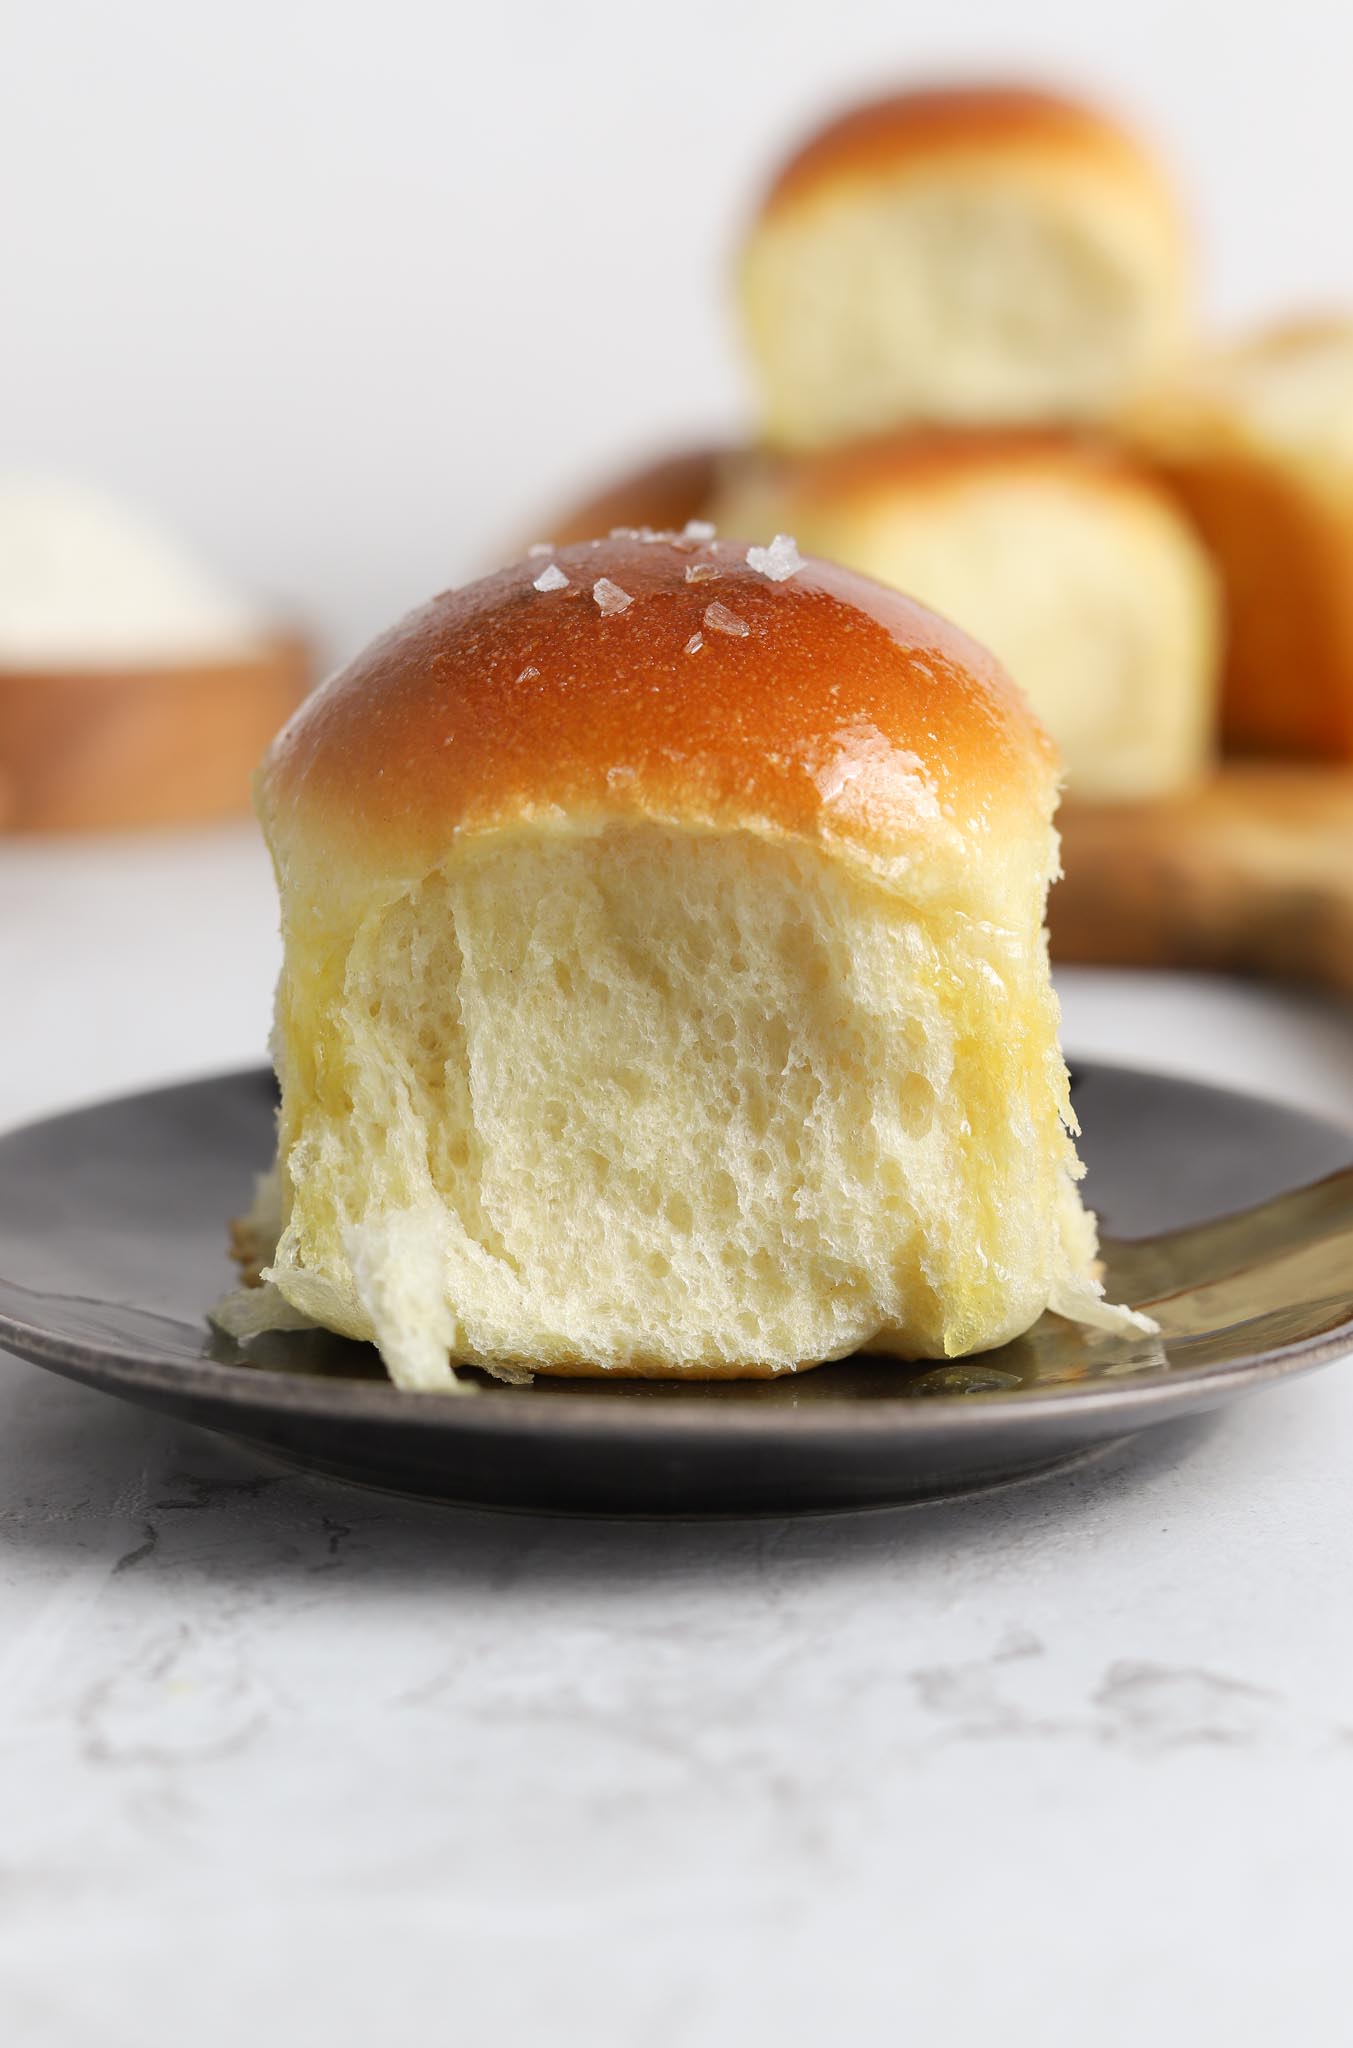
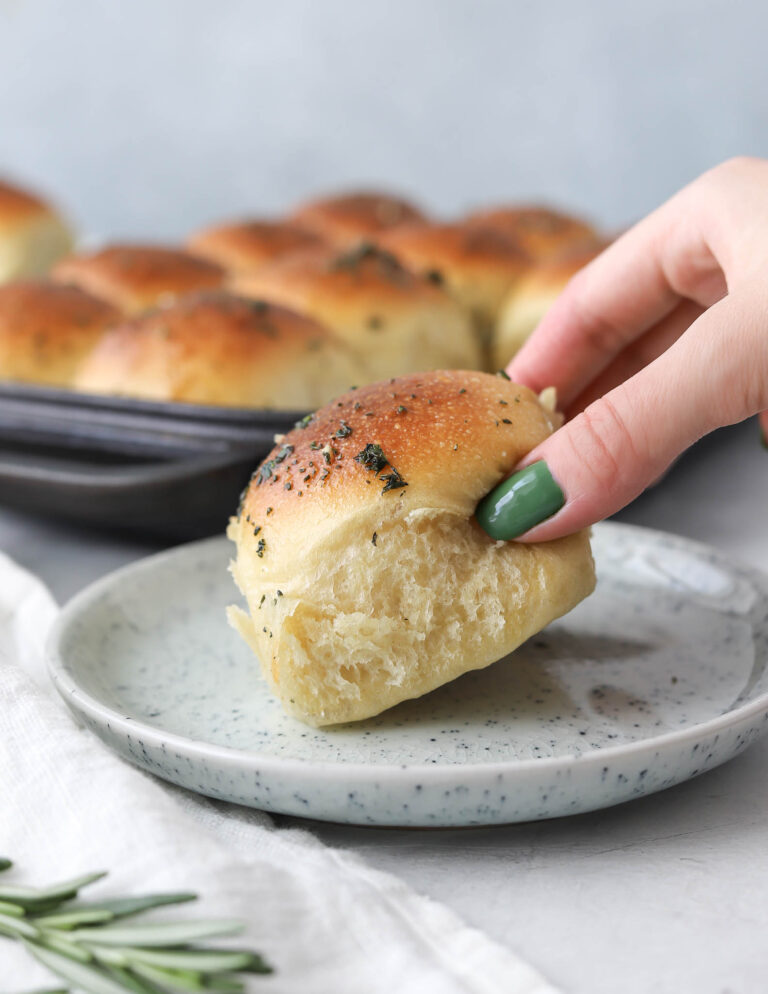
These Easy Overnight Dinner Rolls are soft, light, buttery, and SO delicious. Serve warm from the oven with a generous amount of butter and a sprinkle of flaky salt on top.
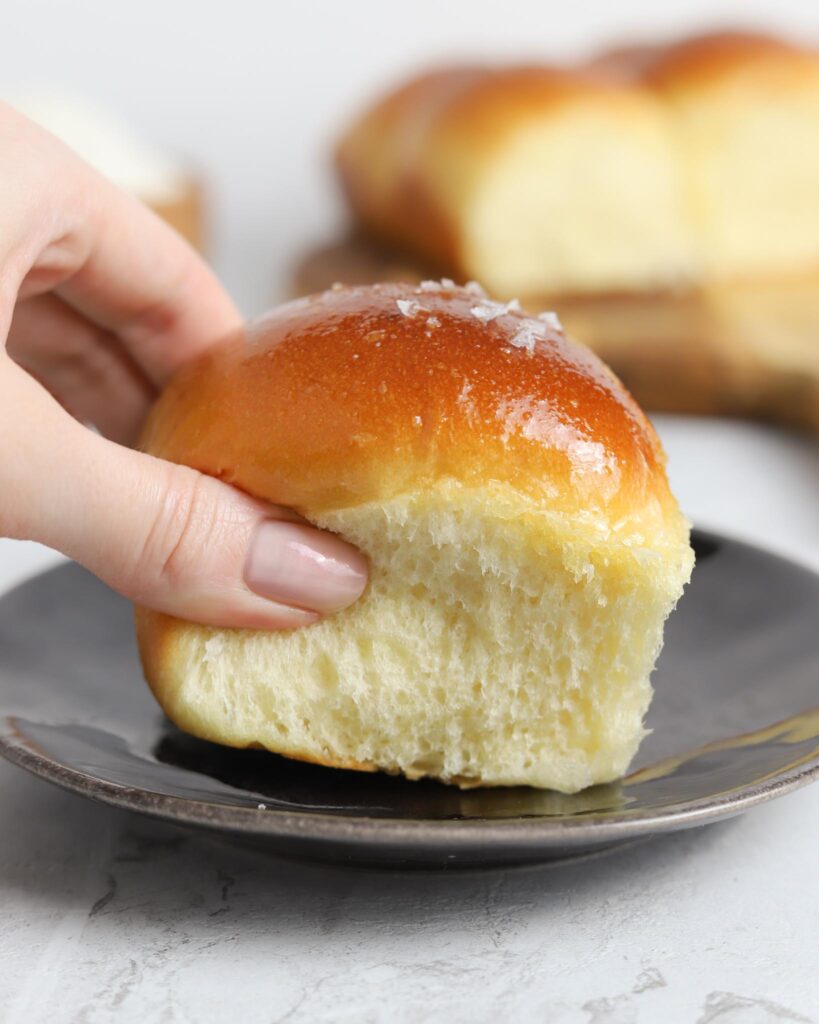
Table of contents
Easy Overnight Dinner Rolls
I am so excited to share this super easy, weekday (or weekend) friendly dinner roll recipe with you!
All you have to do is simply mix up the dough, knead, and then pop the whole dough into the fridge. The next day, take the dough out of the fridge a couple of hours before you are ready to serve. Shape into balls, rise, bake, and voilá!
Recipe run through
Day one
Make the dough
- Mix up the main dough – Add all ingredients, except butter, to the bowl of your stand mixer fitted with a dough hook. Start with the minimum amount of milk, and add more if needed. Knead for 10-15 minutes until the dough starts to pull away from the sides of the bowl.
- Add butter – You want your butter to be soft and at room temperature, but not melty. Cut it into cubes, and slowly, while the mixer is on, add one cube of butter at a time. When you have added all the butter, scrape down the sides of the mixing bowl and continue mixing at medium speed until the dough passes the window-pane test. Depending on your mixer, this can take anywhere from 10-25 minutes.
- Overnight rest in the fridge – Gently shape the dough into a round, and place it in a lightly oiled baking bowl. Transfer to the fridge for 10-18 hours or overnight.
Day TWO
Shape, Rise, Bake
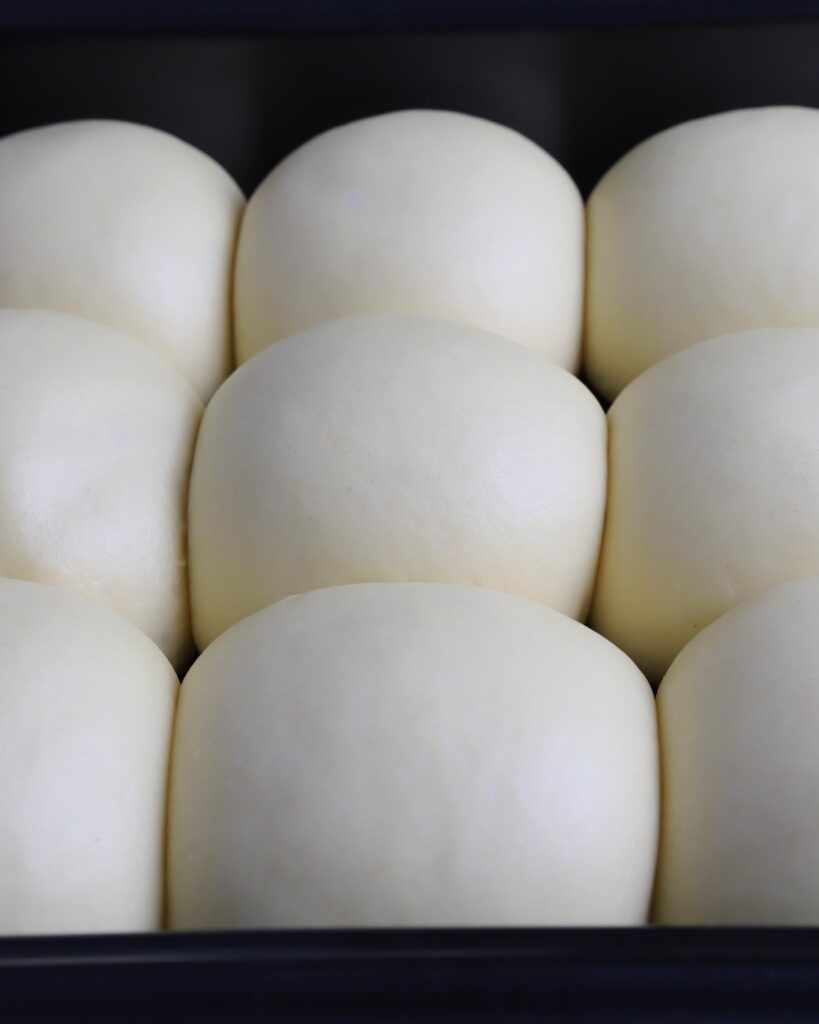
- Shape into rounds – Remove the dough from the fridge and dump it onto a lightly floured work surface. Divide it into either 12×60 grams or 9×80 grams rolls. Shape each dough piece into seamless rounds.
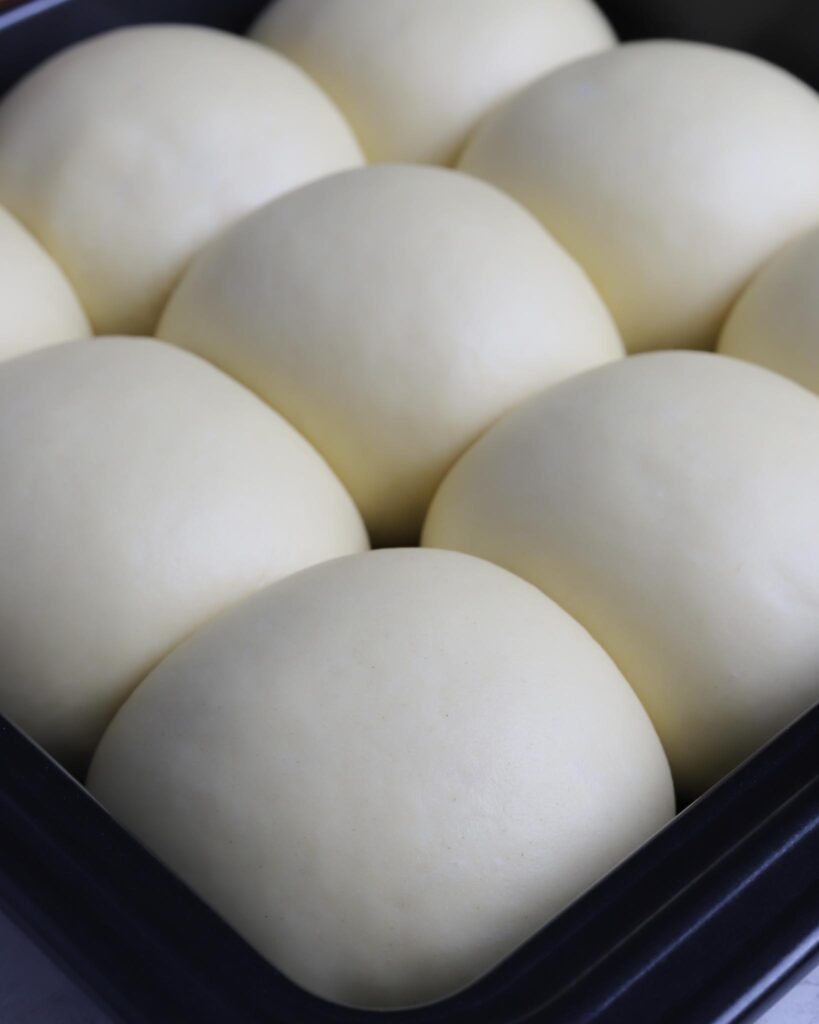
- Place in baking pan – Arrange the rolls in a 9×9-inch baking pan, cover, and rise in a warm spot (ideally at around 78°F/26°C) until they have doubled in size and look nice and puffy.
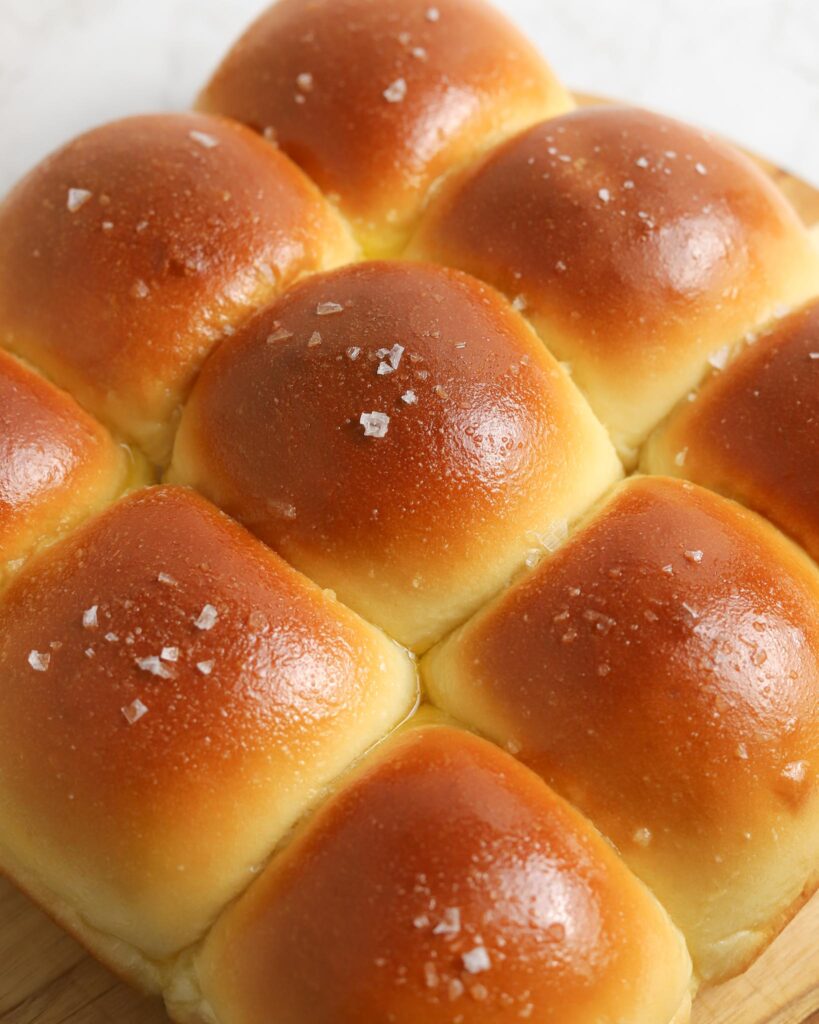
- Bake – Preheat your oven to 355°F/180°C. Bake the buns for 15-20 minutes, until nice and golden on top.
Recipe FAQ
Can this recipe be made in one day?
Yup! You can simply skip the fridge proof and leave the dough to rise in a warm spot instead (ideally at around 78°F/26°C) until doubled. Then dump the dough onto your work surface and shape it into rounds. Place in a greased/lined 9x9x-inch baking pan, and lastly, let them proof for 30-45 minutes until they are nice and puffy—Bake as instructed in the recipe card below.
What type of flour is recommended?
I recommend using bread flour or strong white flour with a 13-15% protein percentage. I also recommend adjusting the amount of liquid (in this case, whole milk) to the specific flour you are using. For example, lower protein flours usually require less liquid, while higher protein flours need more liquid.
Can I omit some of the bread flour and use whole wheat flour instead?
Yes, you can definitely make that swap! Here are some pointers on how to do that:
- Adjust the Liquid: Whole wheat flour tends to absorb liquid differently than white flour. To compensate, consider adding a bit of extra liquid to keep your dough at a good consistency.
- Aim for a 50/50 Ratio: For balance between flavor and manageability, aim for a 50/50 ratio of bread flour to whole wheat flour. This blend offers a compromise, giving you both the nutty flavor of whole wheat and the ease of handling associated with bread flour.
- Consider the Window-Pane Test: Keep in mind that if you substitute some bread flour with whole wheat flour, achieving Window-Pane Test for gluten development may not be achievable. Focus instead on achieving a dough that feels elastic and holds together well.
What is the Window-Pane test? The window-pane test is a method used to check gluten development in dough. To perform the test, you take a small piece of dough and gently stretch it between your fingers. If the dough stretches into a thin, translucent membrane without tearing, resembling a windowpane, it indicates that the gluten has been sufficiently developed. This means that the dough has reached the proper elasticity and structure needed for good texture and rise. If the dough tears before reaching this stage, it may need more kneading
Can dinner rolls be frozen? Absolutely! Here’s how to do it:
- Cool – Allow the dinner rolls to cool completely at room temperature before freezing.
- Wrap – Individually wrap each roll tightly with plastic wrap to maintain freshness.
- Label – Remember to label and date the dinner rolls to be sure you serve them at a reasonable timeframe.
- Freeze – Place the wrapped rolls in the freezer and store them for up to 2-3 months.
- Thaw – On the day of serving, remove them from the freezer and let them thaw for a few hours until completely thawed.
- Reheat – Once thawed, reheat the oven to 350°F/180°C and reheat for 3-5 minutes until warmed through. Enjoy!
Shop the Tools

Easy Overnight Dinner Rolls
Equipment
- Stand mixer
- 9×9-inch bread pan
Ingredients
Dough
- 370 g bread flour
- 20 g sugar
- 8 g instant dry yeast
- 8 g salt
- 185-210 g whole milk
- 70 g eggs 1 egg + 1 egg yolk
- 65 g unsalted butter softened
Toppings
- melted butter
- flaky salt
Instructions
Day 1
- Add all ingredients, except butter, to the bowl of your stand mixer fitted with a dough hook. Start with the minimum amount of milk, and add more if needed. Knead for 10-15 minutes until the dough starts to pull away from the sides of the bowl.370 g bread flour, 20 g sugar, 8 g instant dry yeast, 8 g salt, 185-210 g whole milk, 70 g eggs
- Add the softened butter in cubes, one cube at a time. Continue kneading at medium speed for 10-15 minutes until your dough passes the window-pane test.65 g unsalted butter
- Gently shape the dough into a round, and place it in a lightly oiled baking bowl.
- Transfer the dough to the fridge for 10-18 hours or overnight.
Day 2
- After 10-18 hours: remove the dough from the fridge and dump it onto a lightly floured work surface. Divide it into either 12×60 grams or 9×80 grams rolls. Use a scale for accuracy.
- Shape each dough piece into seamless rounds and place in a greased/lined 9×9 baking tray. Cover and proof in a warm spot (ideally at 78°F/26°C) for around two hours, or until the dinner rolls have doubled in size and look nice and puffy.
- Preheat your oven to 355°F/180°C. Bake for 15-20 minutes, until nice and golden on top.
- Brush with melted butter and add a sprinkle of flaky salt immediately as they come out of the oven. Serve warm.



Gòod
These turned out AMAZING!! Thank you 🙂 they were a hit at dinner!
Lovely rolls, soft and buttery
It’s my favorite dough! I love it with sinnamon and cardamom and make a rolls with it. The BEST! Thank you! ❤️
Hi! I don’t have any instant yeast so I’m wondering do I use the normal dry one and reduce a little bit of the amound of milk added to the dough? Help me
Hi !
Can we avoid the eggs here ? Any substitute?
Elise – I’m making these now and will freeze for Thanksgiving. do you recommend waiting until thaw and reheat before putting the butter and salt? or doing right away and freezing.
thank you ! love your recipes.
Julie
Hi Julie! I recommend waiting until after you have reheated the rolls so that they are freshly buttered and salted once served. Happy baking!
Thank you ! I can’t make enough of these !
I make them a bit smaller (50 grams) and roll and tie in a knot. they turn out beautiful. another batch i added a bit of crushed rosemary – so fluffy and delicious…….
Hi,
Can this bread recipe be used to make pull apart breads?
This are AMAZING! I’ve searched years for the perfect yeast roll recipe and I’ve finally found it! This are so light, fluffy and SO easy to make!!
Your recipe is so easy to follow. And, you write beautifully. So nice to know that there are young people today that know how to write with good grammar and spelling. I am making these tonight for baking tomorrow.
Thegre rising on my counter. I haven’t even tried them yet, I’m so excited! They look super good!
Second year in a row making these for thanksgiving. They’re easy and super tasty. Everyone loves them! Thank you!
Thanks so much, Jean!
Made it exactly as the recipe says! Turned out great and the family loved it. But Had to do extra time in the oven to get it to brown a little bit.
Question, could we shape and put it in pie tins and freeze before baking? Would love to premake a lot of batches and freeze
Happy it turned out great and that your family loved it! As for freezing, I’d only recommend doing so after baking-I’m not sure the dough would rise properly after being frozen. Happy baking!
These were so easy & delicious. They were so fluffy & i couldnt believe how tall they were! Window-pane test is key. Thank you for this awesome recipe!
This was a great recipe. Super soft large and squishy rolls. . I doubled the recipe no problem for a larger crowd.