The Softest Bread Knots Ever
This website contains affiliate links.
Some of the links below are affiliate links. This means that, at no additional cost to you, Bread By Elise may earn a commission if you click through the link and finalize a purchase. Please read our Privacy Policy for more details.
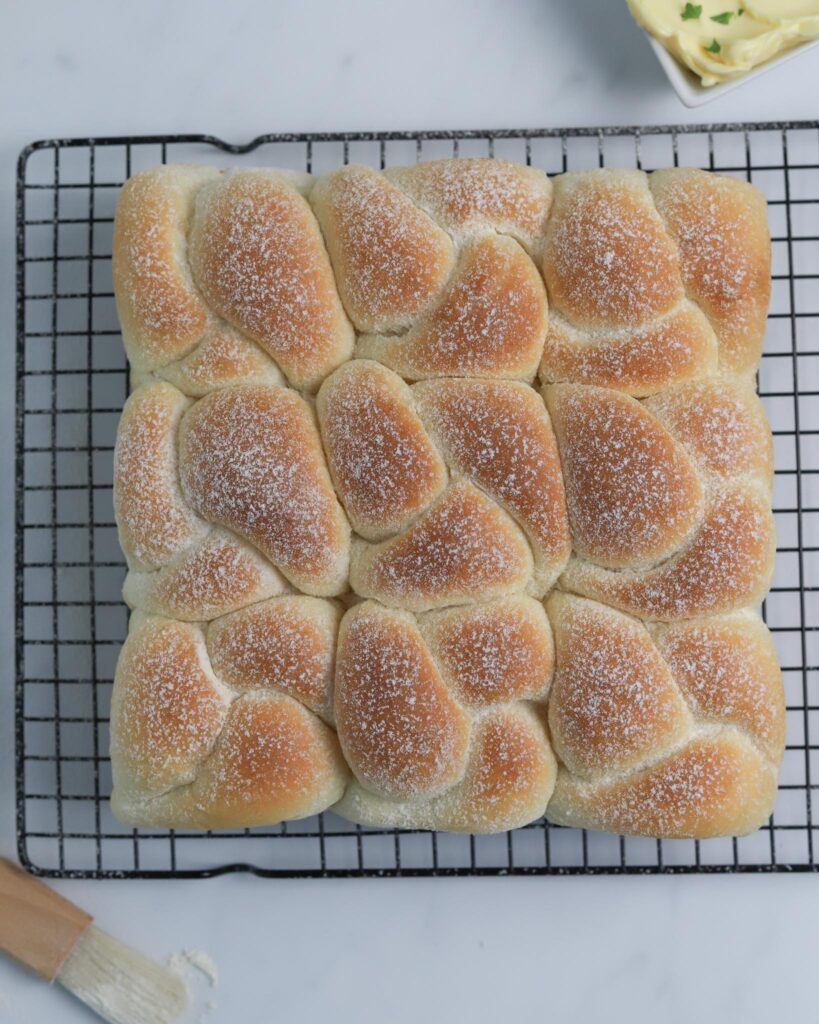
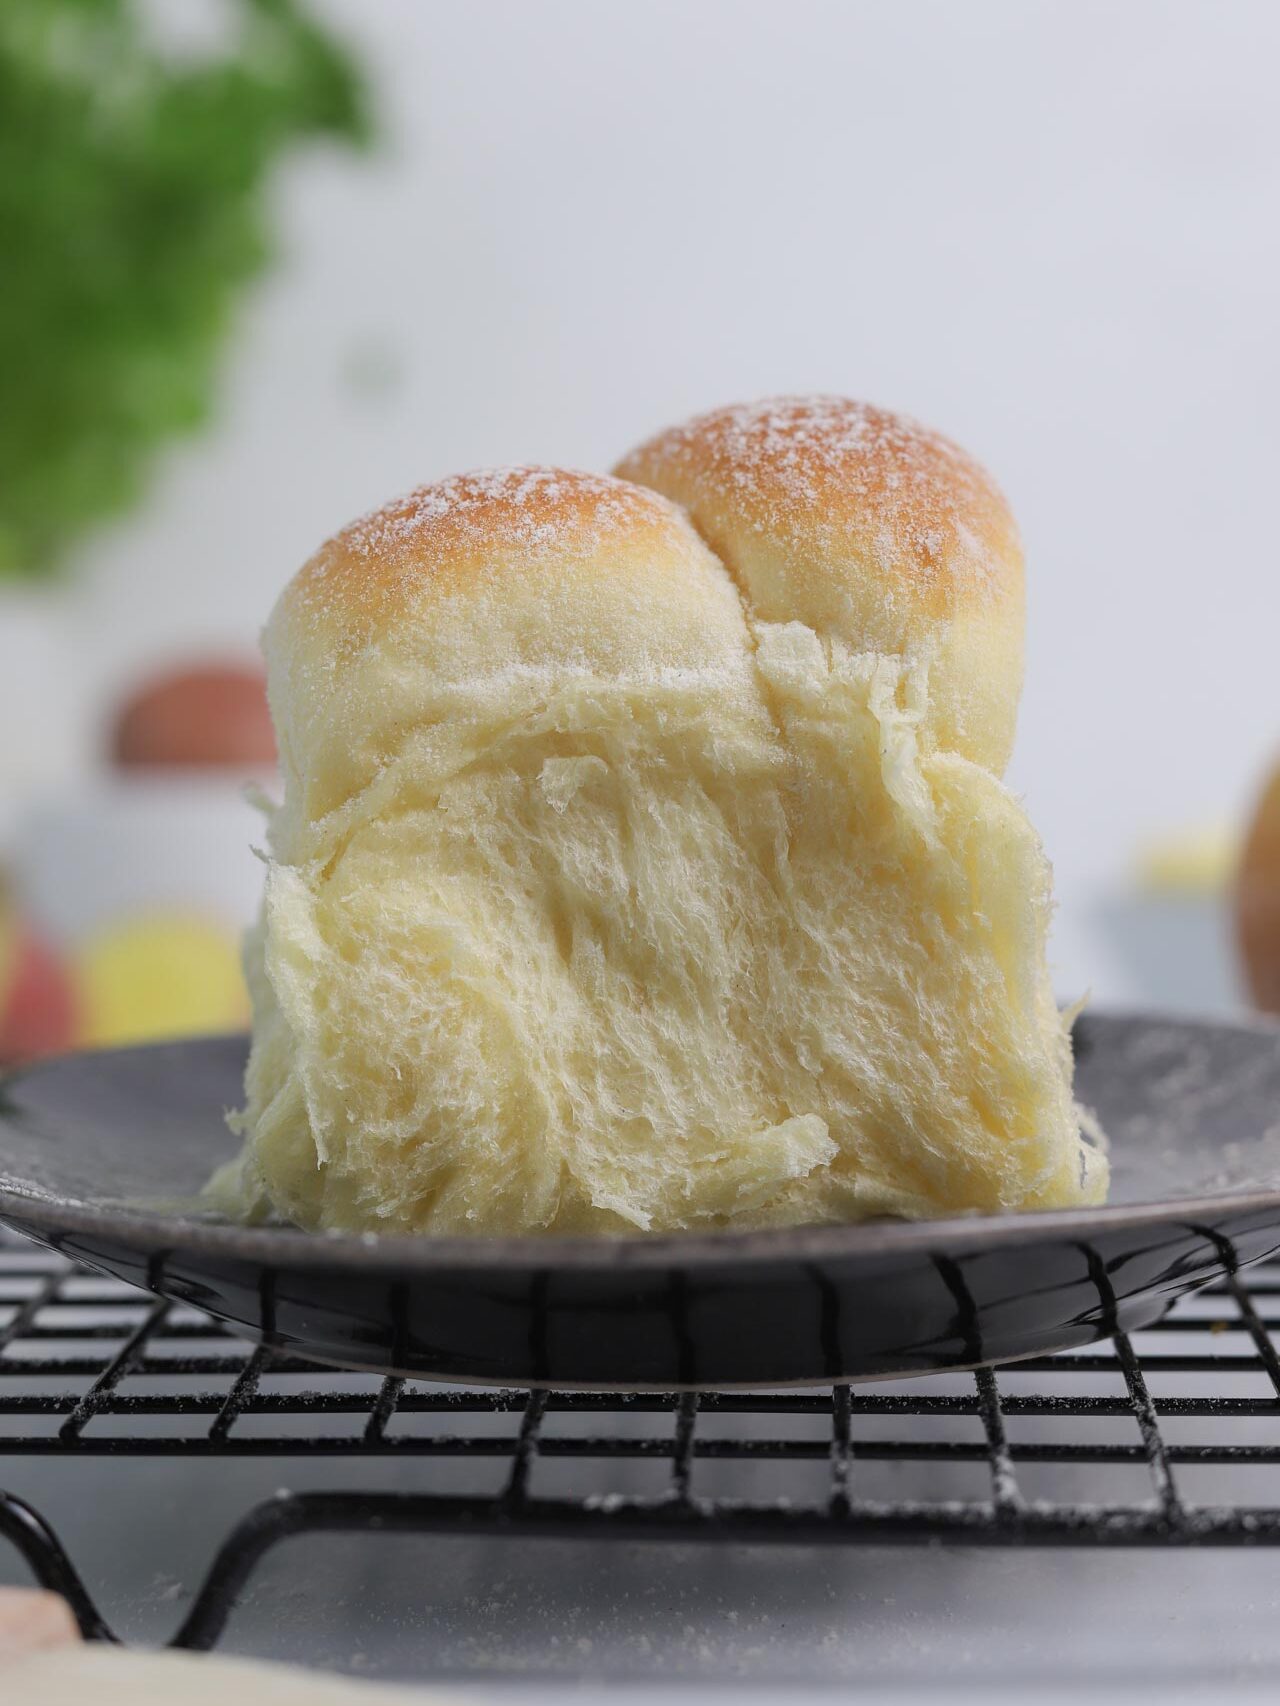
Homemade, soft, and incredibly delicious Potato Bread Knots. If you want to make potato knots so soft they melt in the mouth (I mean, who doesn’t want that?), this recipe is for you! These versatile knots pair perfectly with any casserole, soup, or salad.
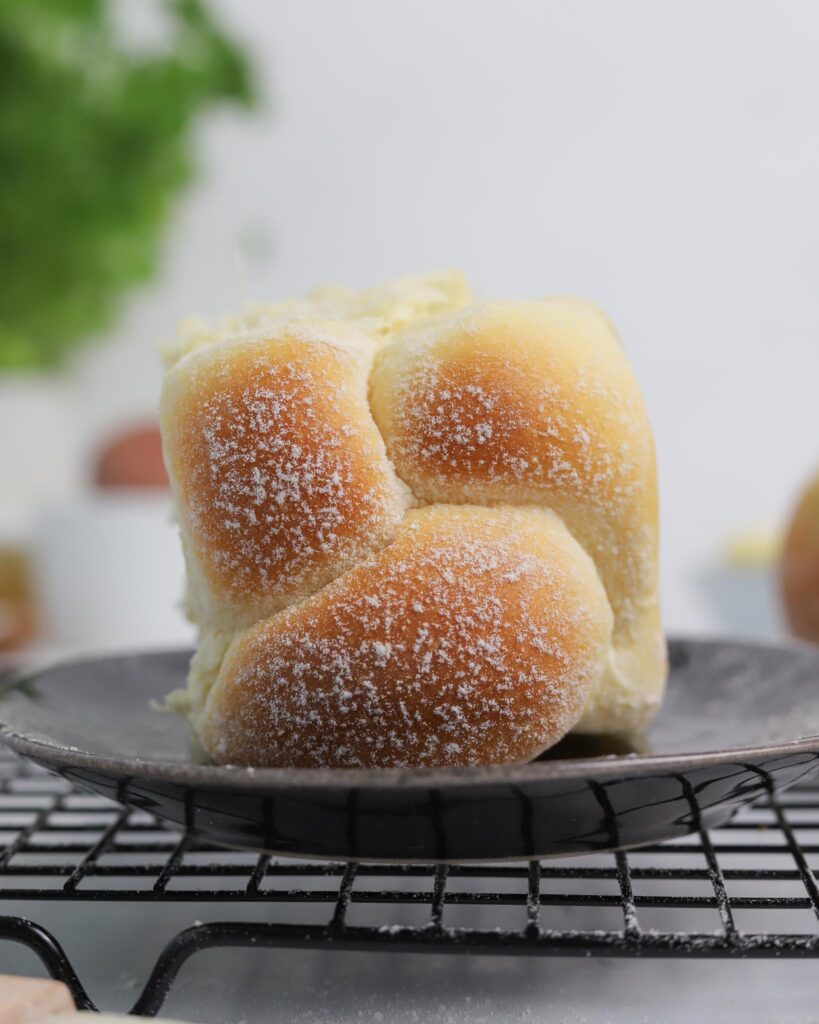
Table Of Contents
How to make the dough
This dough is relatively easy to make. The knot shape and addition of riced potatoes make them stand out from the regular dinner rolls recipe.
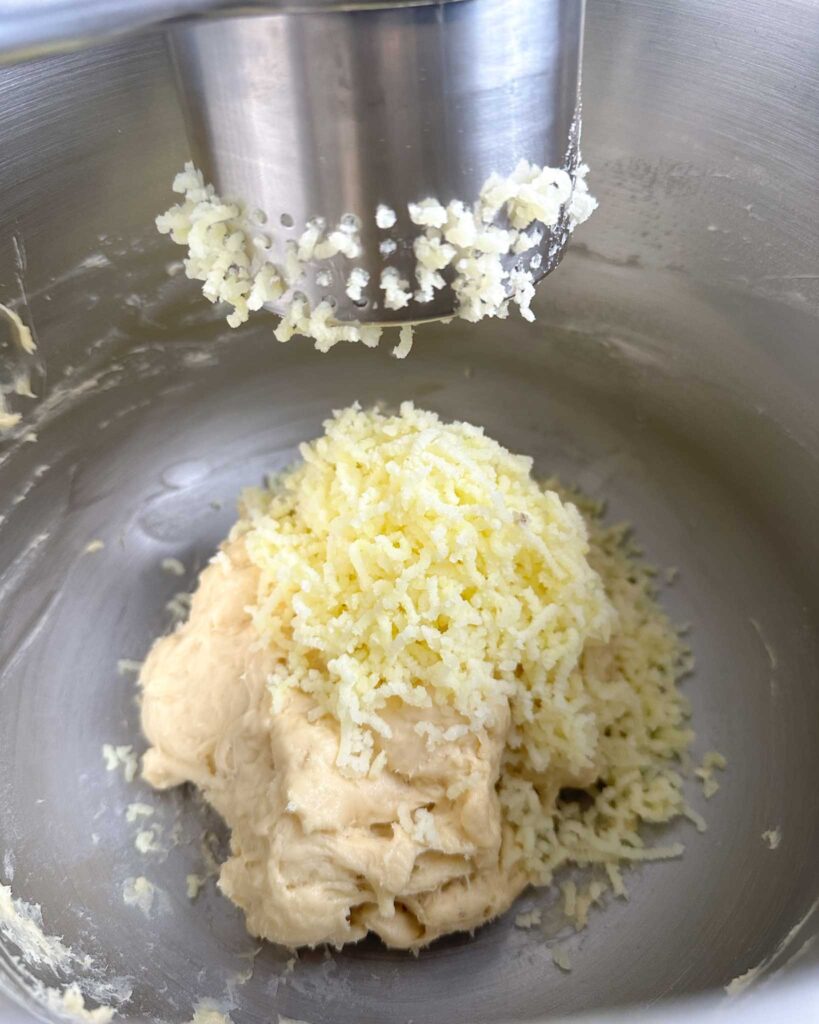
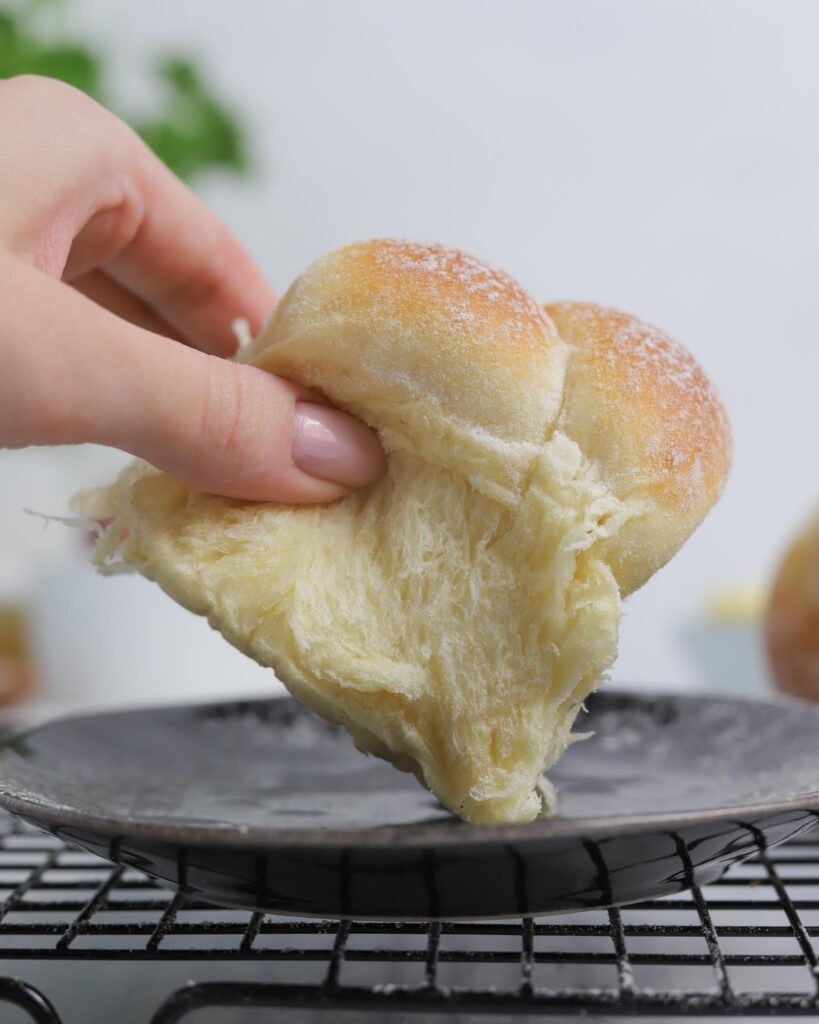
Potatoes add flavor, bounce, and moisture to the dough. Yeast loves potatoes’ starchy carbohydrates, resulting in an all-around light and fluffy potato knot.
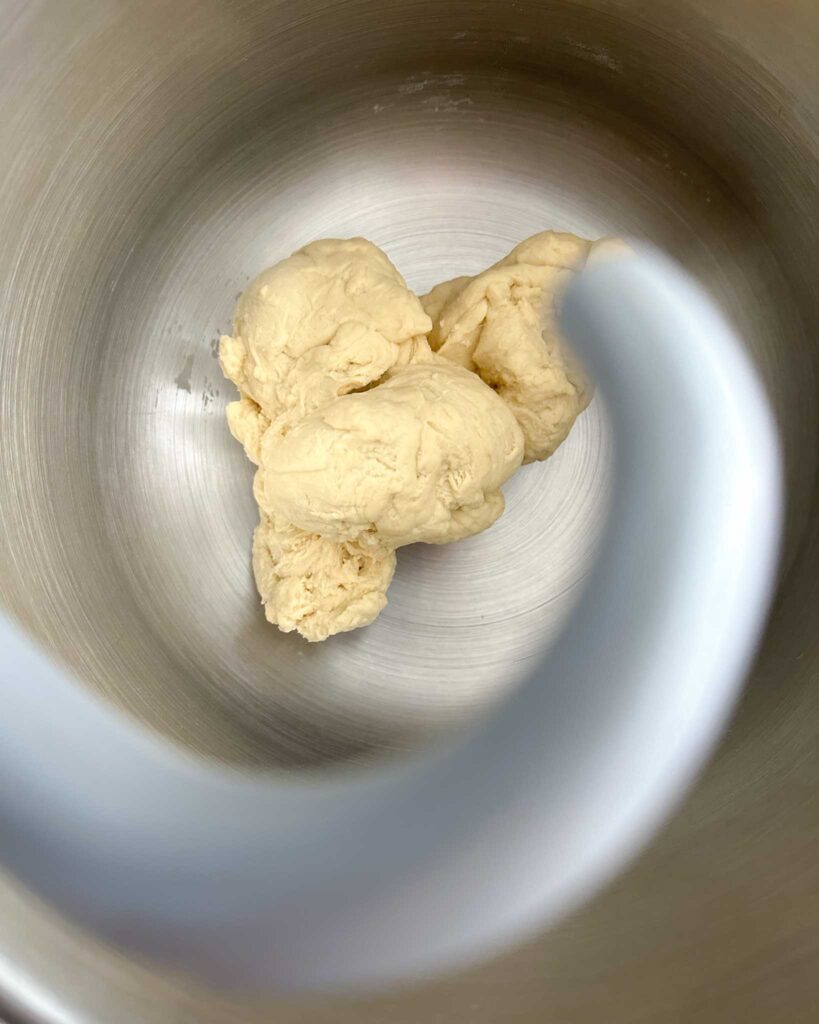
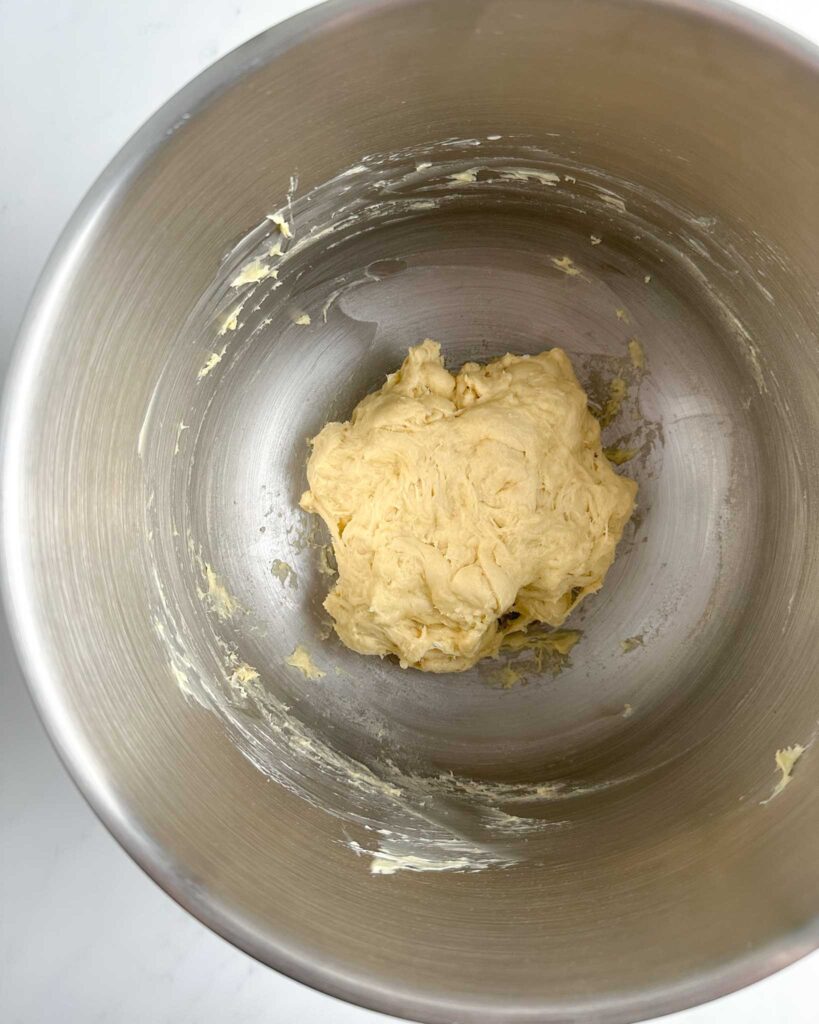
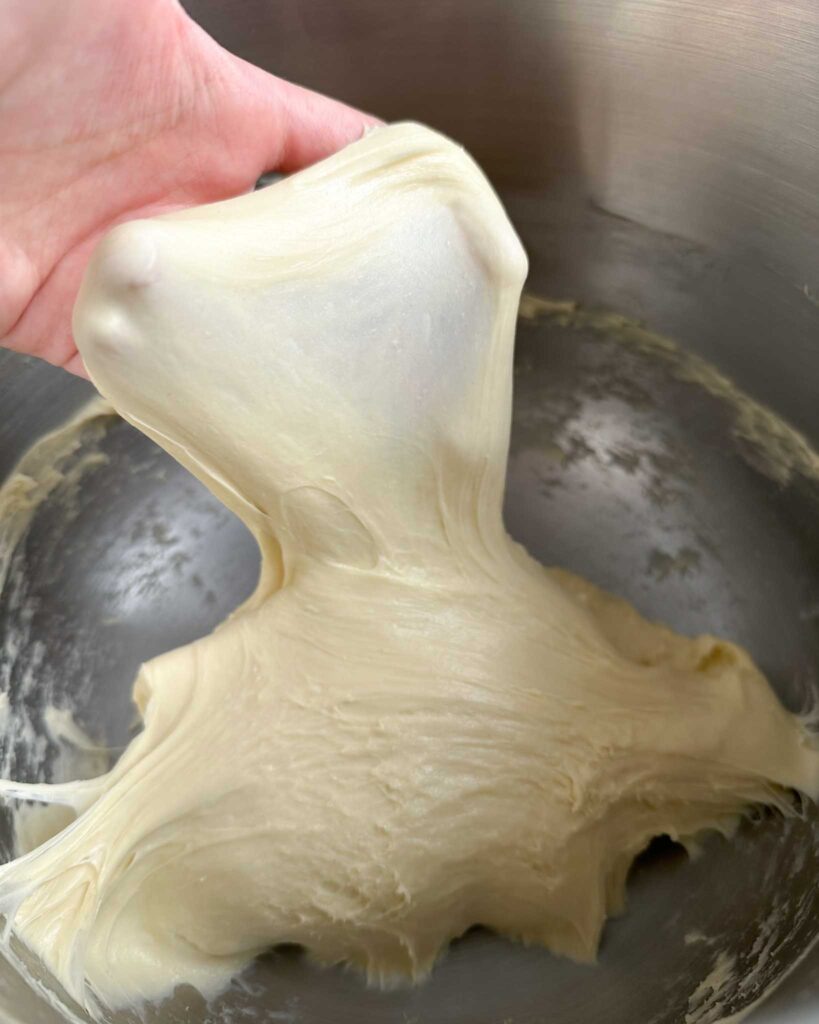
One thing to note about this dough is that it will be a little tight and dry at the beginning of the kneading process. However, once you add the potatoes, you will notice how the potatoes bring new moisture to the dough—resulting in a stretchy, glossy dough at the end.
As always, please take the time to read through the recipe before you begin, and don’t hesitate to ask if you have any questions!
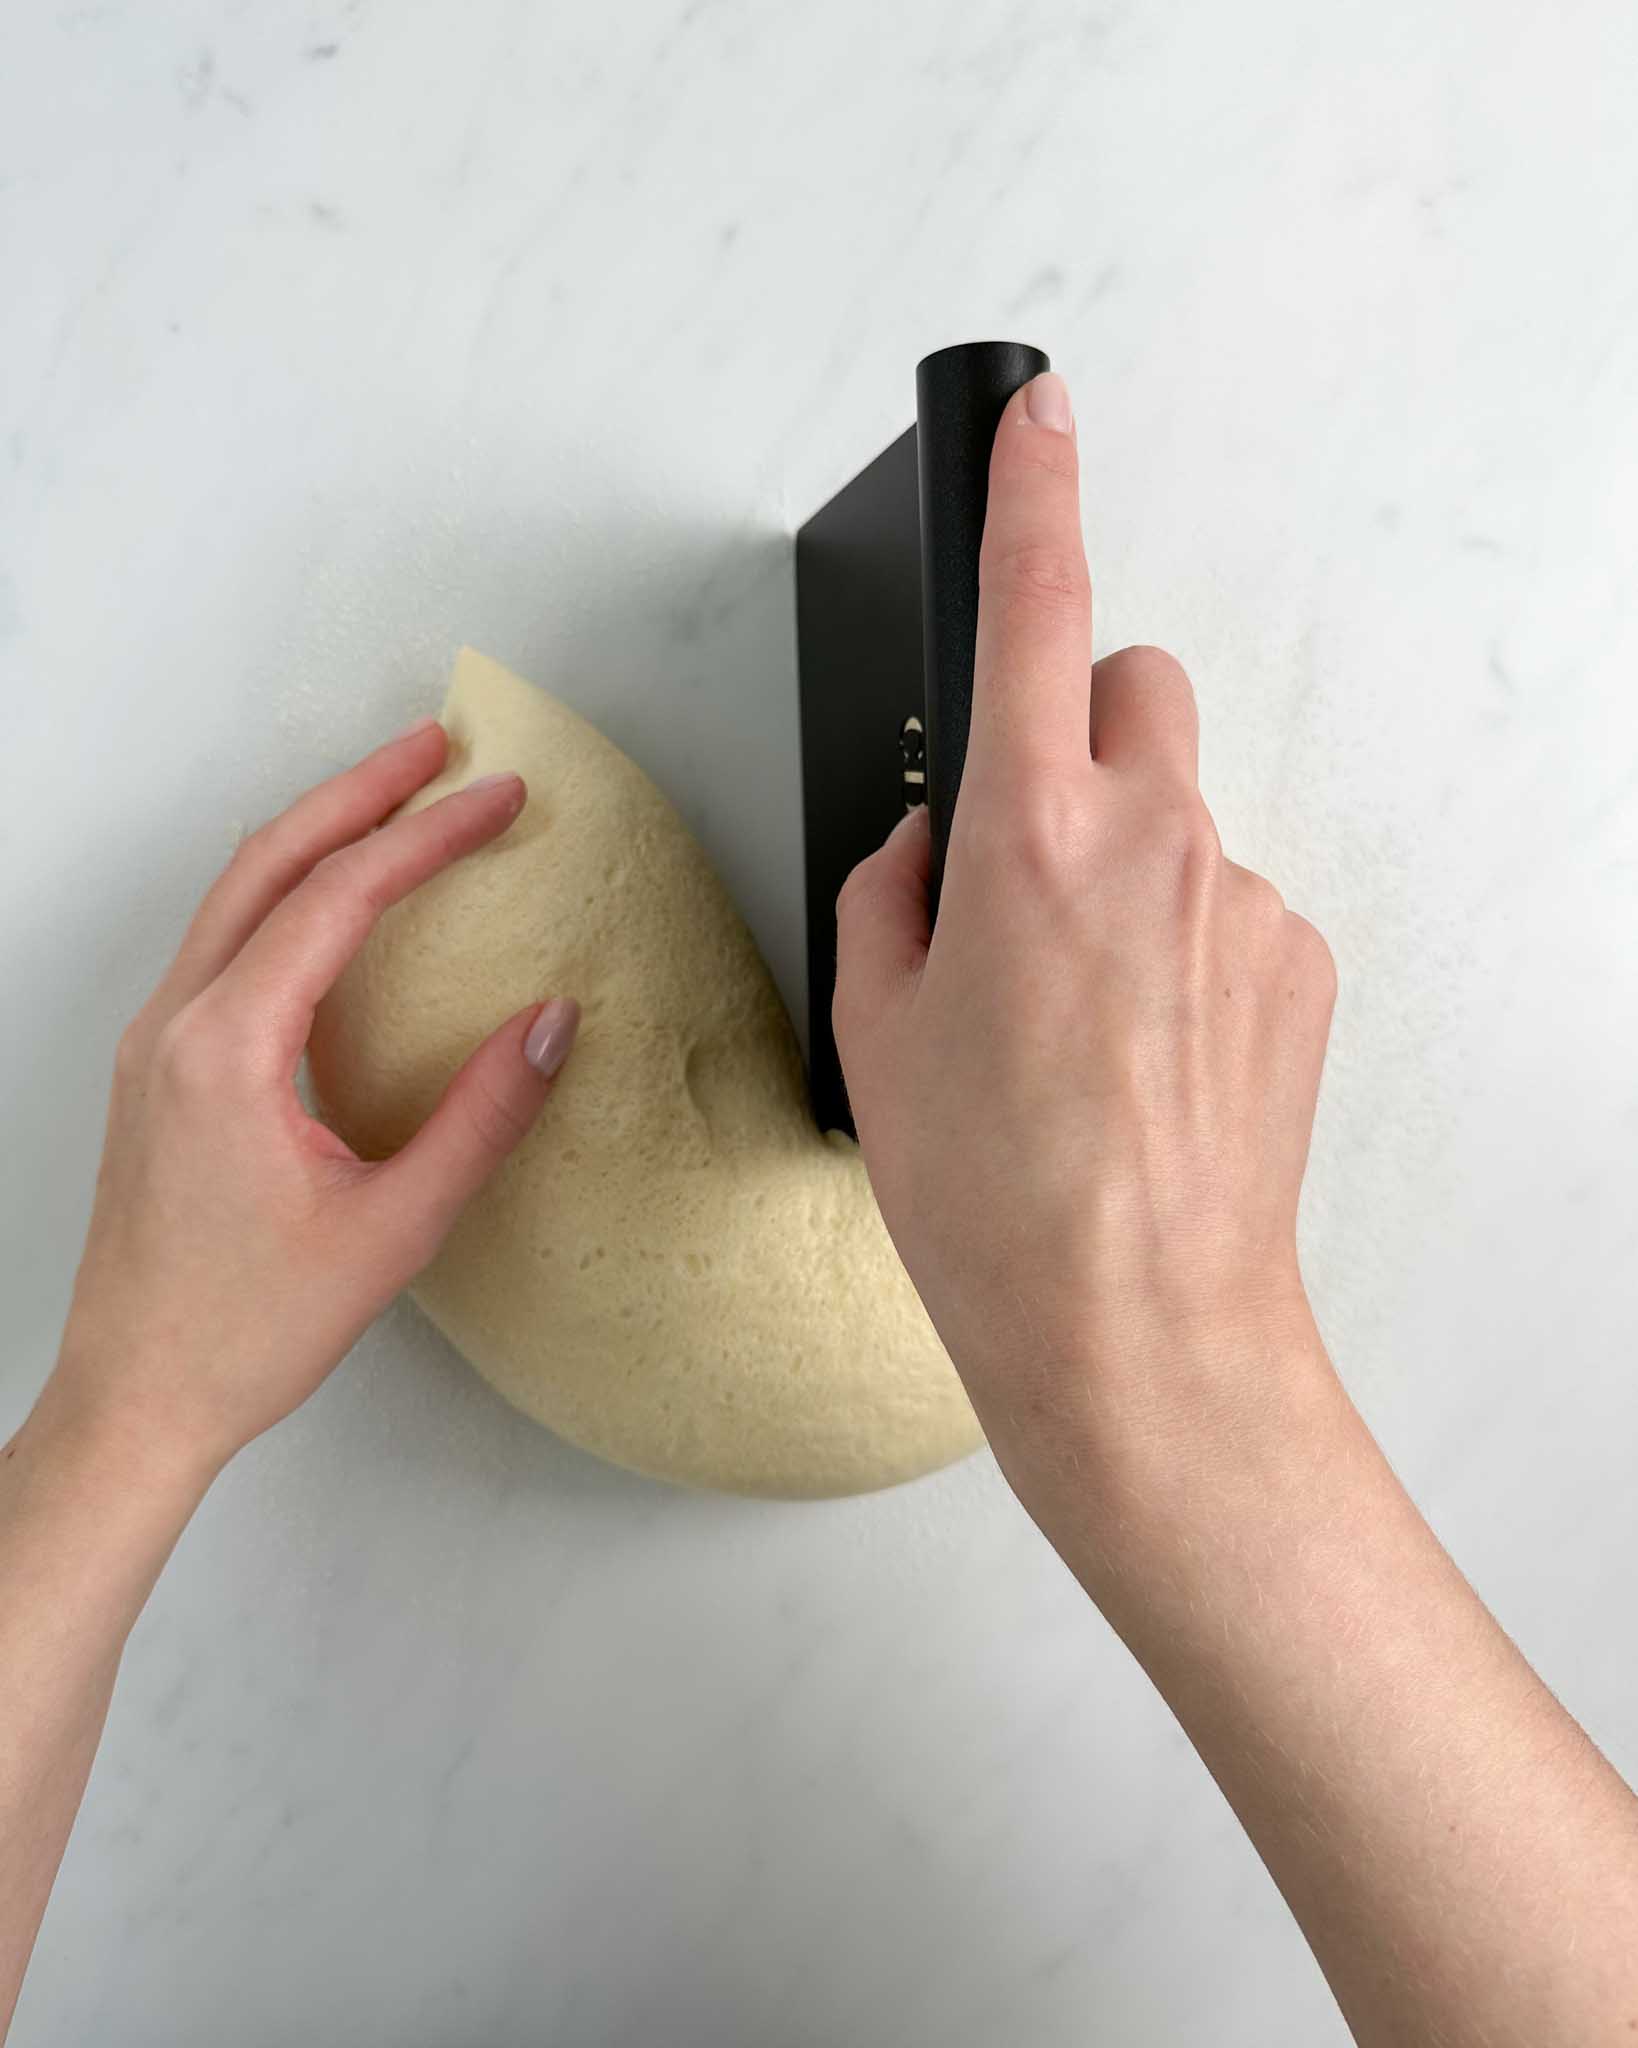
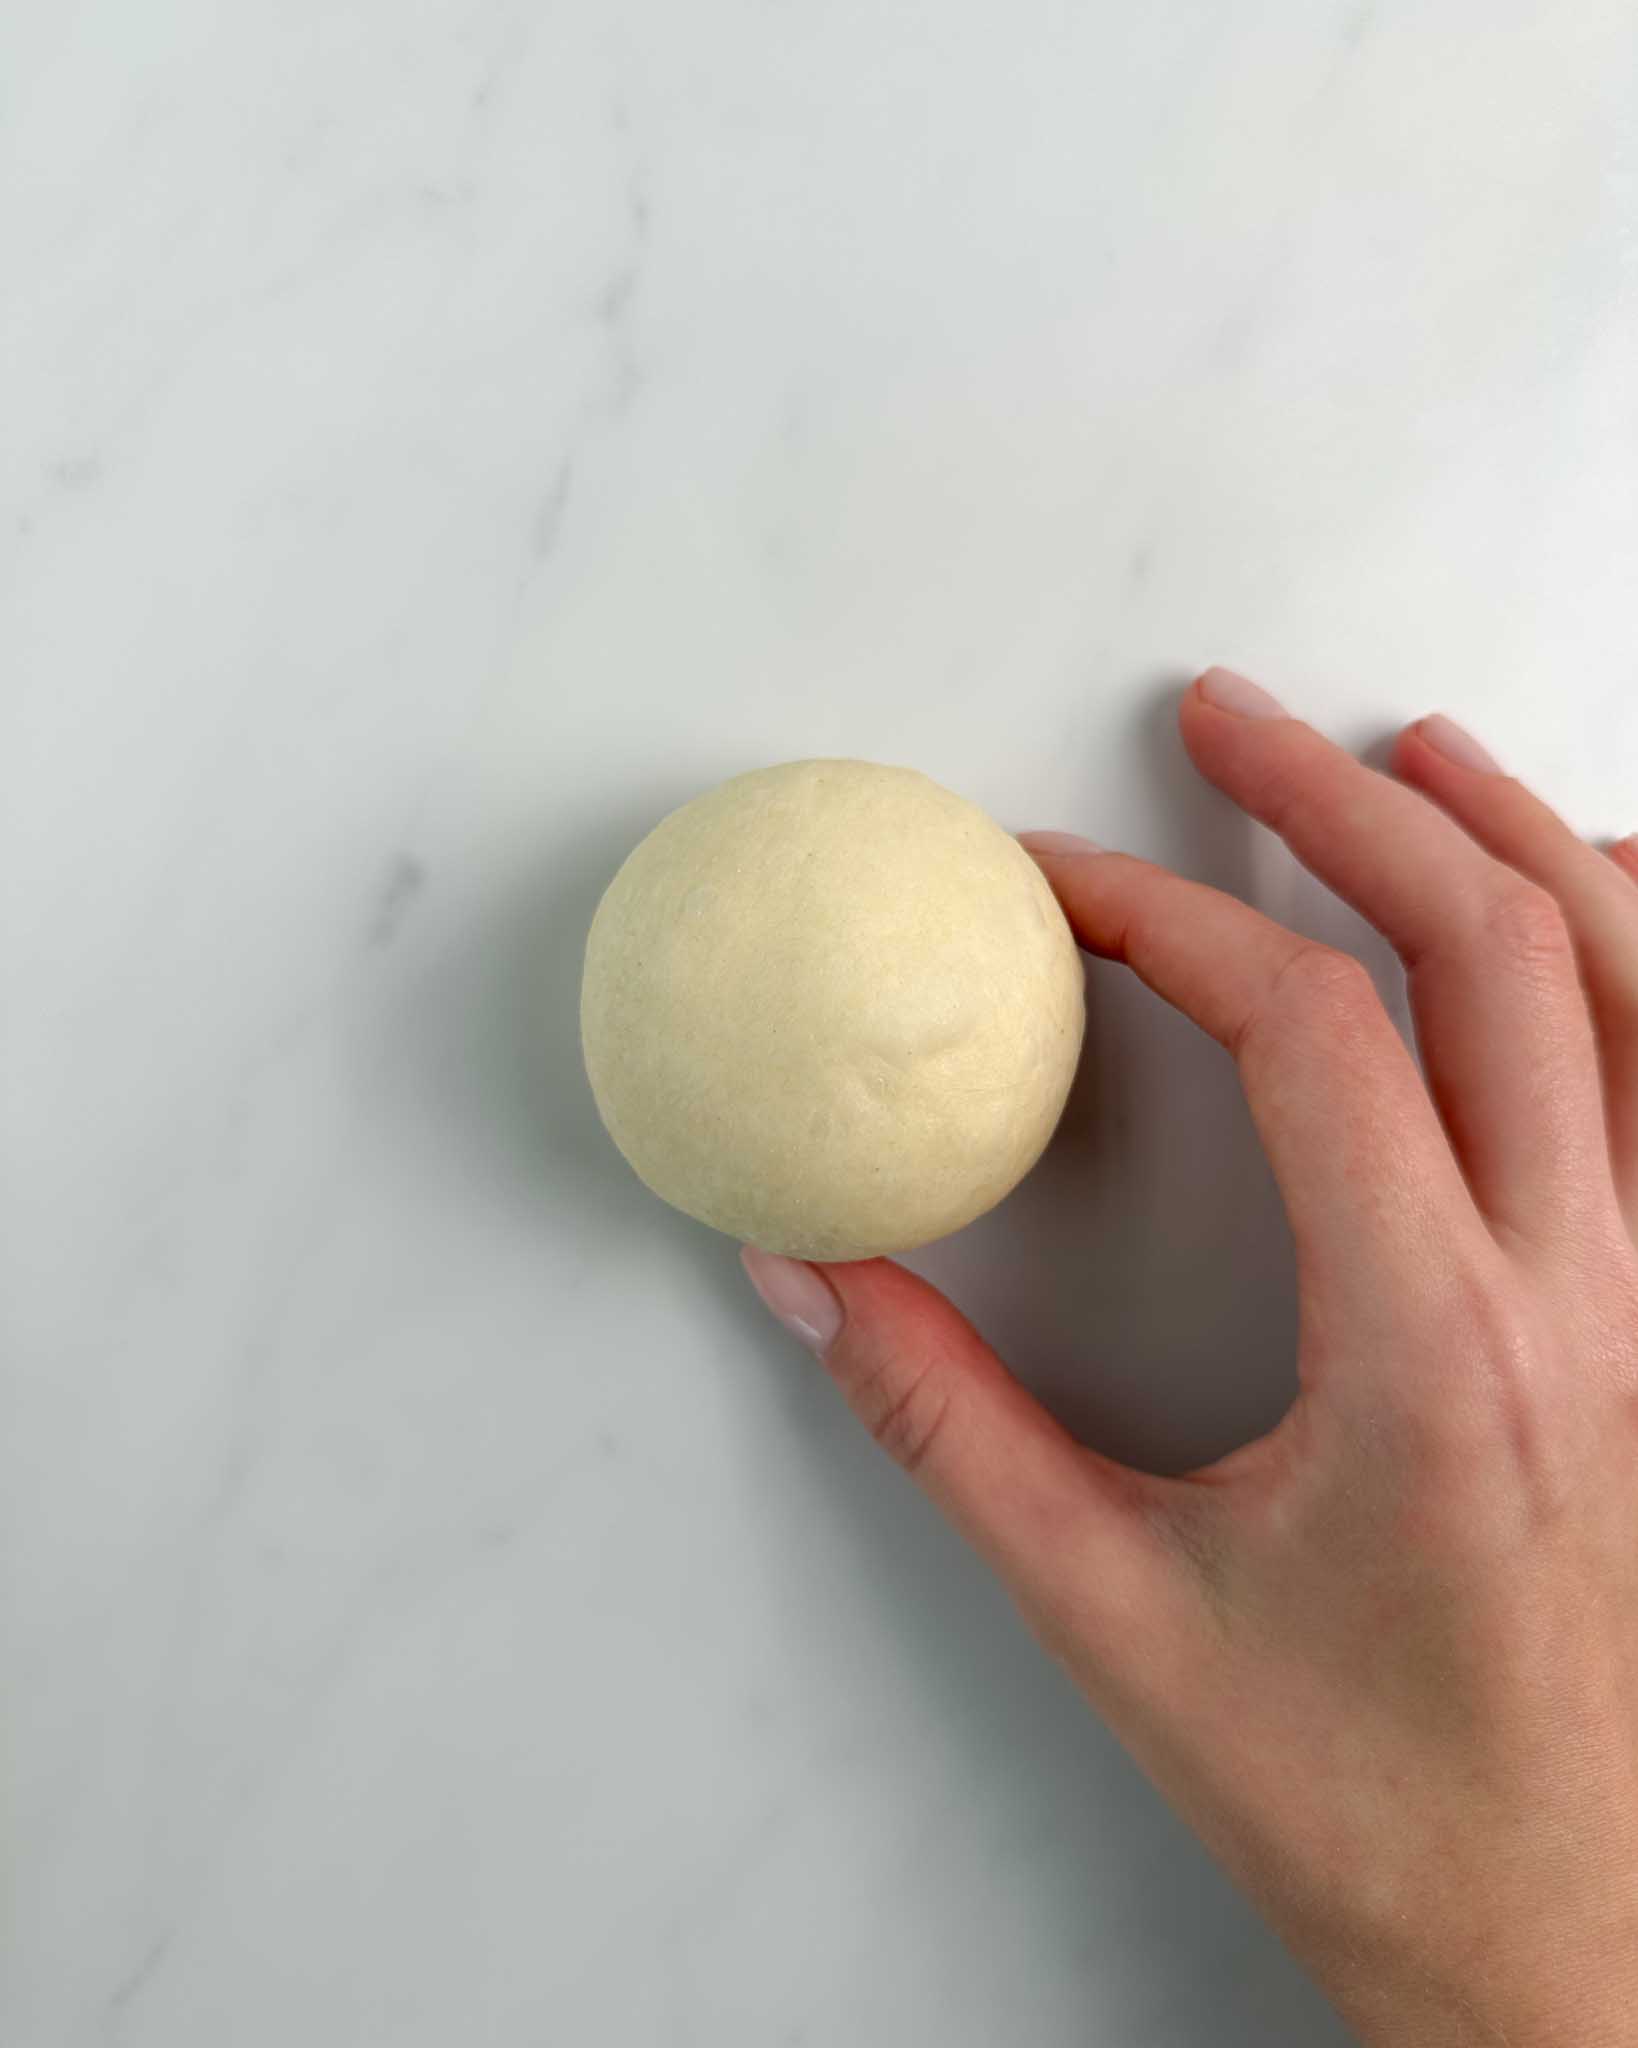
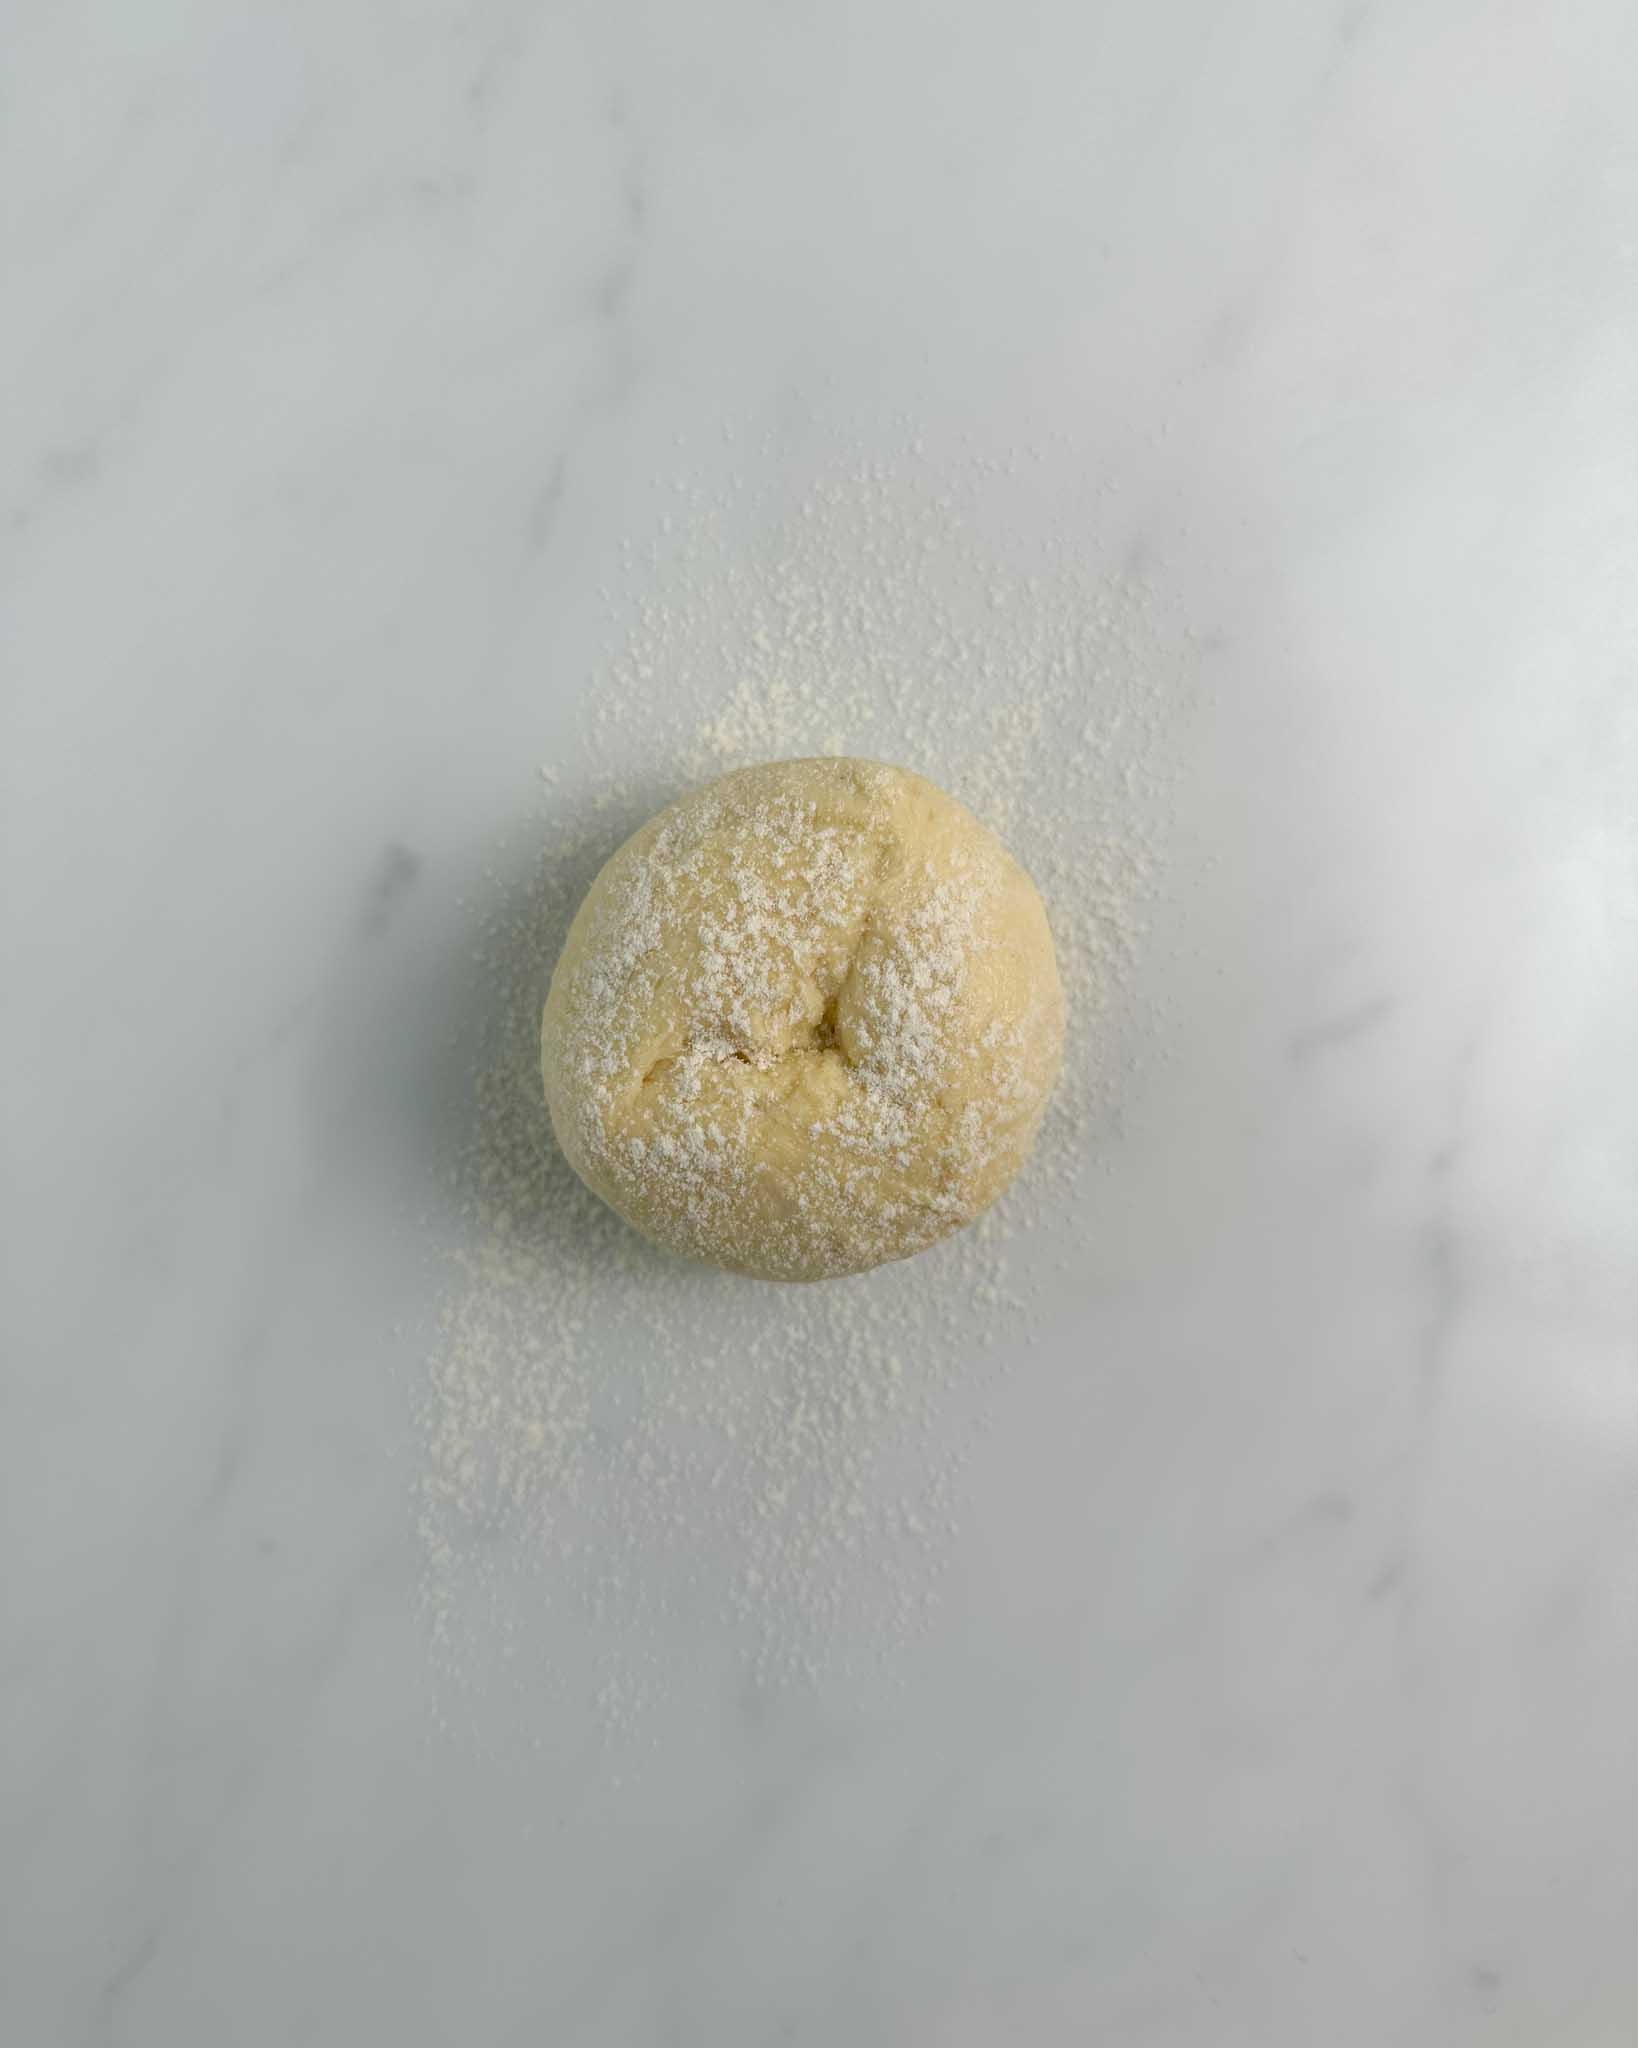
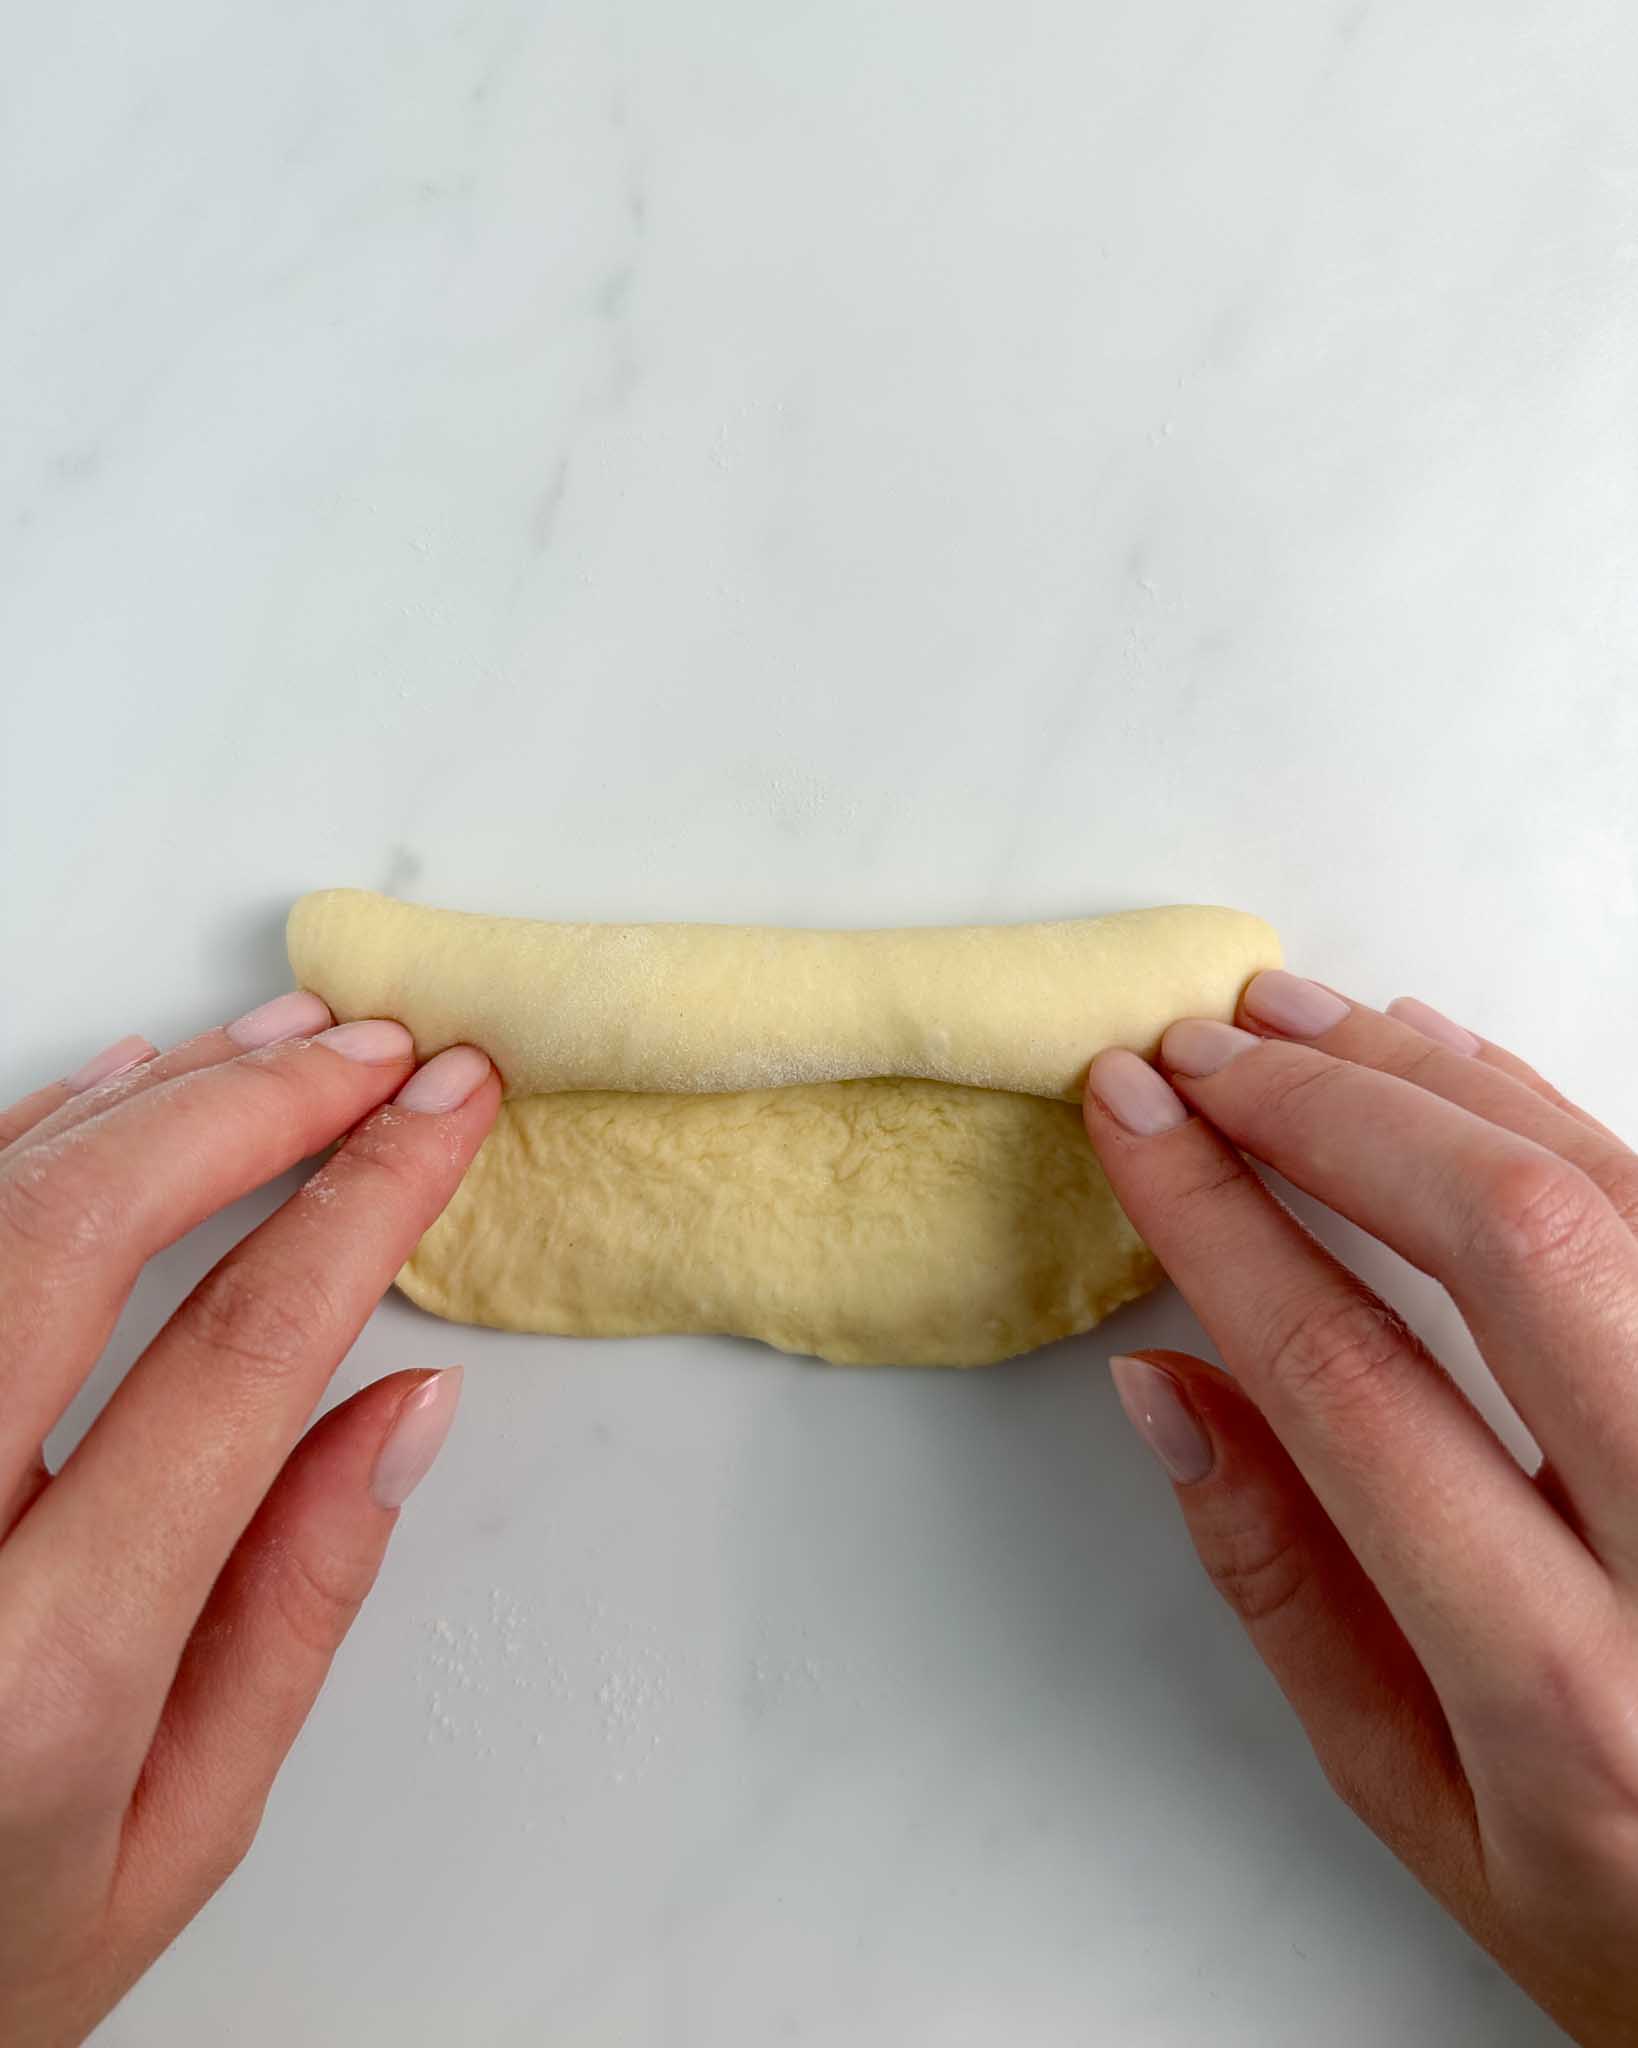
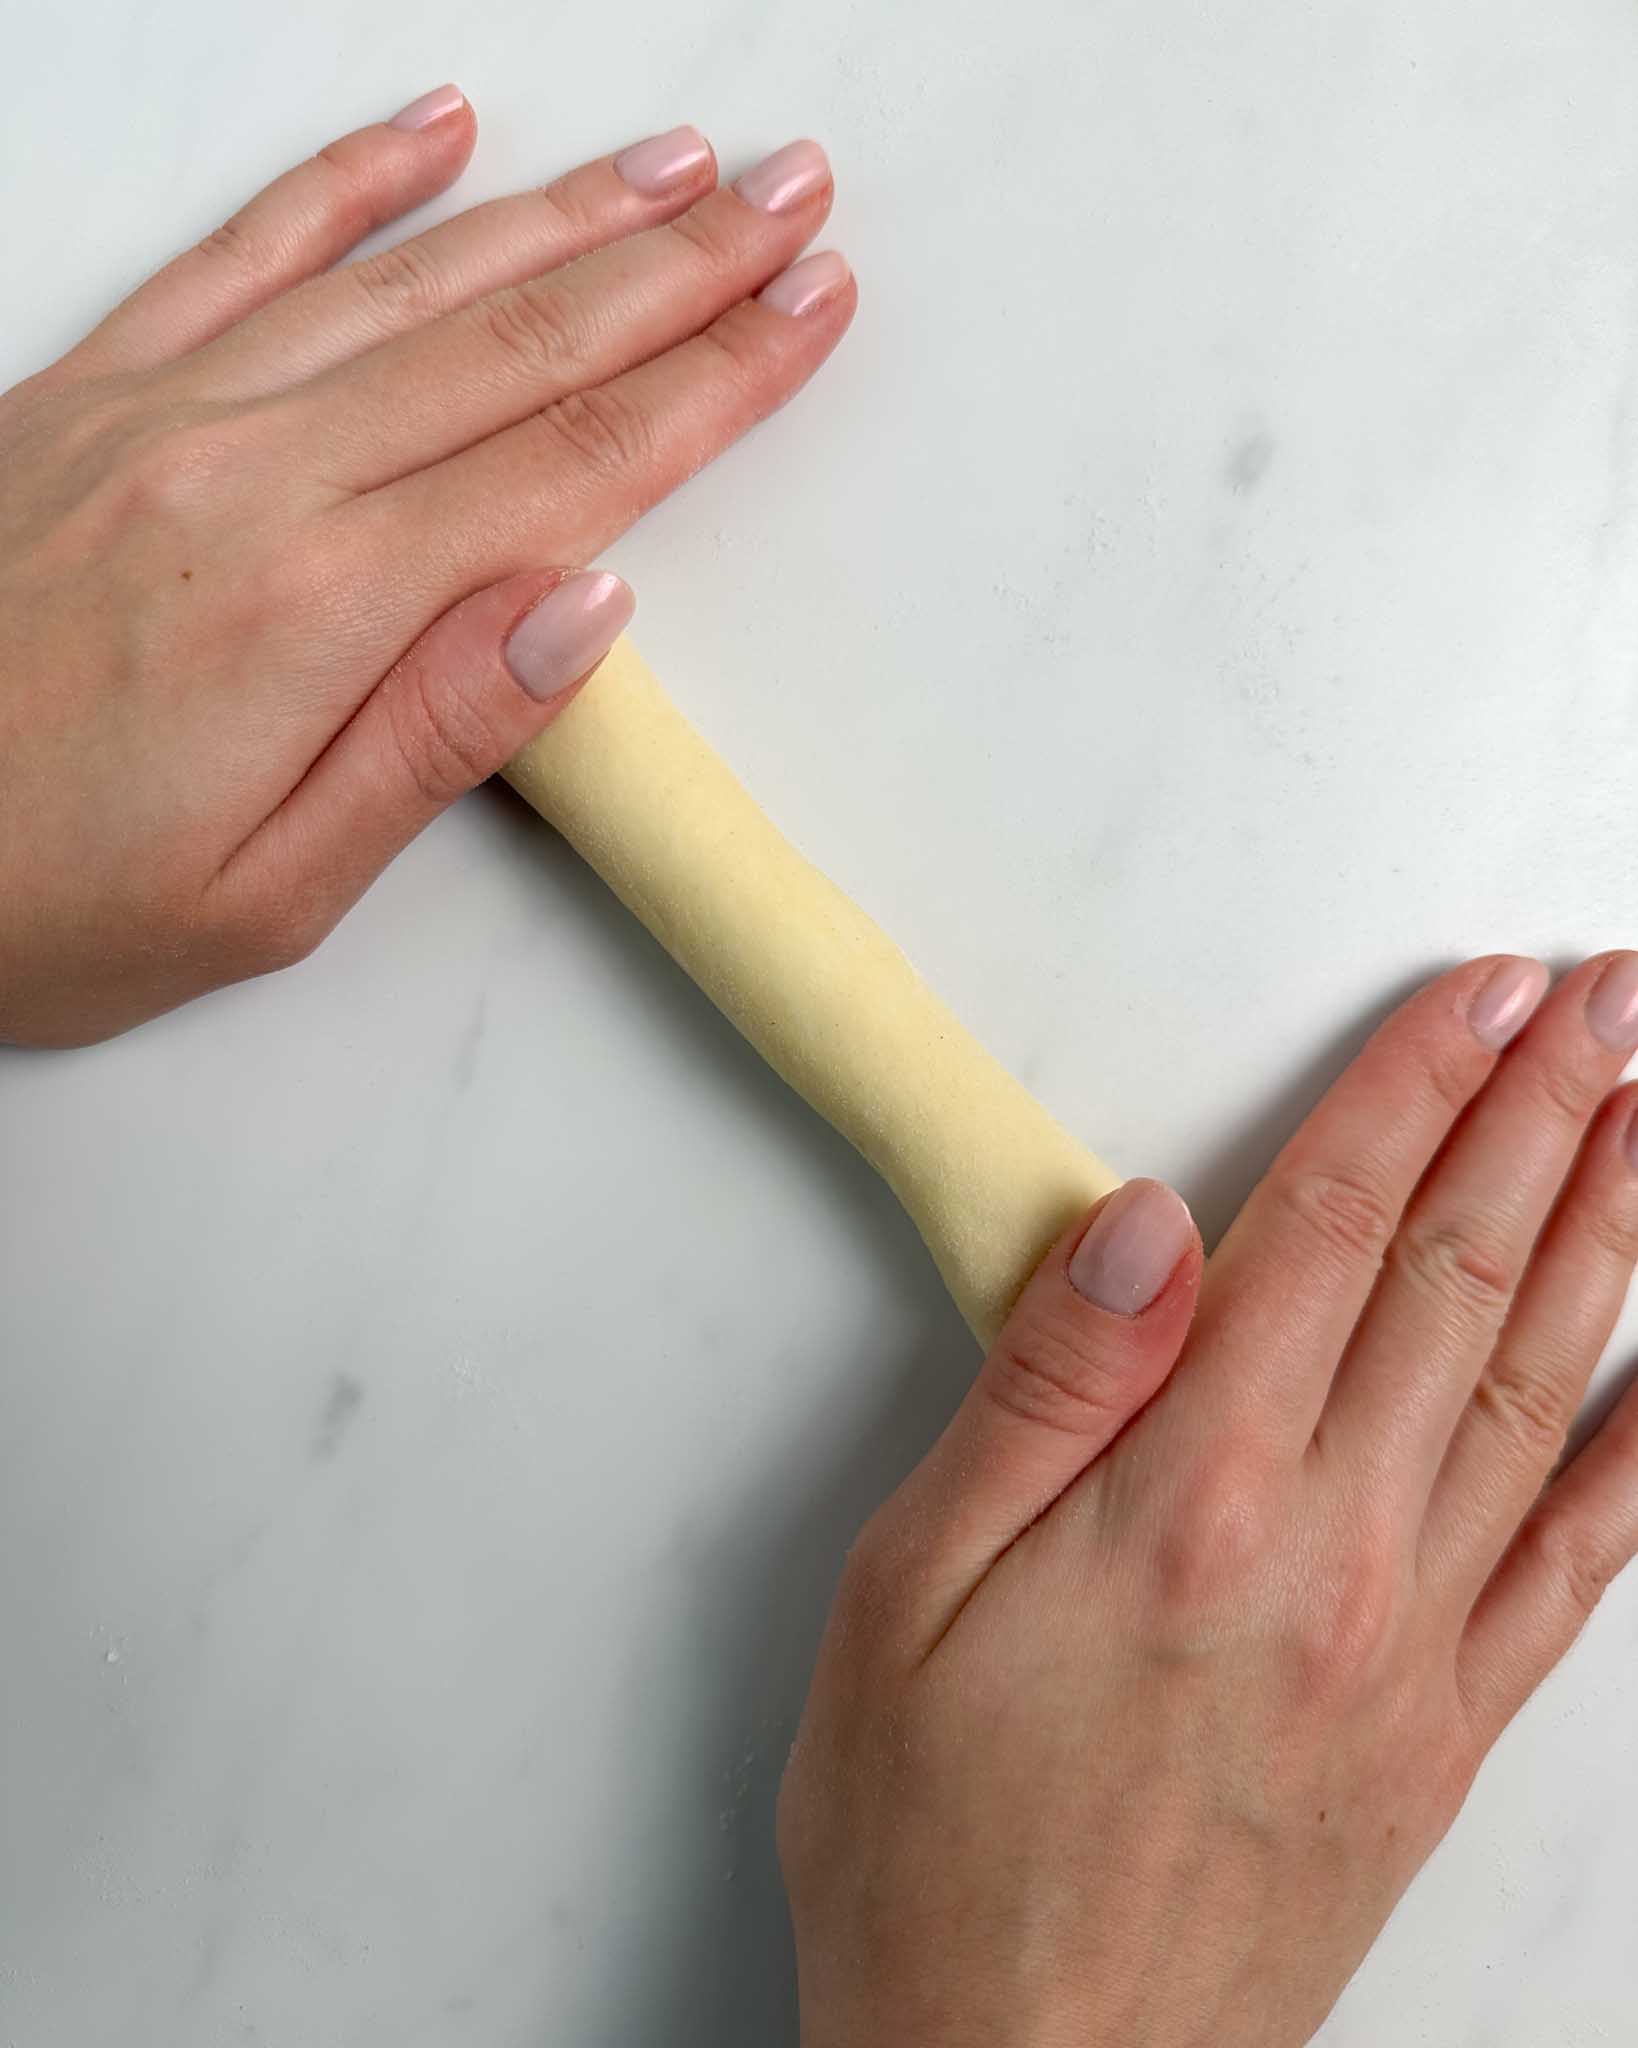
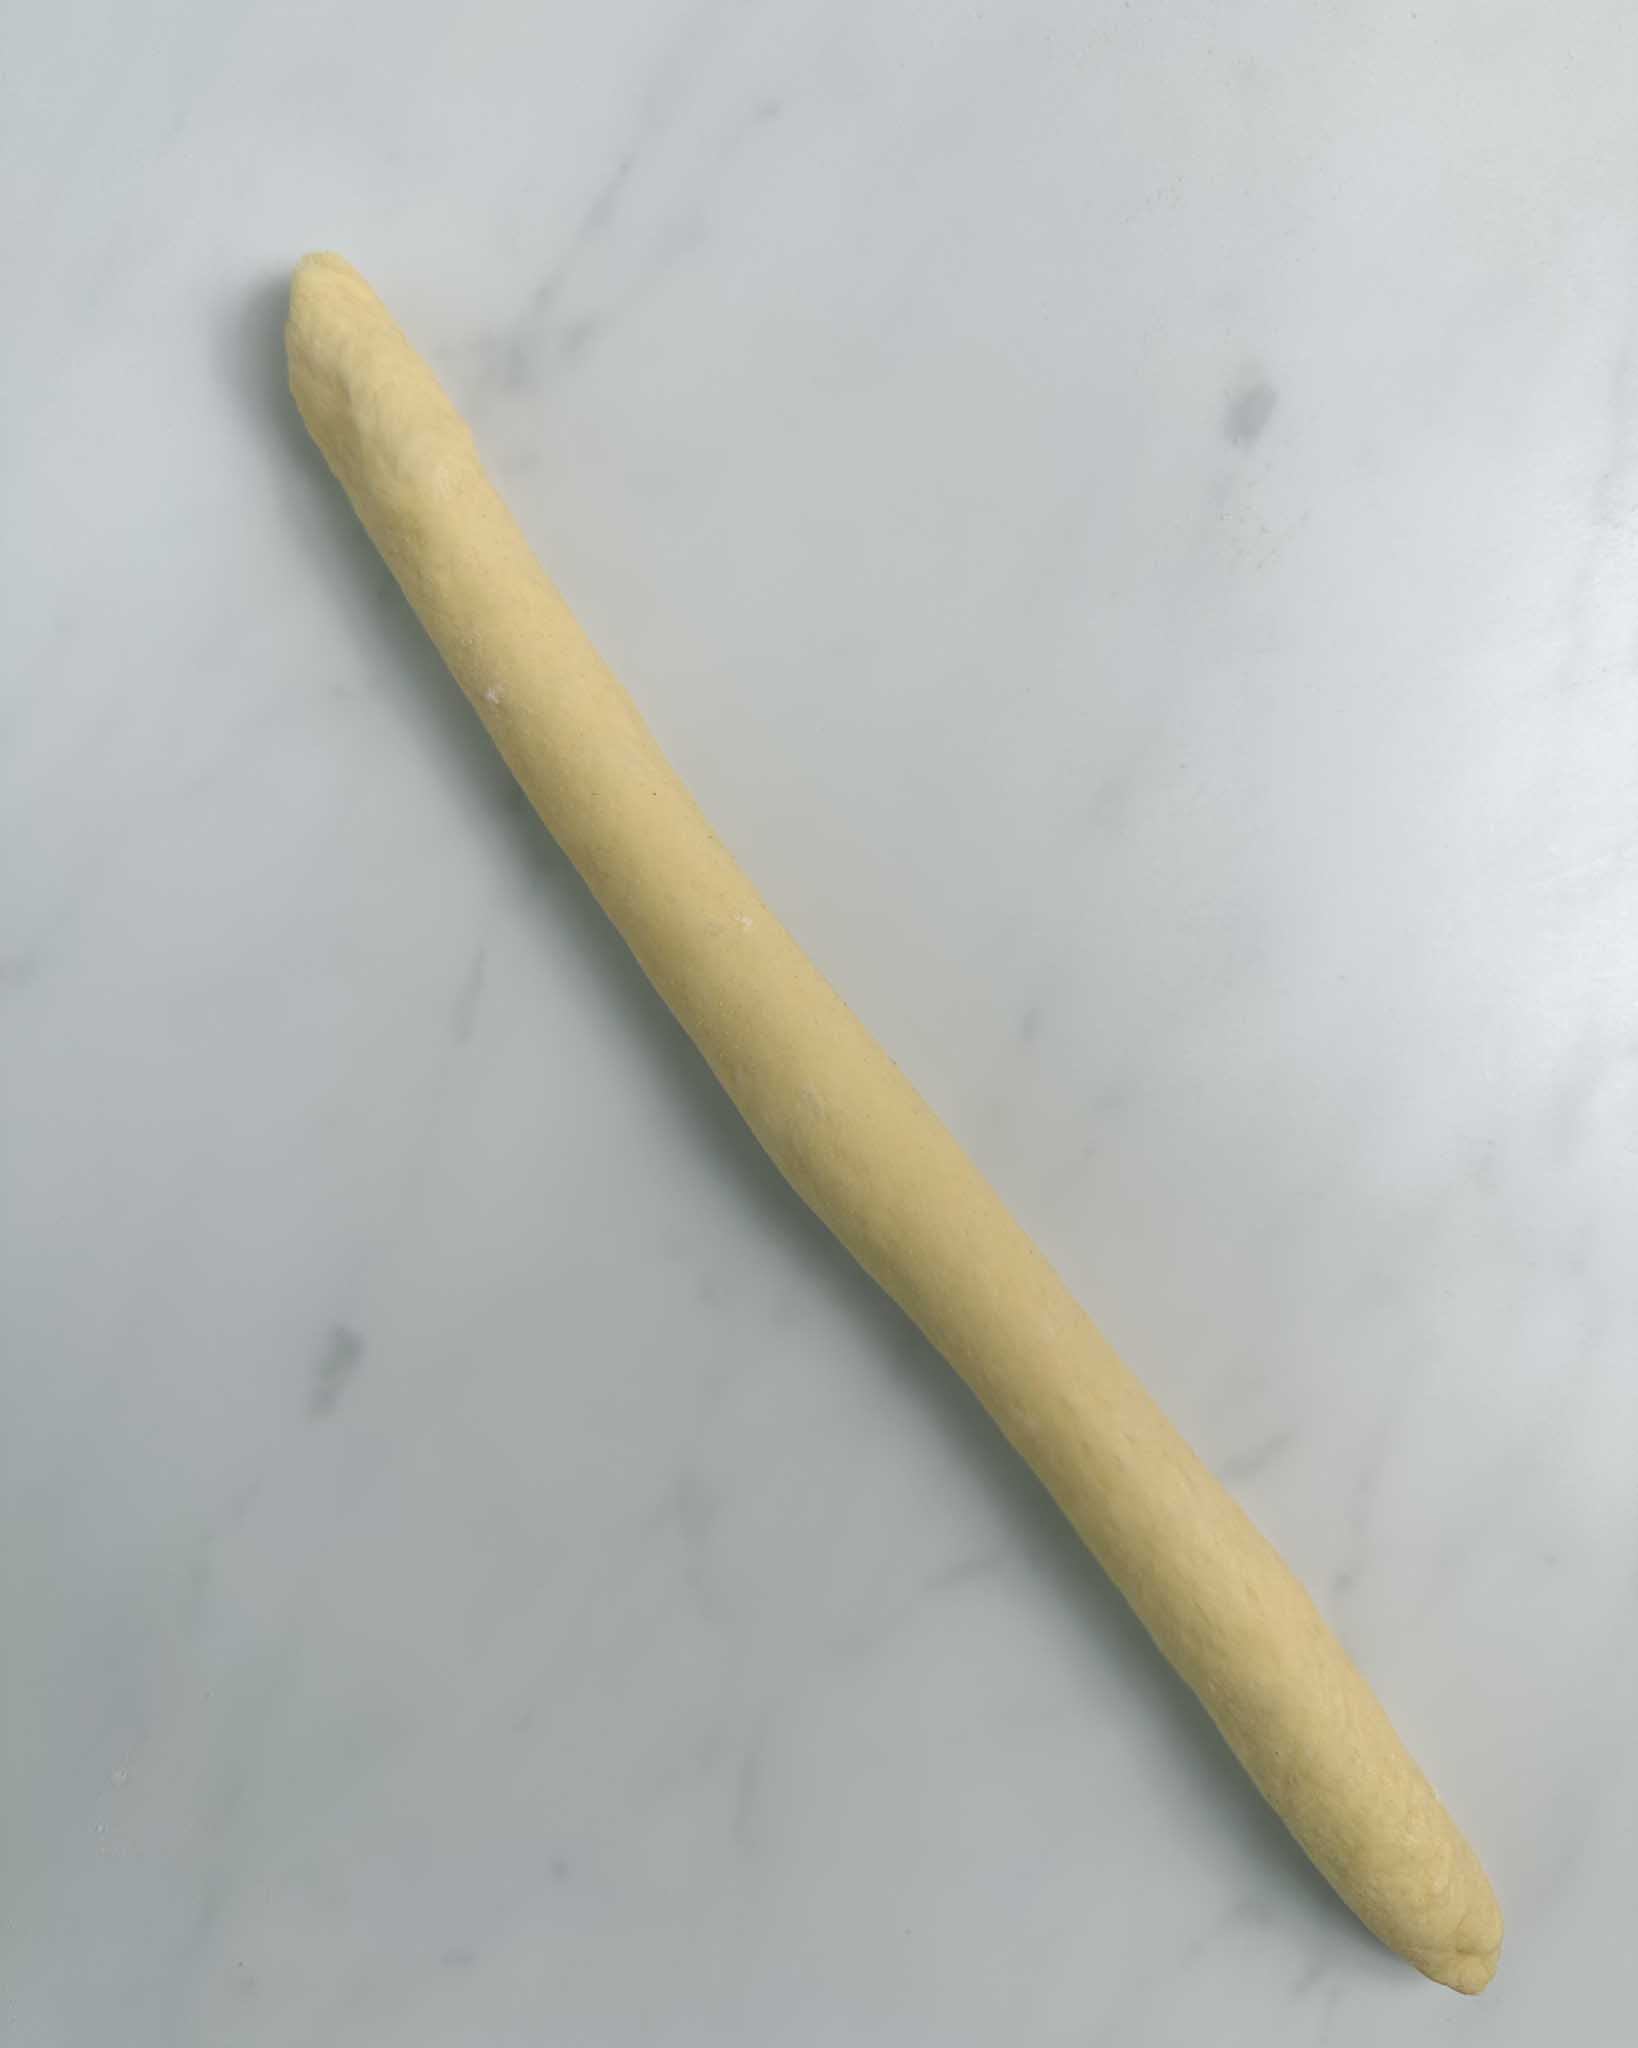
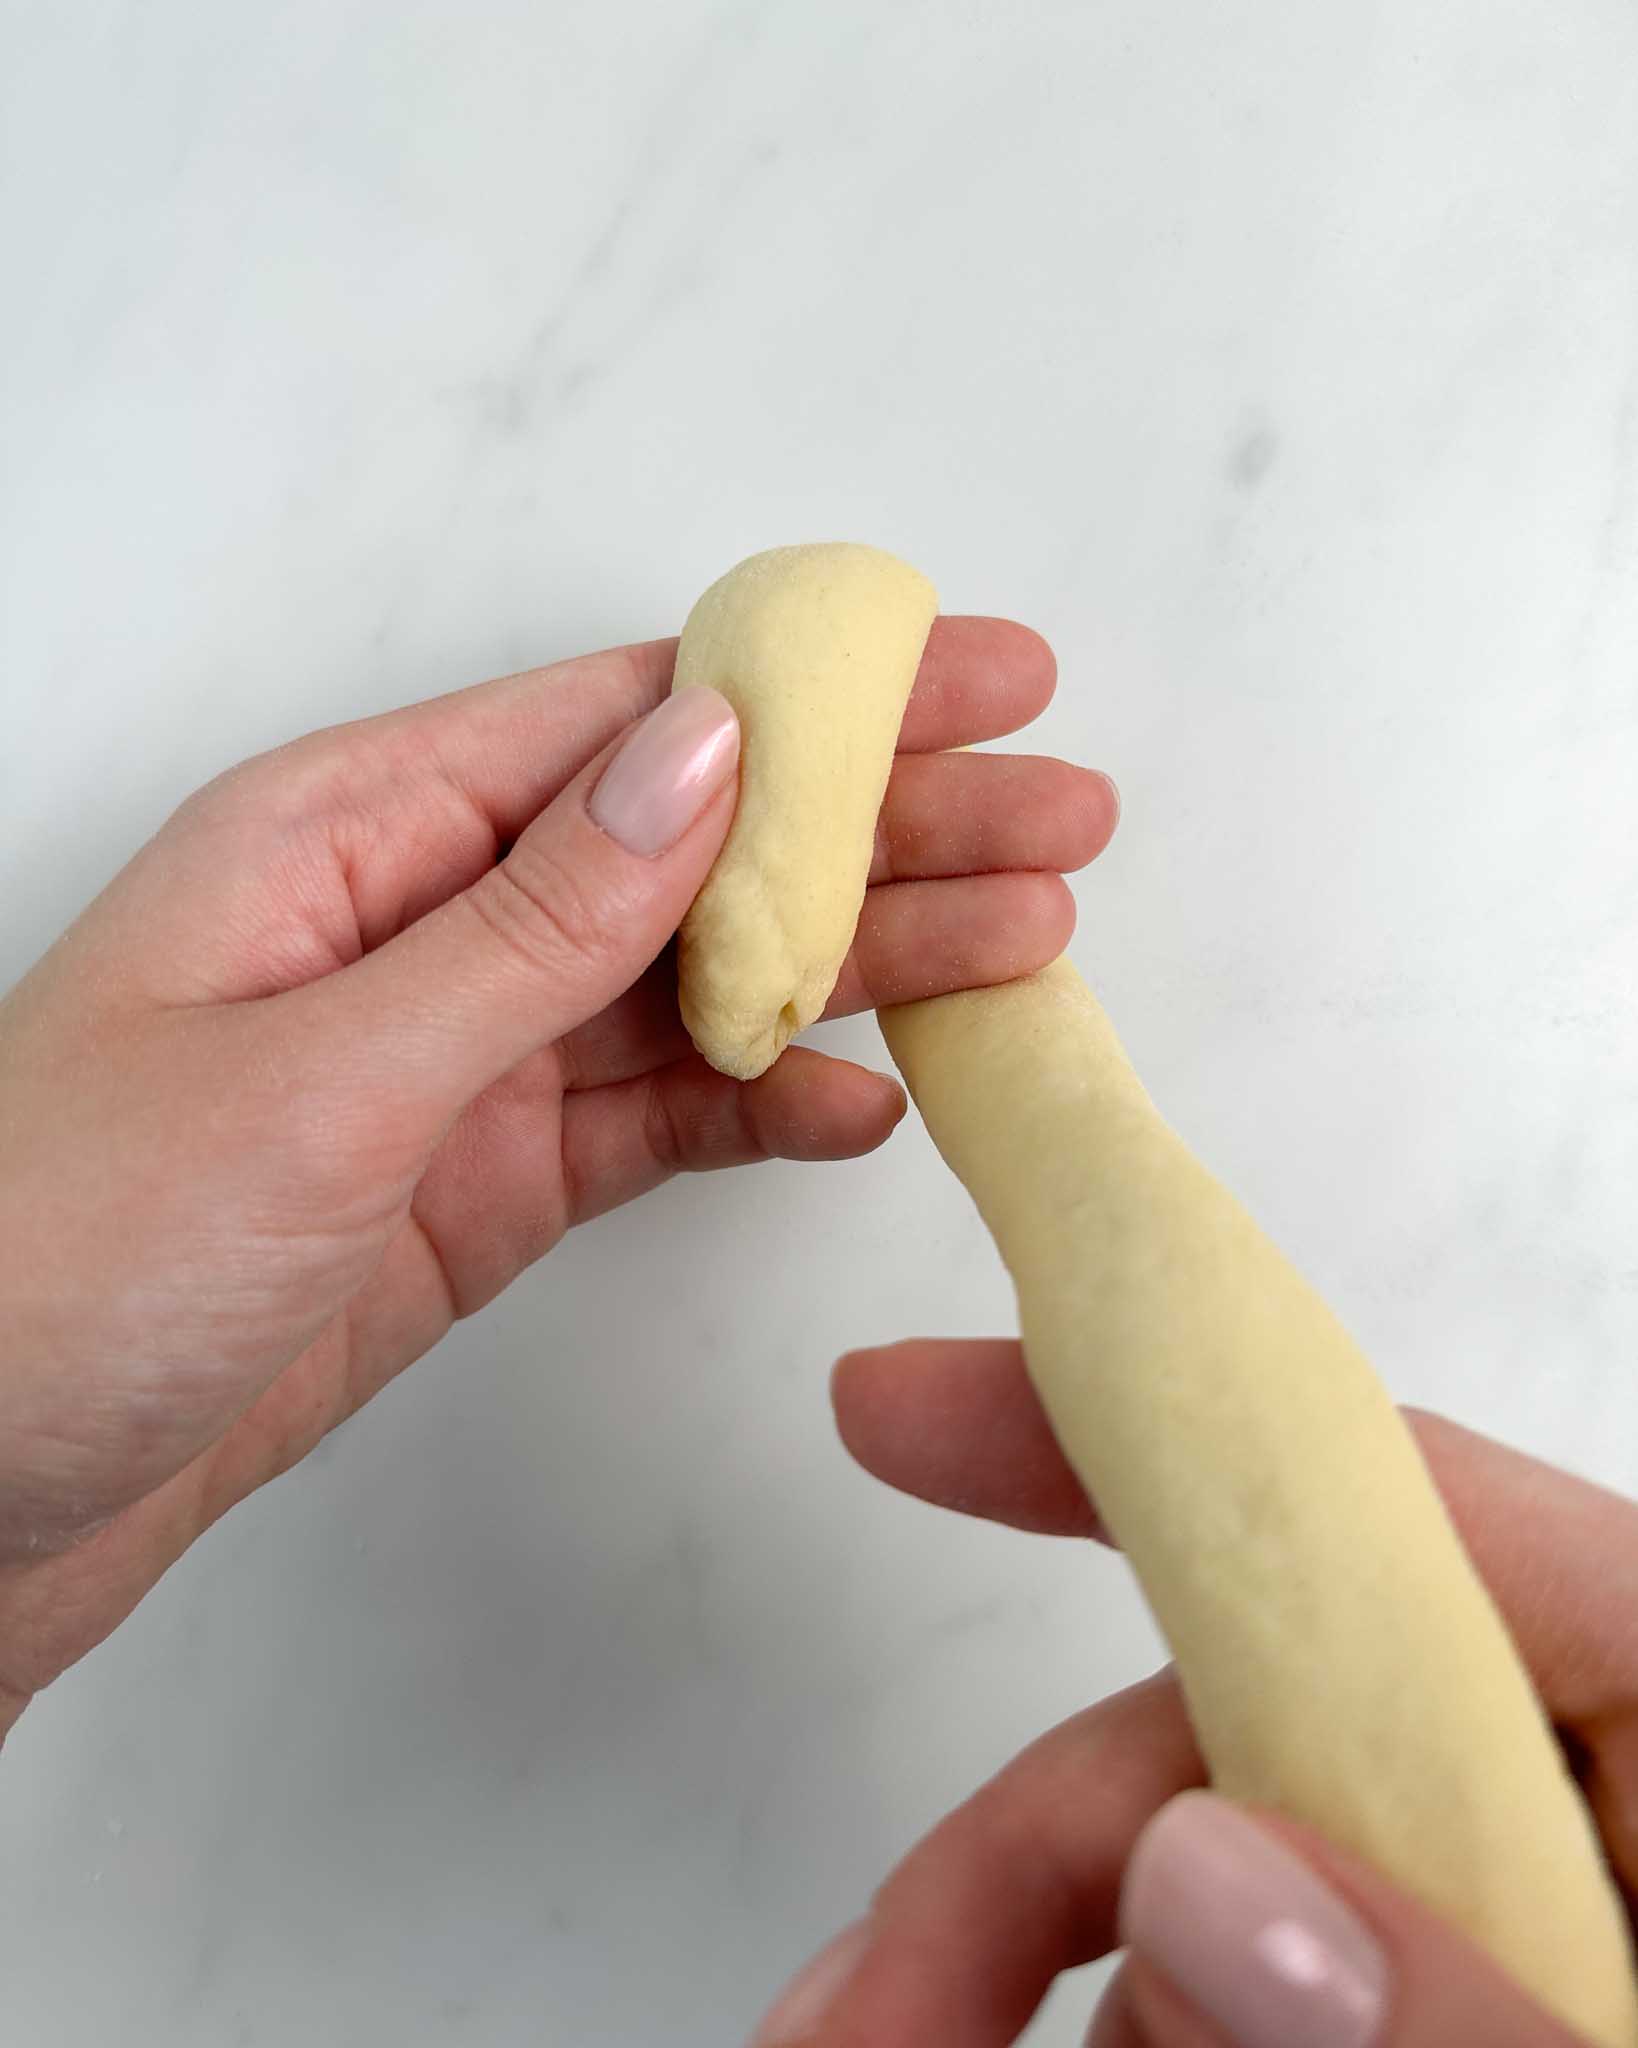
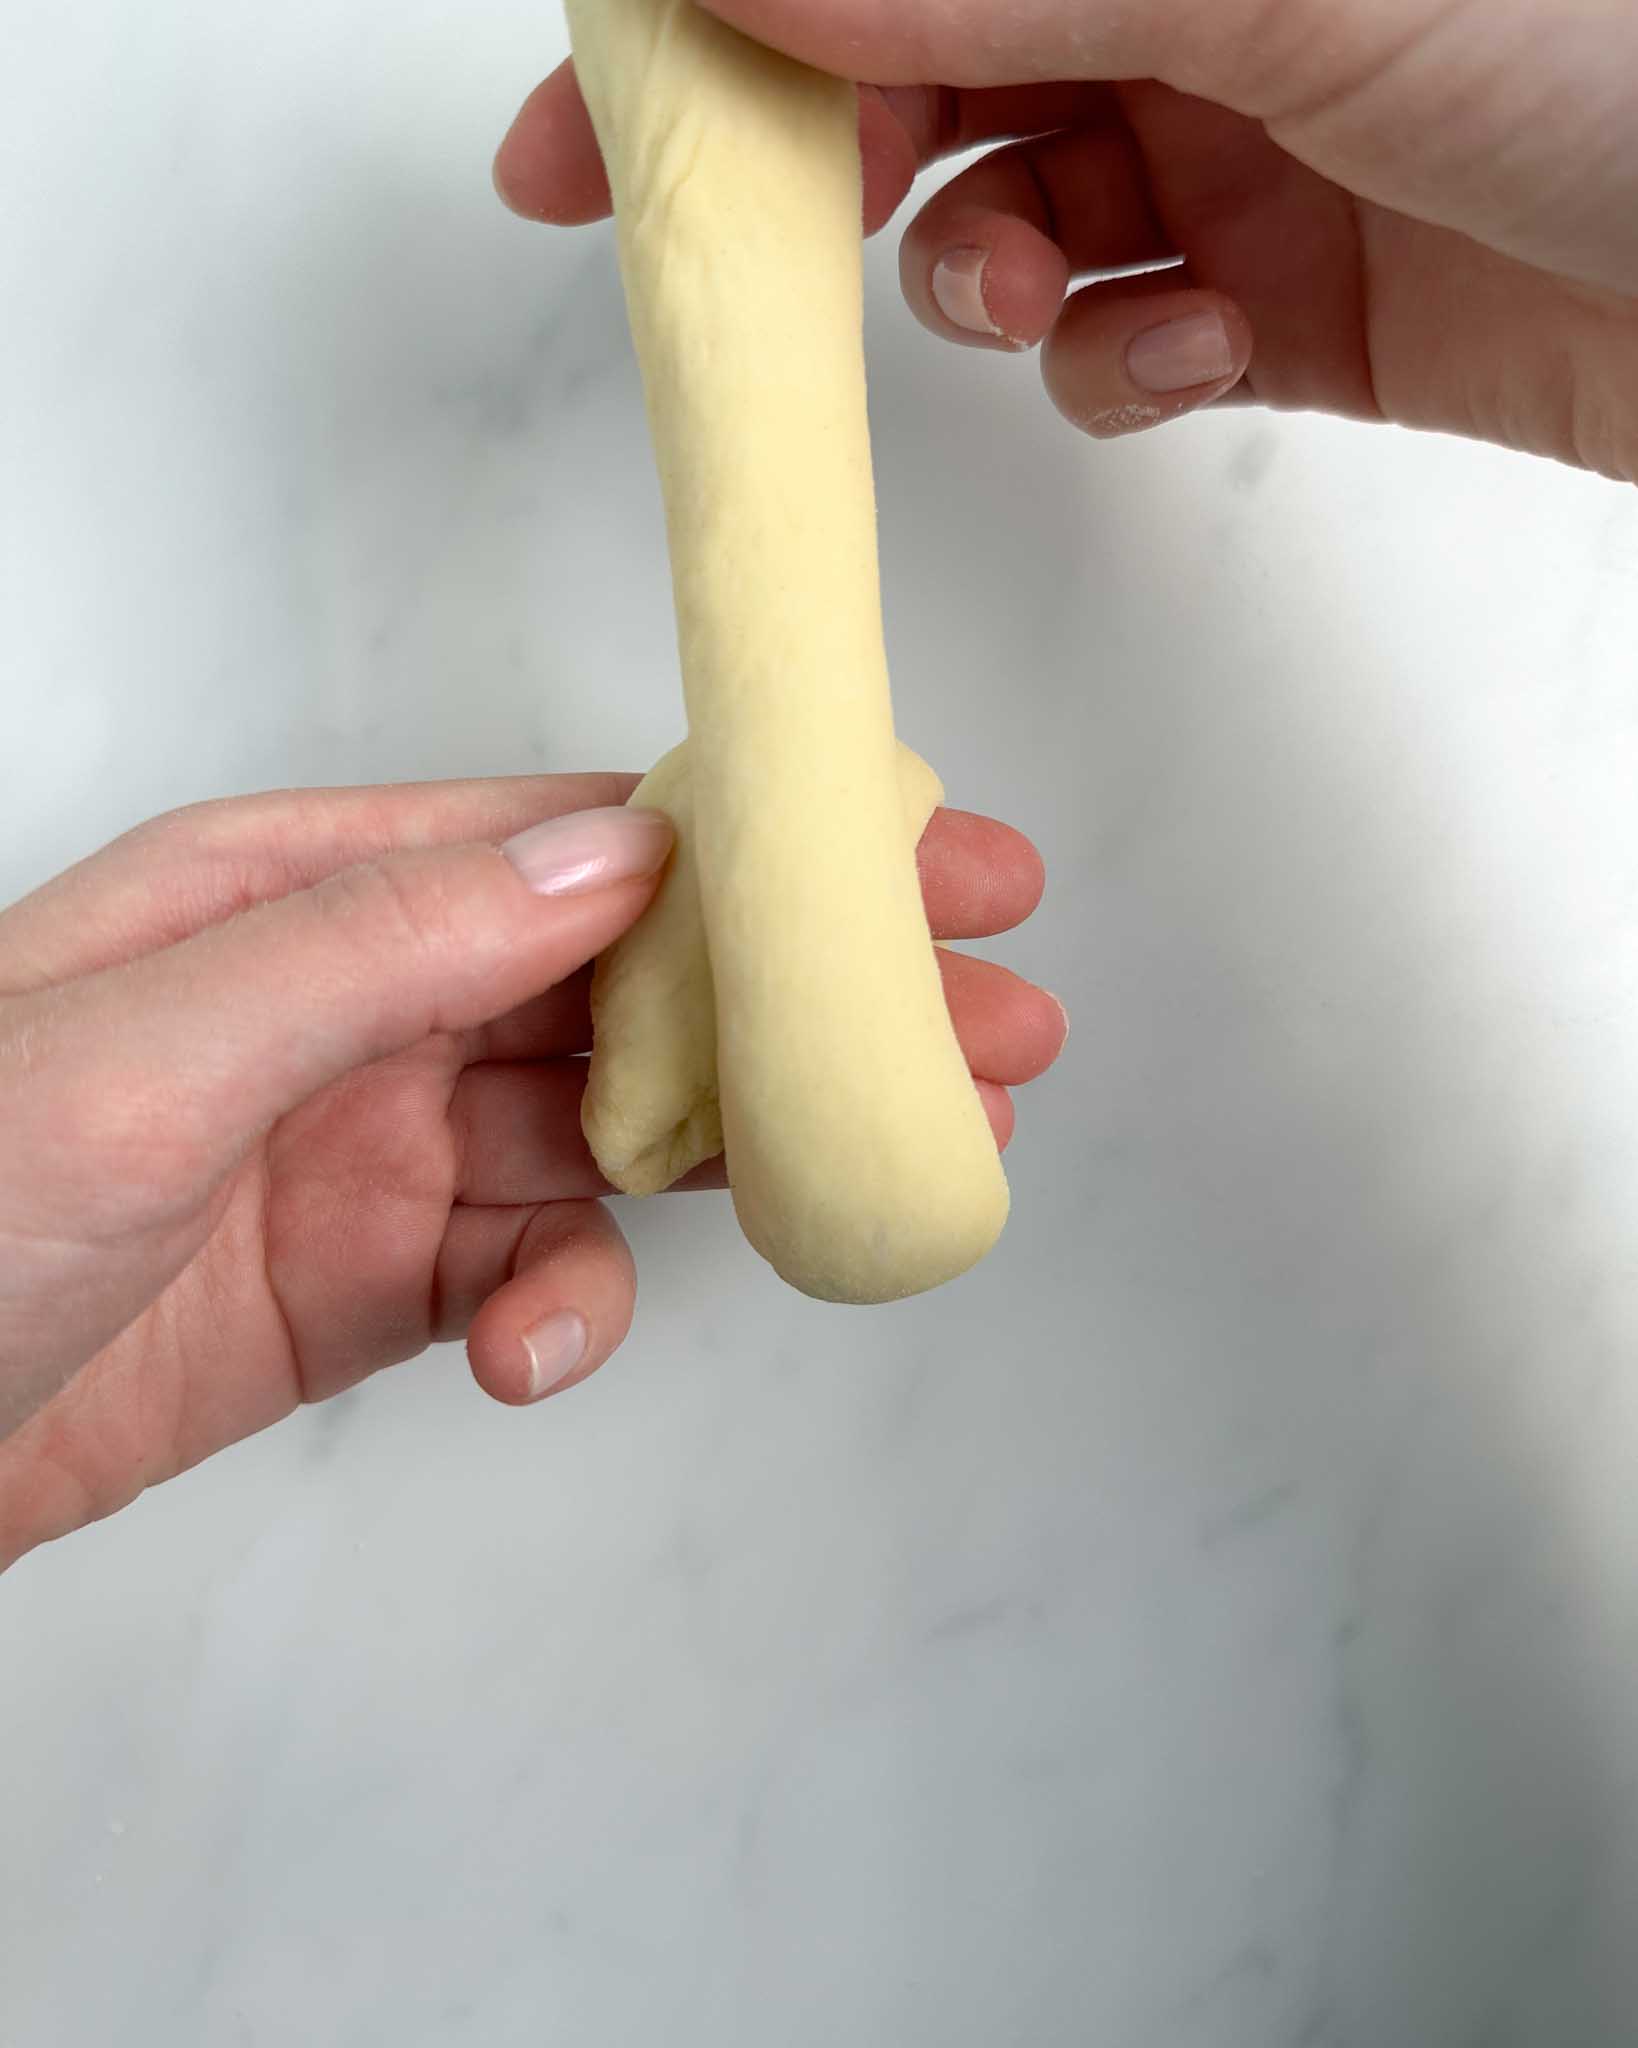
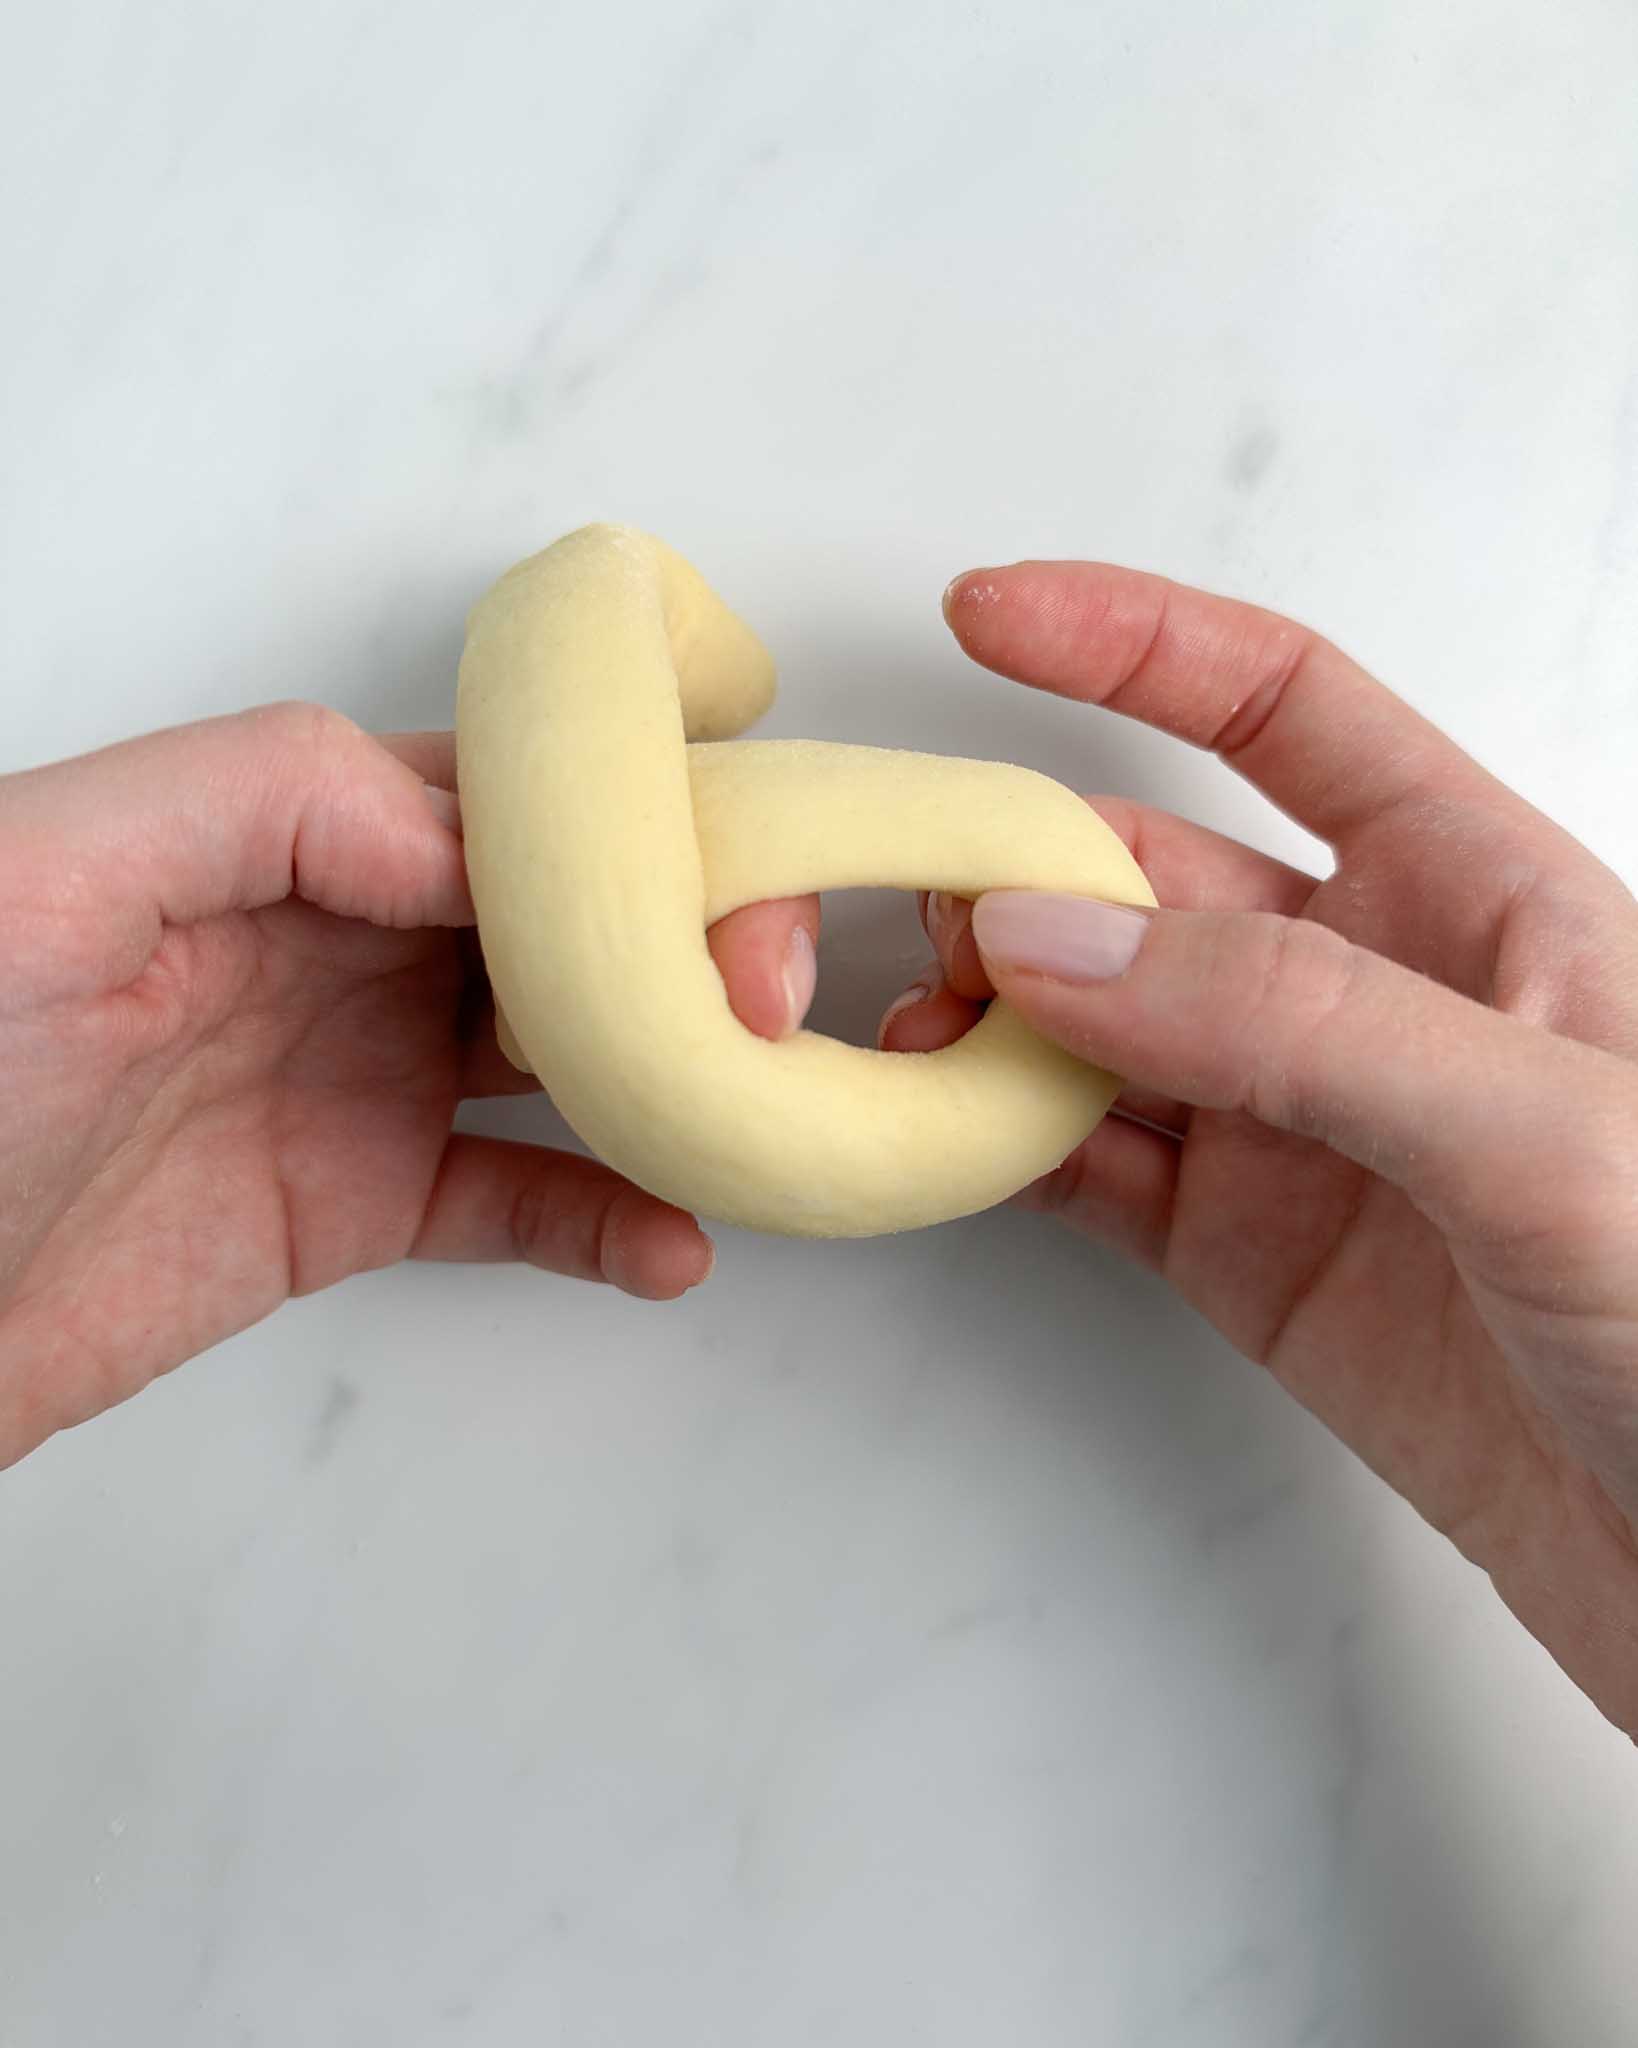
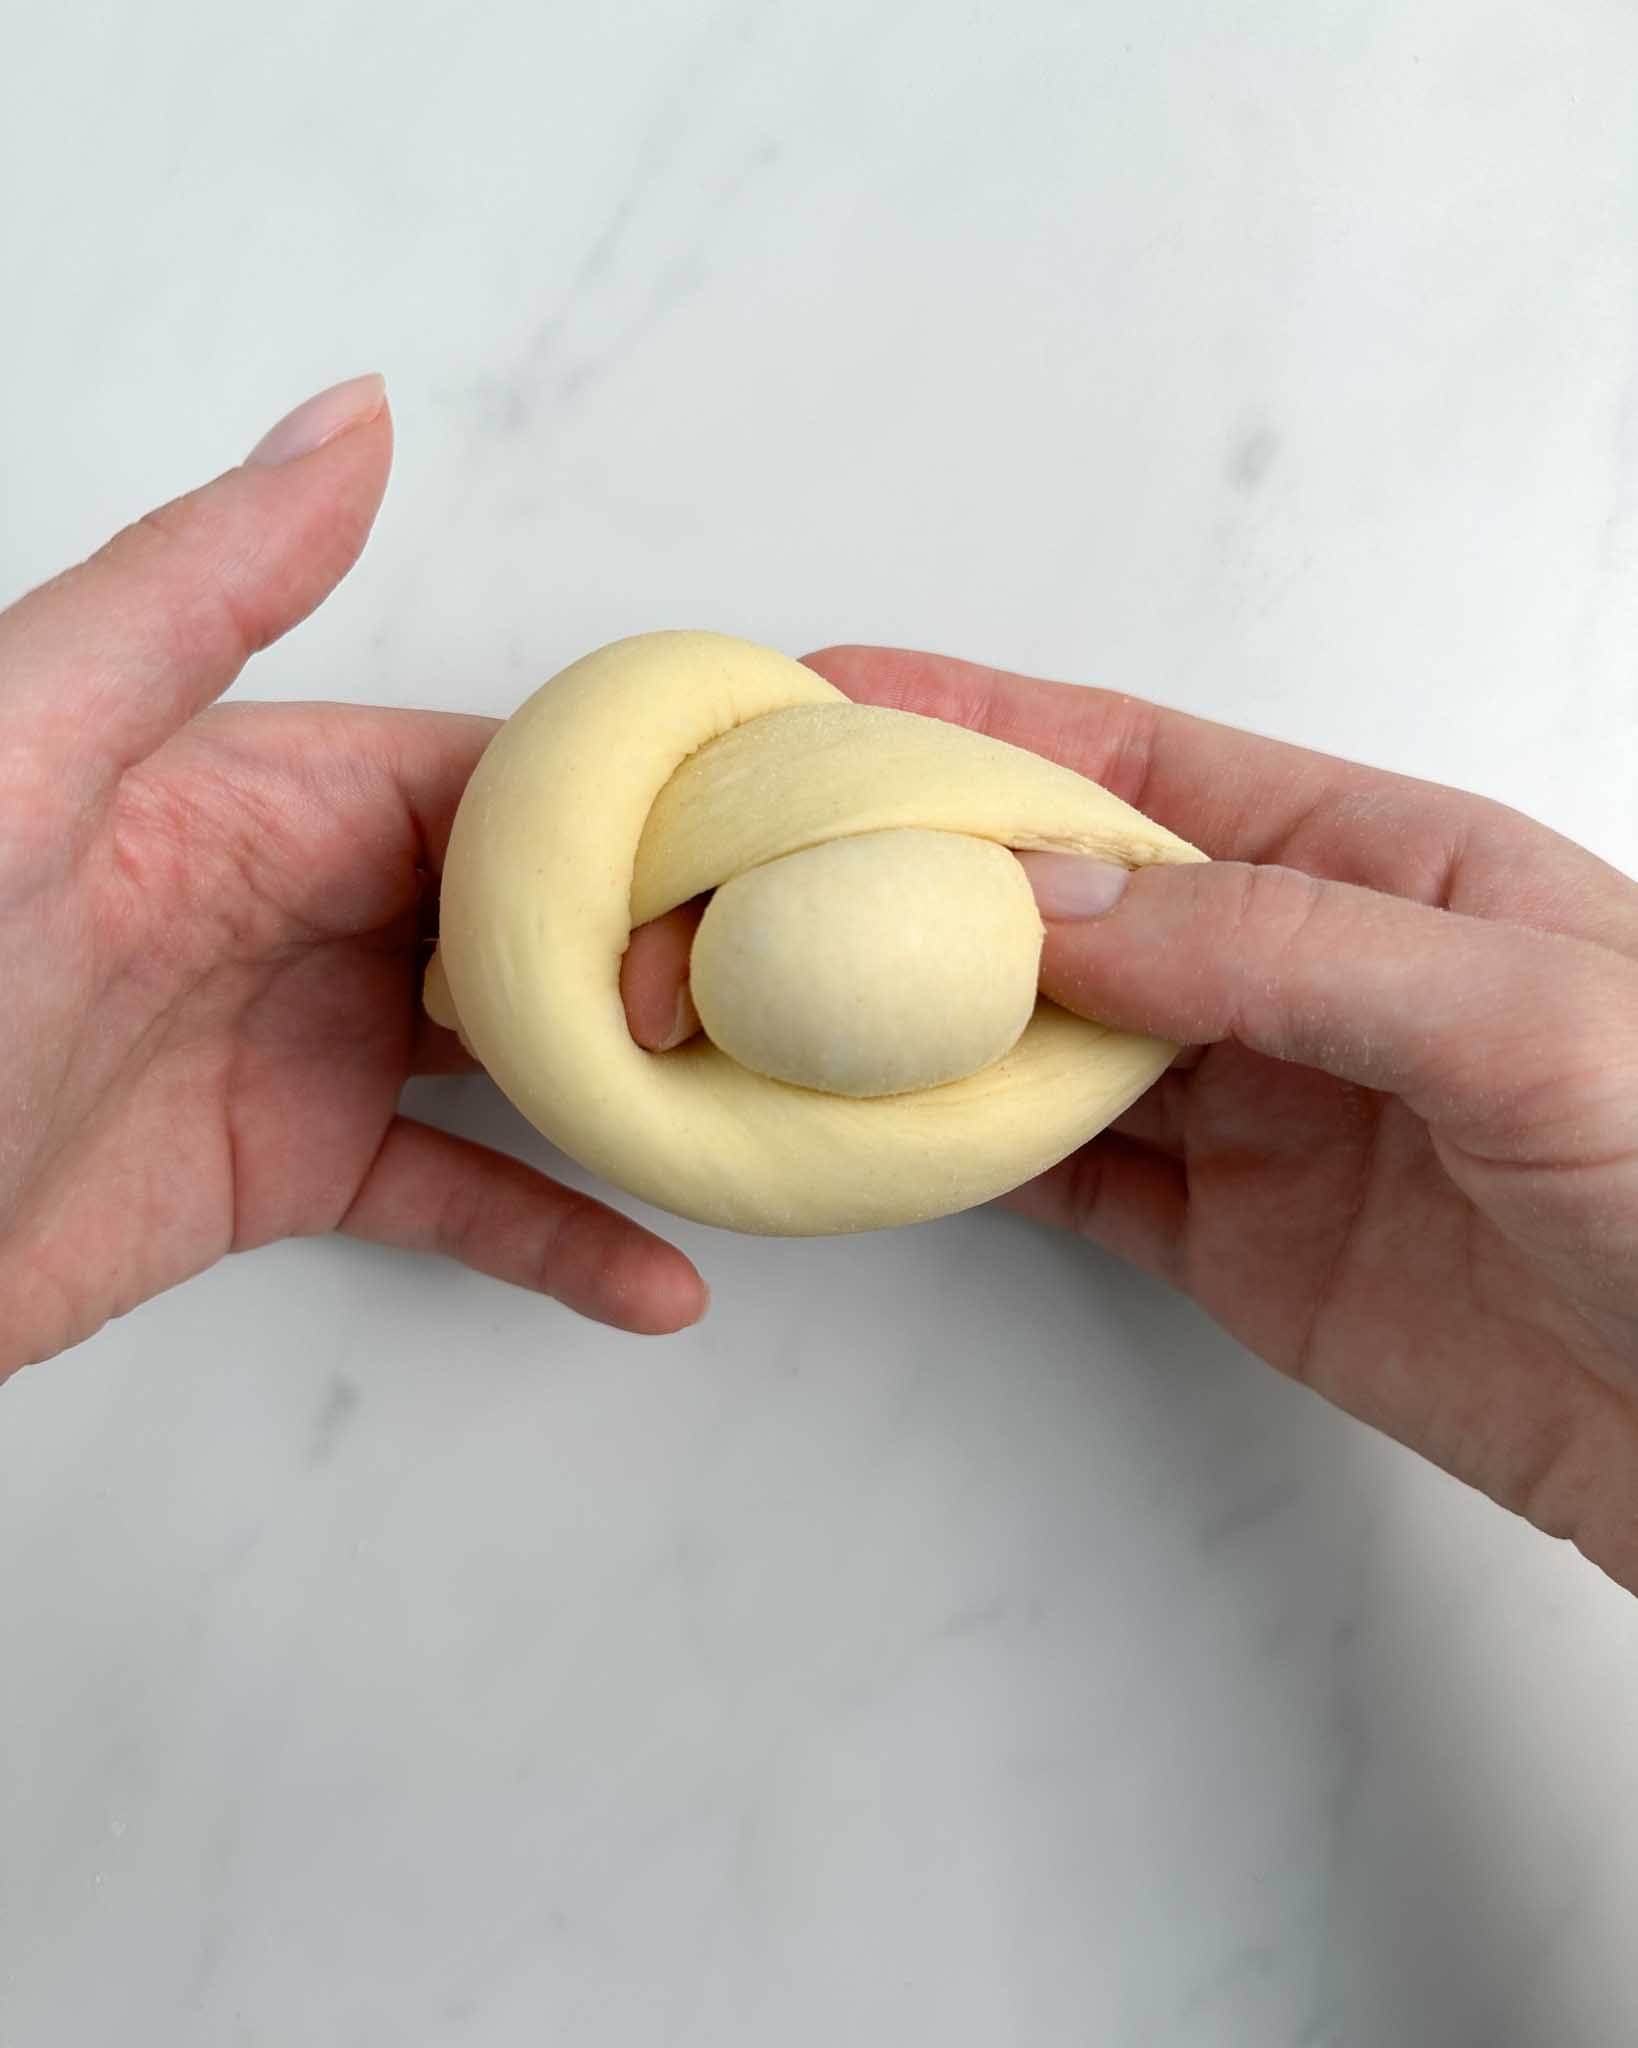
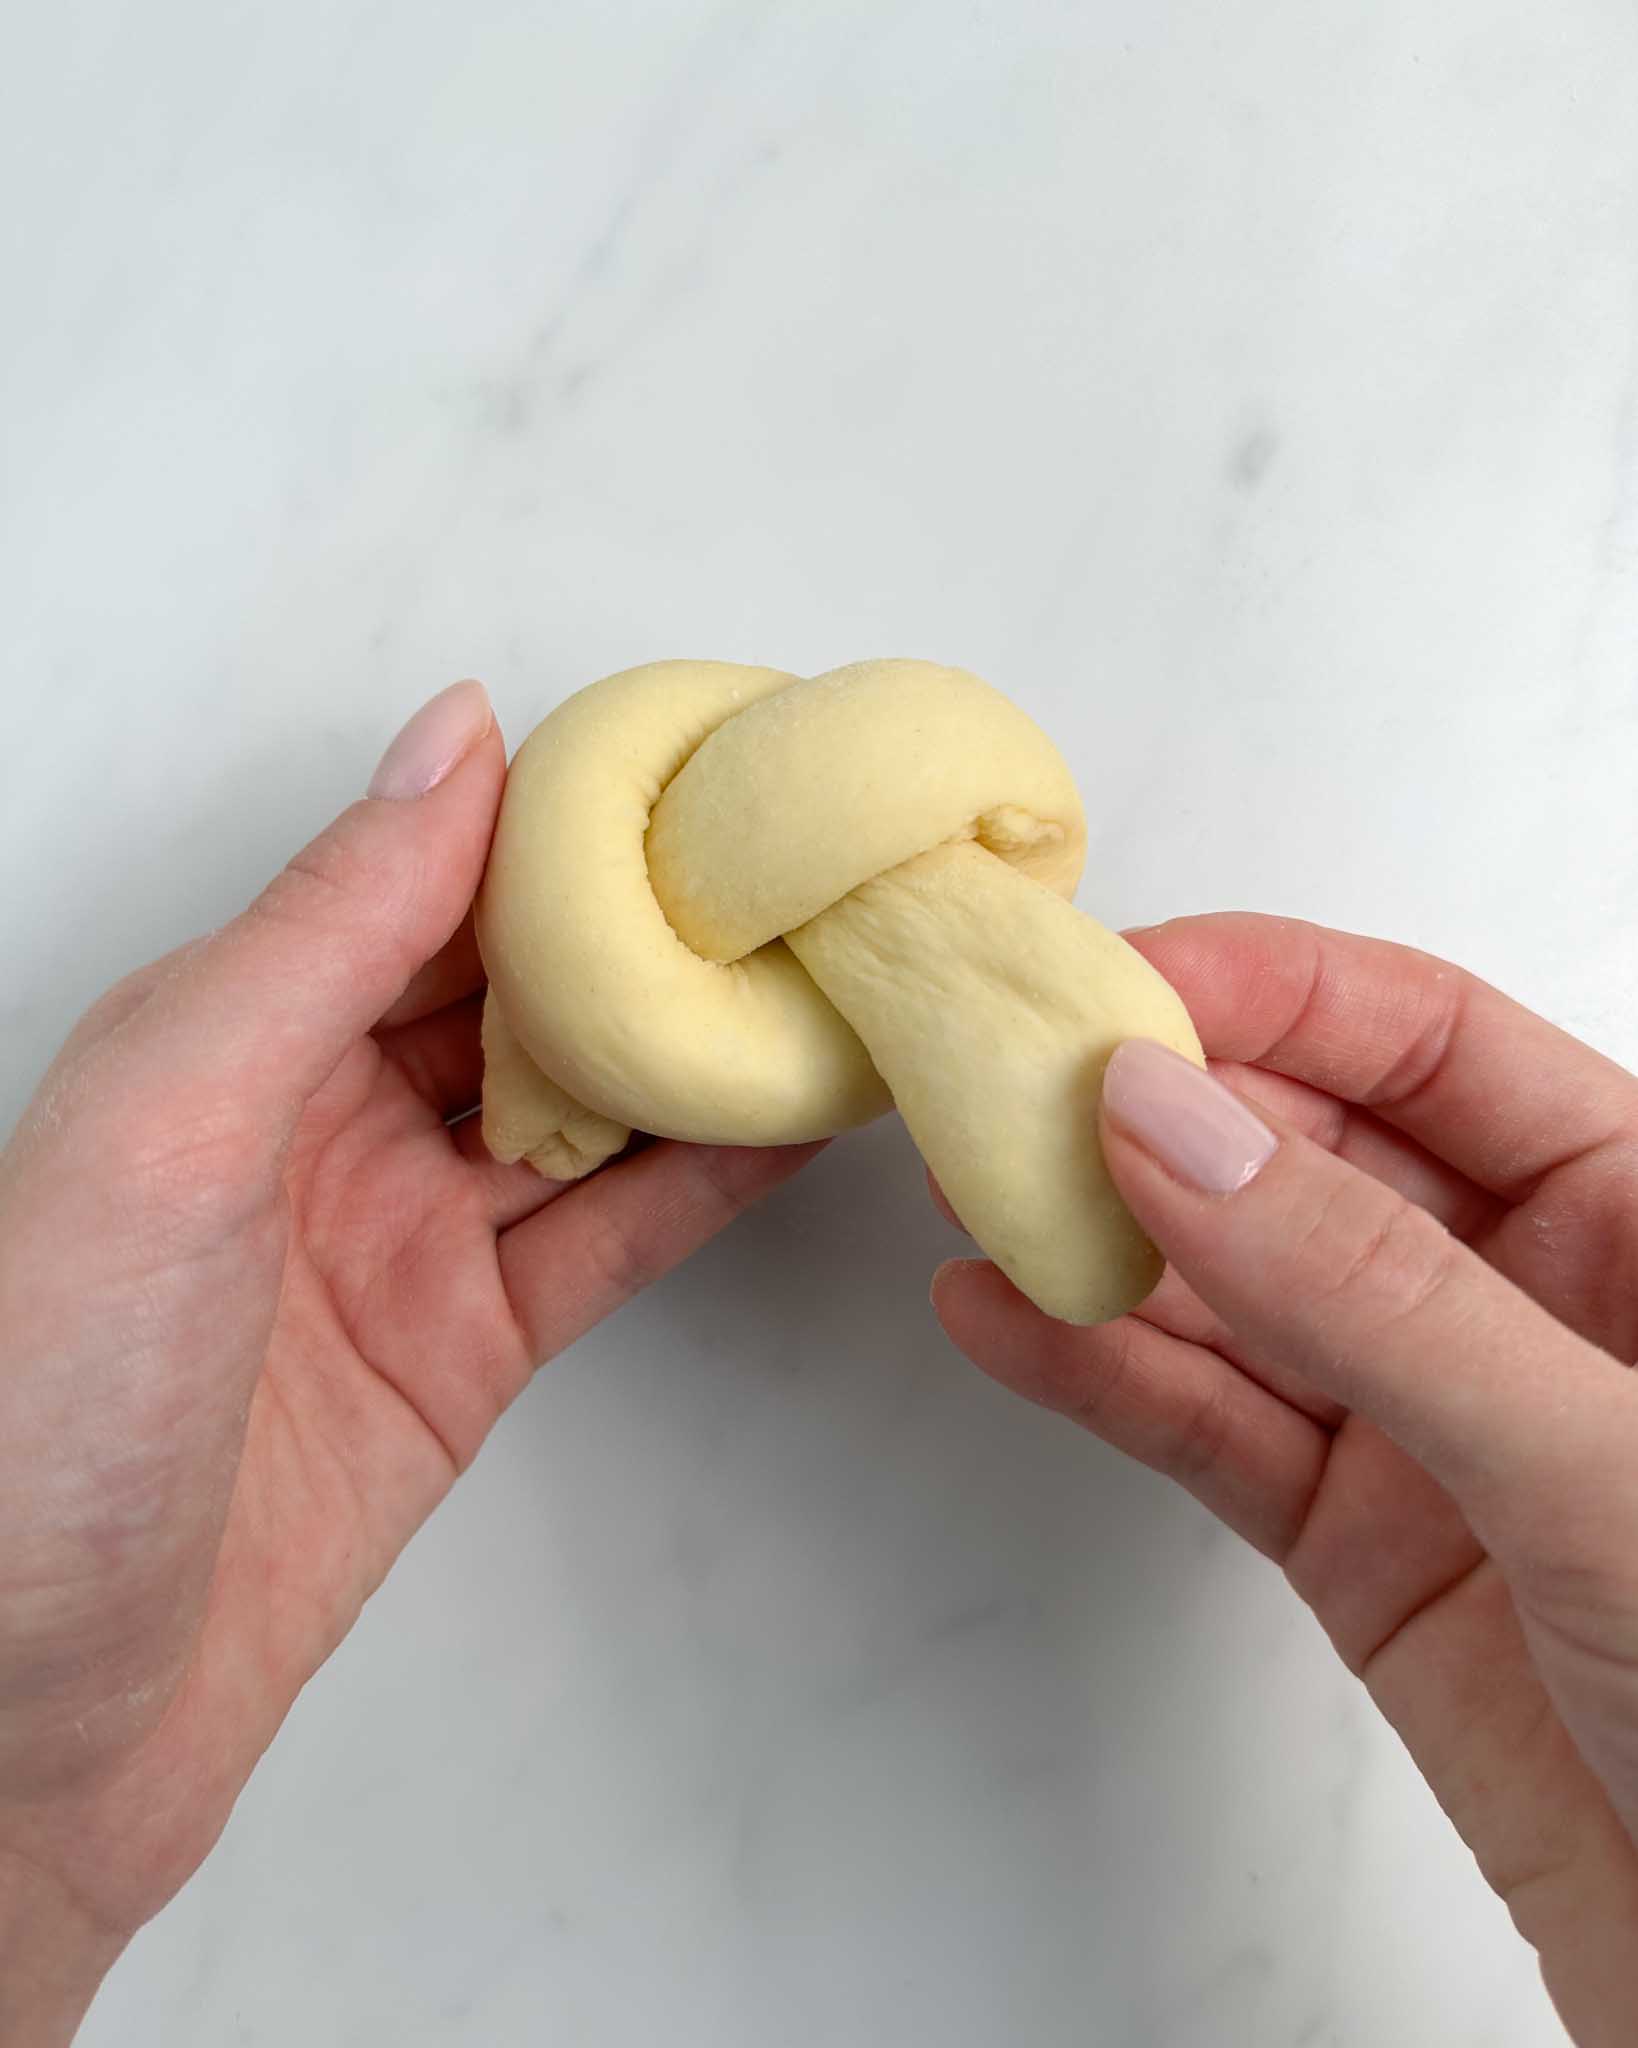
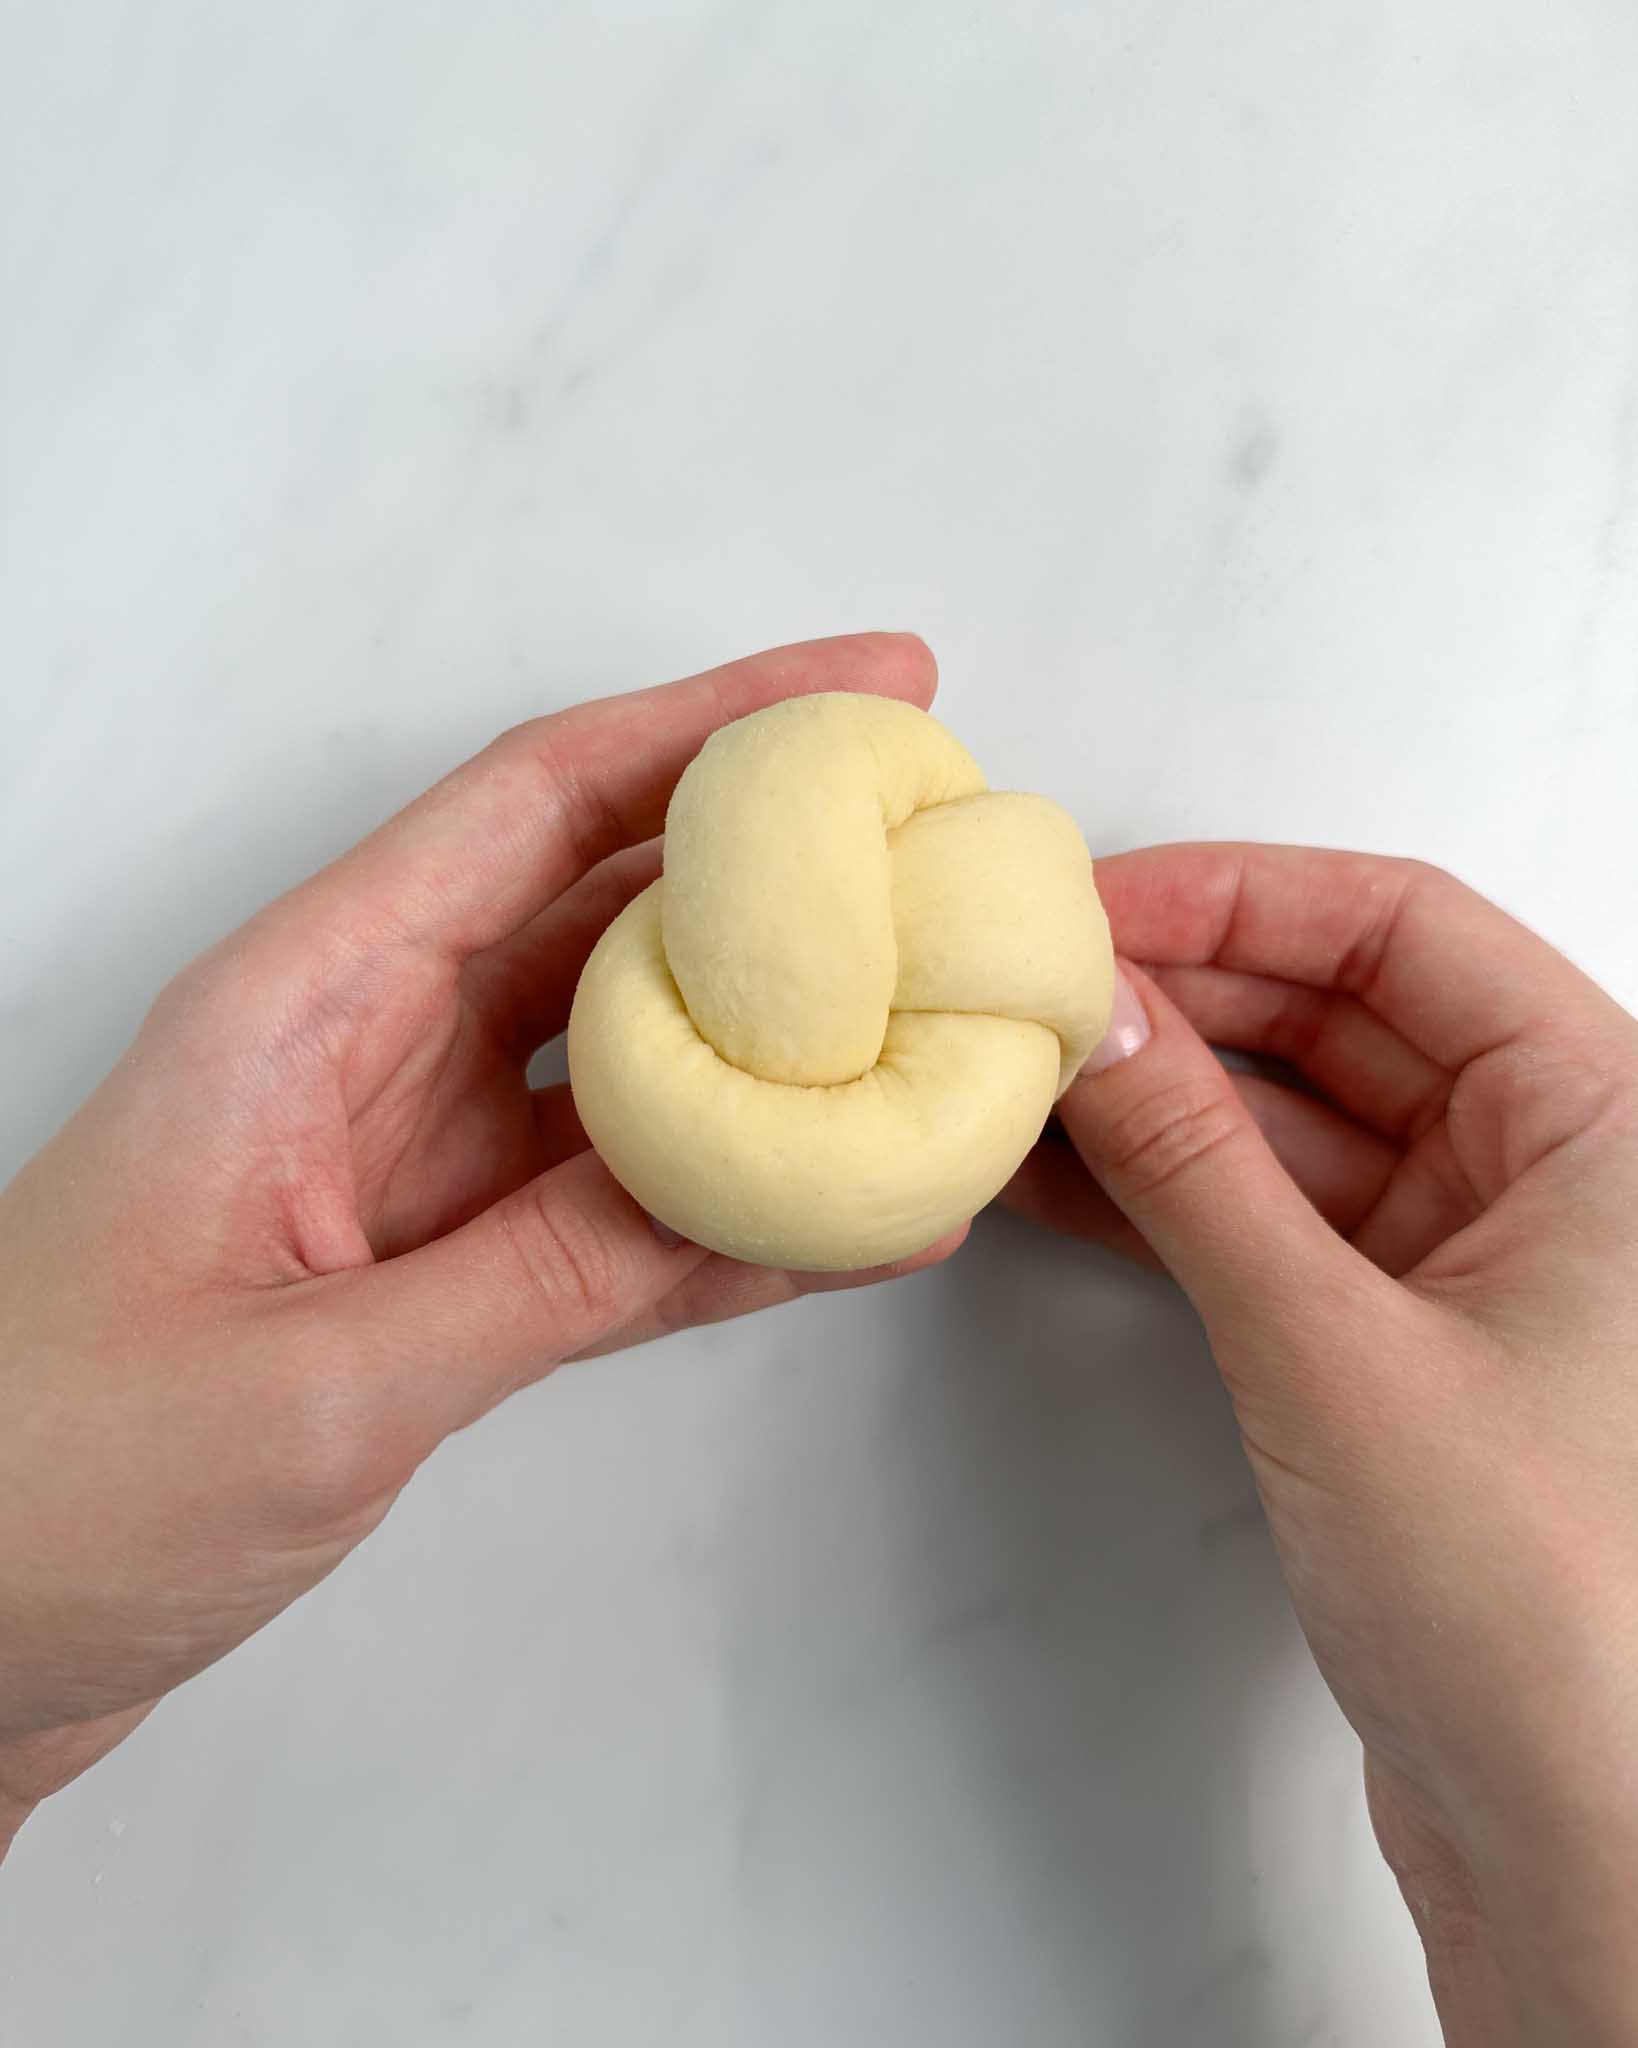
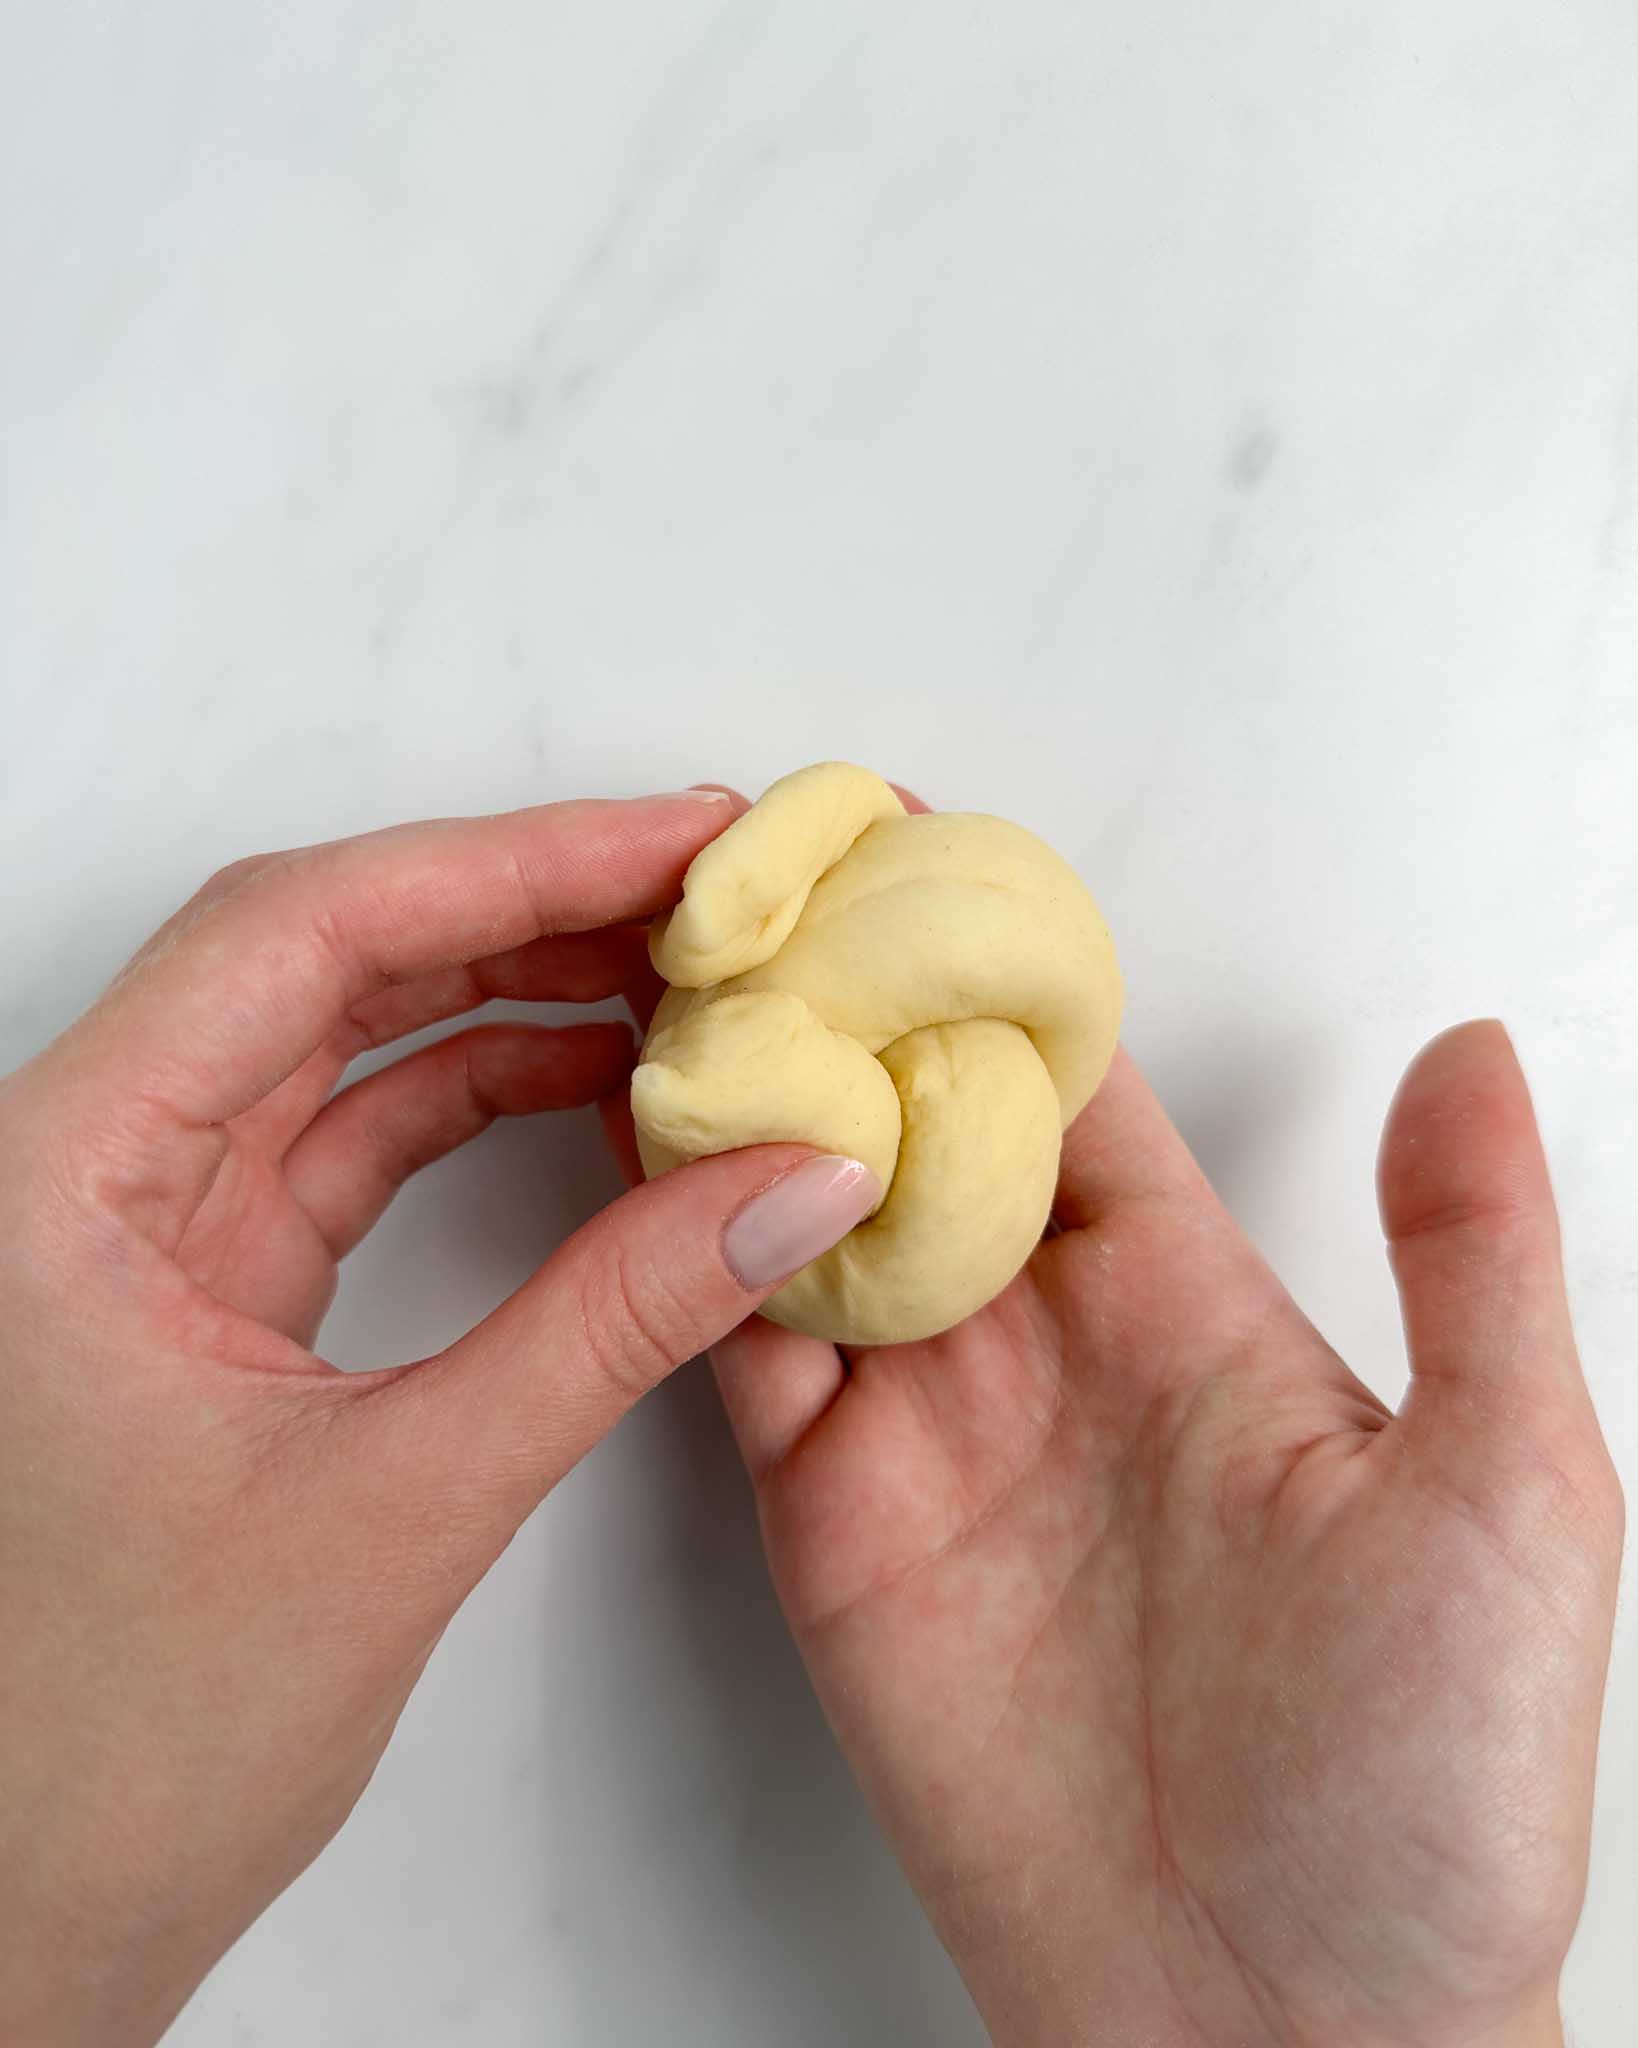
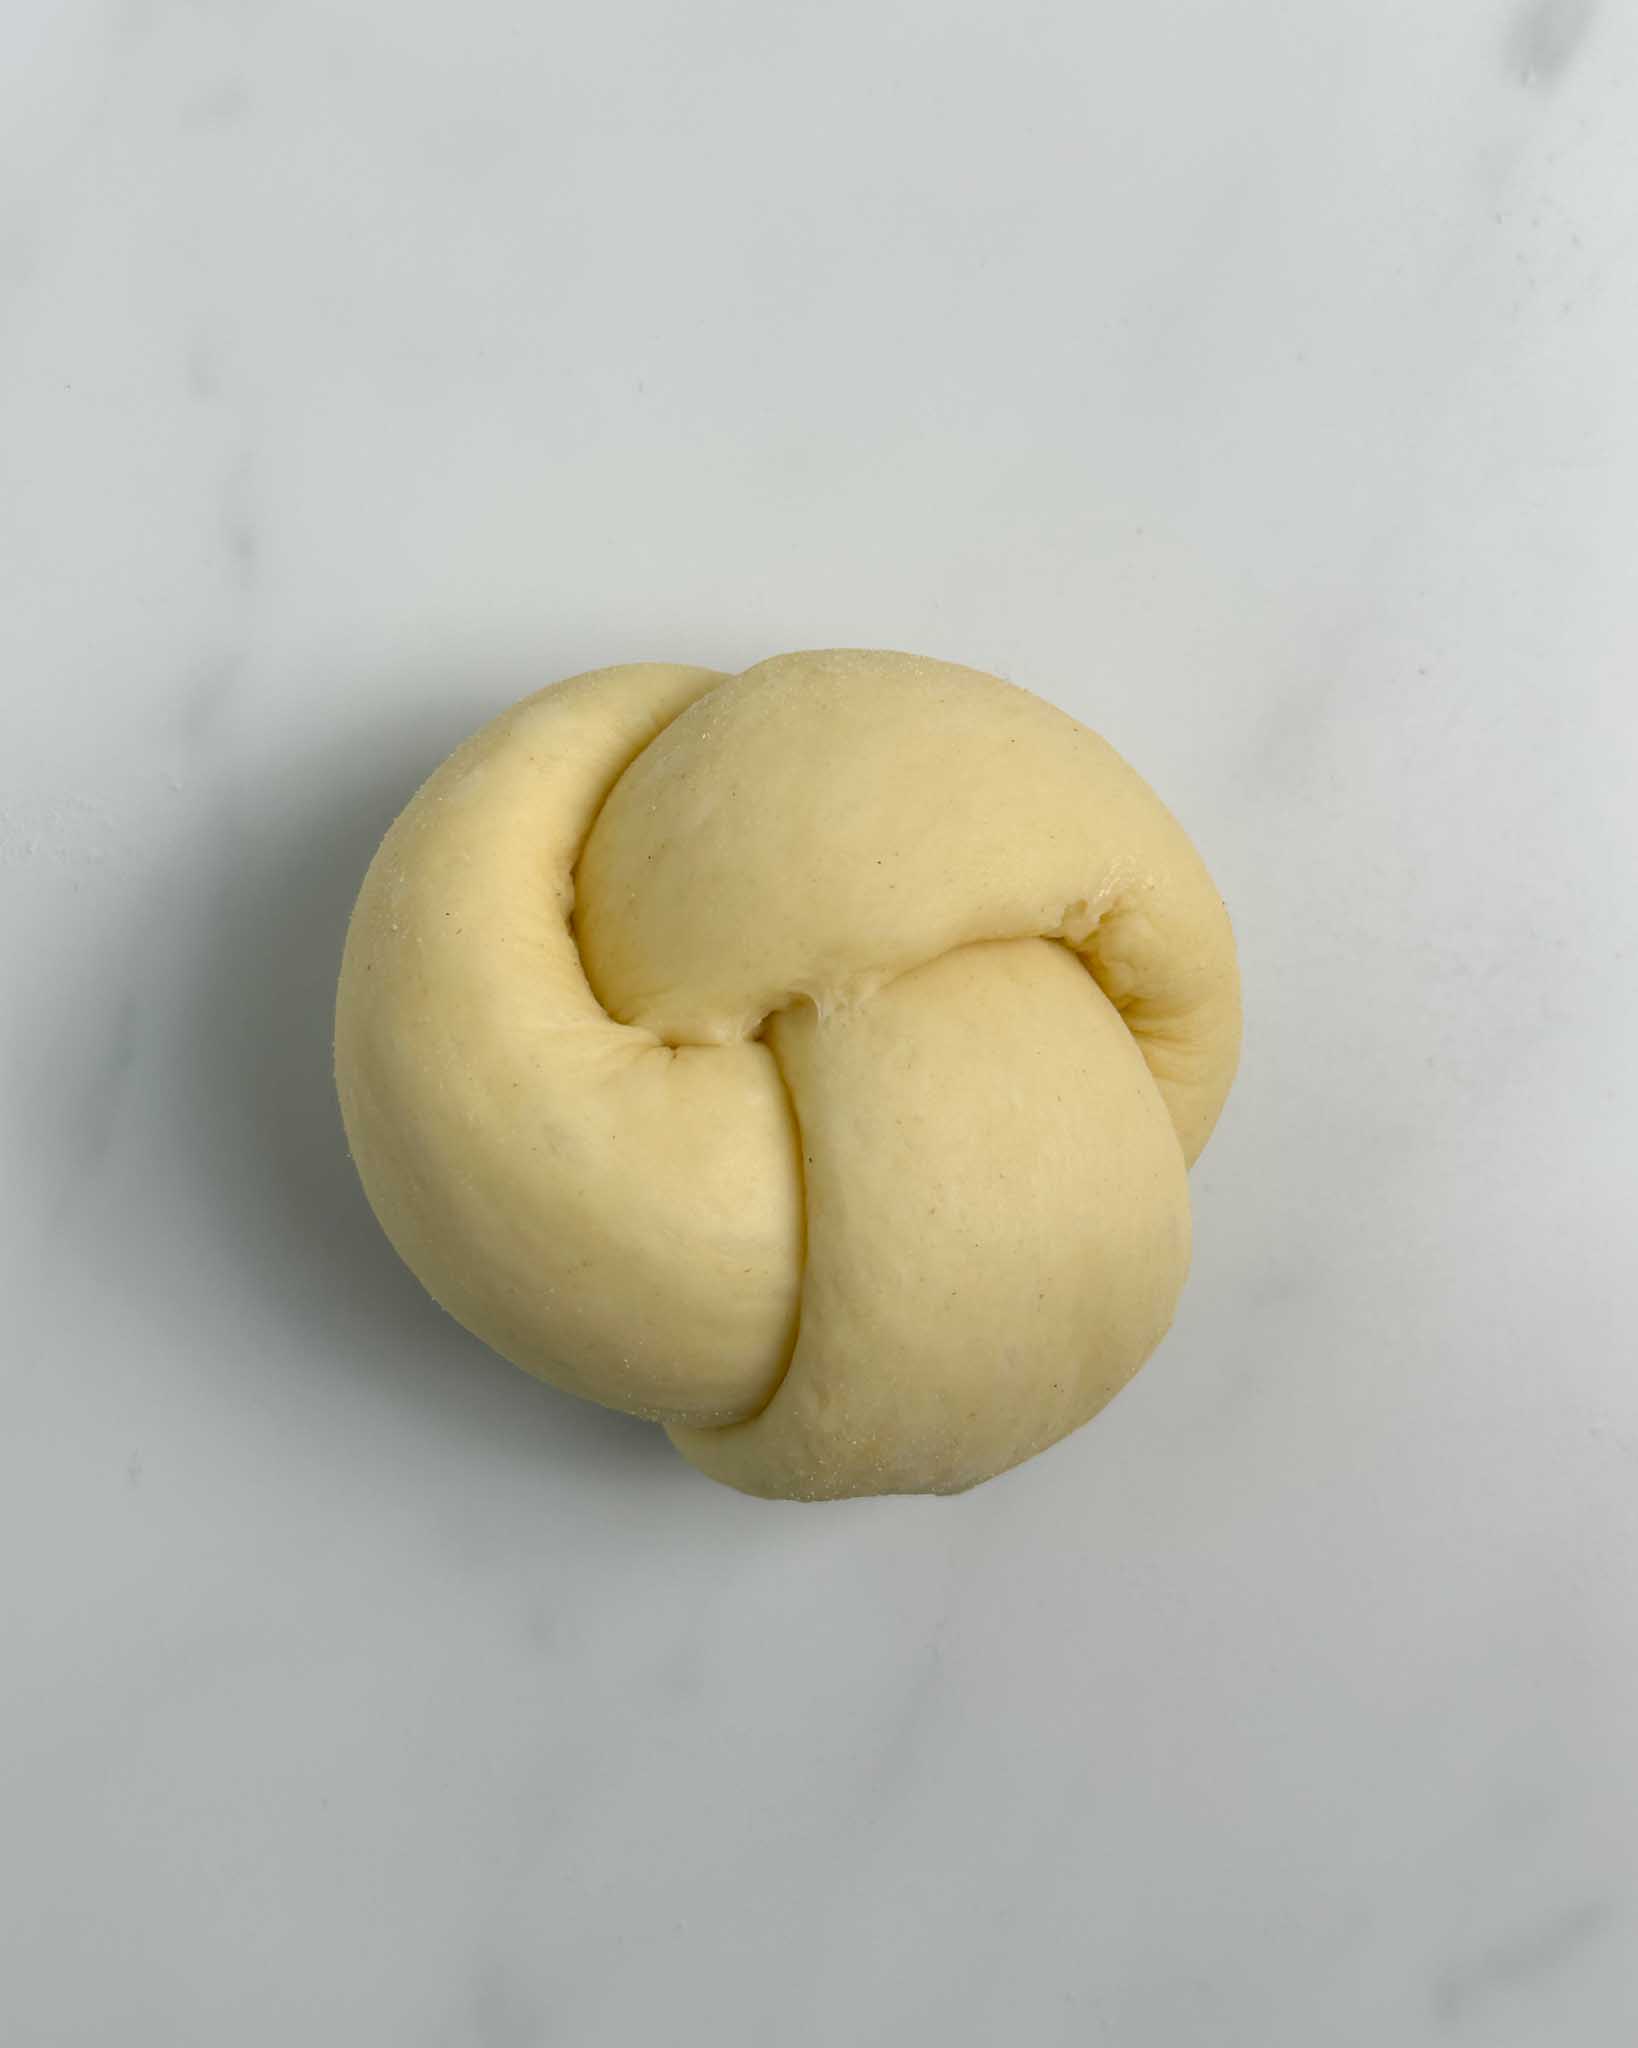
How to shape potato Bread knots
Swipe through the photos to see the shaping process.
Recipe FAQ
Can bread knots be frozen? Absolutely, these potato bread knots can be frozen to enjoy later! Here’s how to do it:
- Cool – Allow the bread knots to cool completely at room temperature before freezing.
- Wrap – Individually wrap each knot tightly with plastic wrap to maintain freshness.
- Label – Remember to label and date the potato bread knots to be sure you serve them at a reasonable timeframe
- Freeze – Place the wrapped bread knots in the freezer and store them for up to 2-3 months.
- Thaw – On the day of serving, remove them from the freezer and let them thaw for a few hours until completely thawed.
- Reheat – Once thawed, reheat the oven to 350°F/180°C and reheat for 3-5 minutes until warmed through. Enjoy!
What is the Window-Pane test? The window-pane test is a method used to check gluten development in dough. To perform the test, you take a small piece of dough and gently stretch it between your fingers. If the dough stretches into a thin, translucent membrane without eating, resembling a windowpane, it indicates that the gluten has been sufficiently developed. This means that the dough has reached the proper elasticity and structure needed for good texture and rise. If the dough tears before reaching this stage, it may need more kneading.
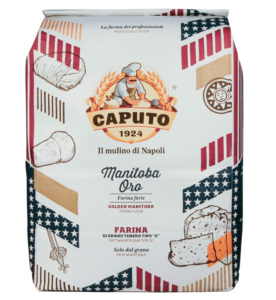
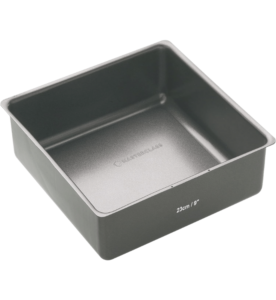
Shop the Tools

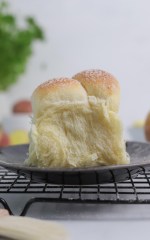
Soft Potato Bread Knots
Ingredients
- 330 g bread flour
- 15 g granulated sugar
- 7 g sea salt
- 5 g instant dry yeast
- 125 g whole milk at 77°F/25°C
- 1 medium egg (50 g)
- 45 g unsalted butter softened at room temperature, cubed
- 135 g russet potatoes boiled and cooled
Instructions
Prepare Potatoes
- Start by preparing the potatoes: Boil cubed potatoes until fork tender. Cool to room temperature. Pass the potatoes through a potato ricer and set aside.135 g russet potatoes
Make The Dough
- Add flour, sugar, salt, and instant dry yeast to the bowl of your stand mixer fitted with the dough hook. Give the dry ingredients a quick stir to combine.330 g bread flour, 15 g granulated sugar, 7 g sea salt, 5 g instant dry yeast
- Add whole milk and eggs to the dry ingredients.125 g whole milk, 1 medium egg
- Turn your stand mixer on low speed and knead for 5 minutes until everything is combined. The dough will be a little dry at this point.
- While the mixer is on, add the softened butter in cubes, one cube at a time.45 g unsalted butter
- Continue kneading for about 2 minutes until all the butter is incorporated into the dough.
- Lastly, add the riced potatoes, and continue kneading at medium speed for 10-15 minutes until your dough passes the window-pane test.
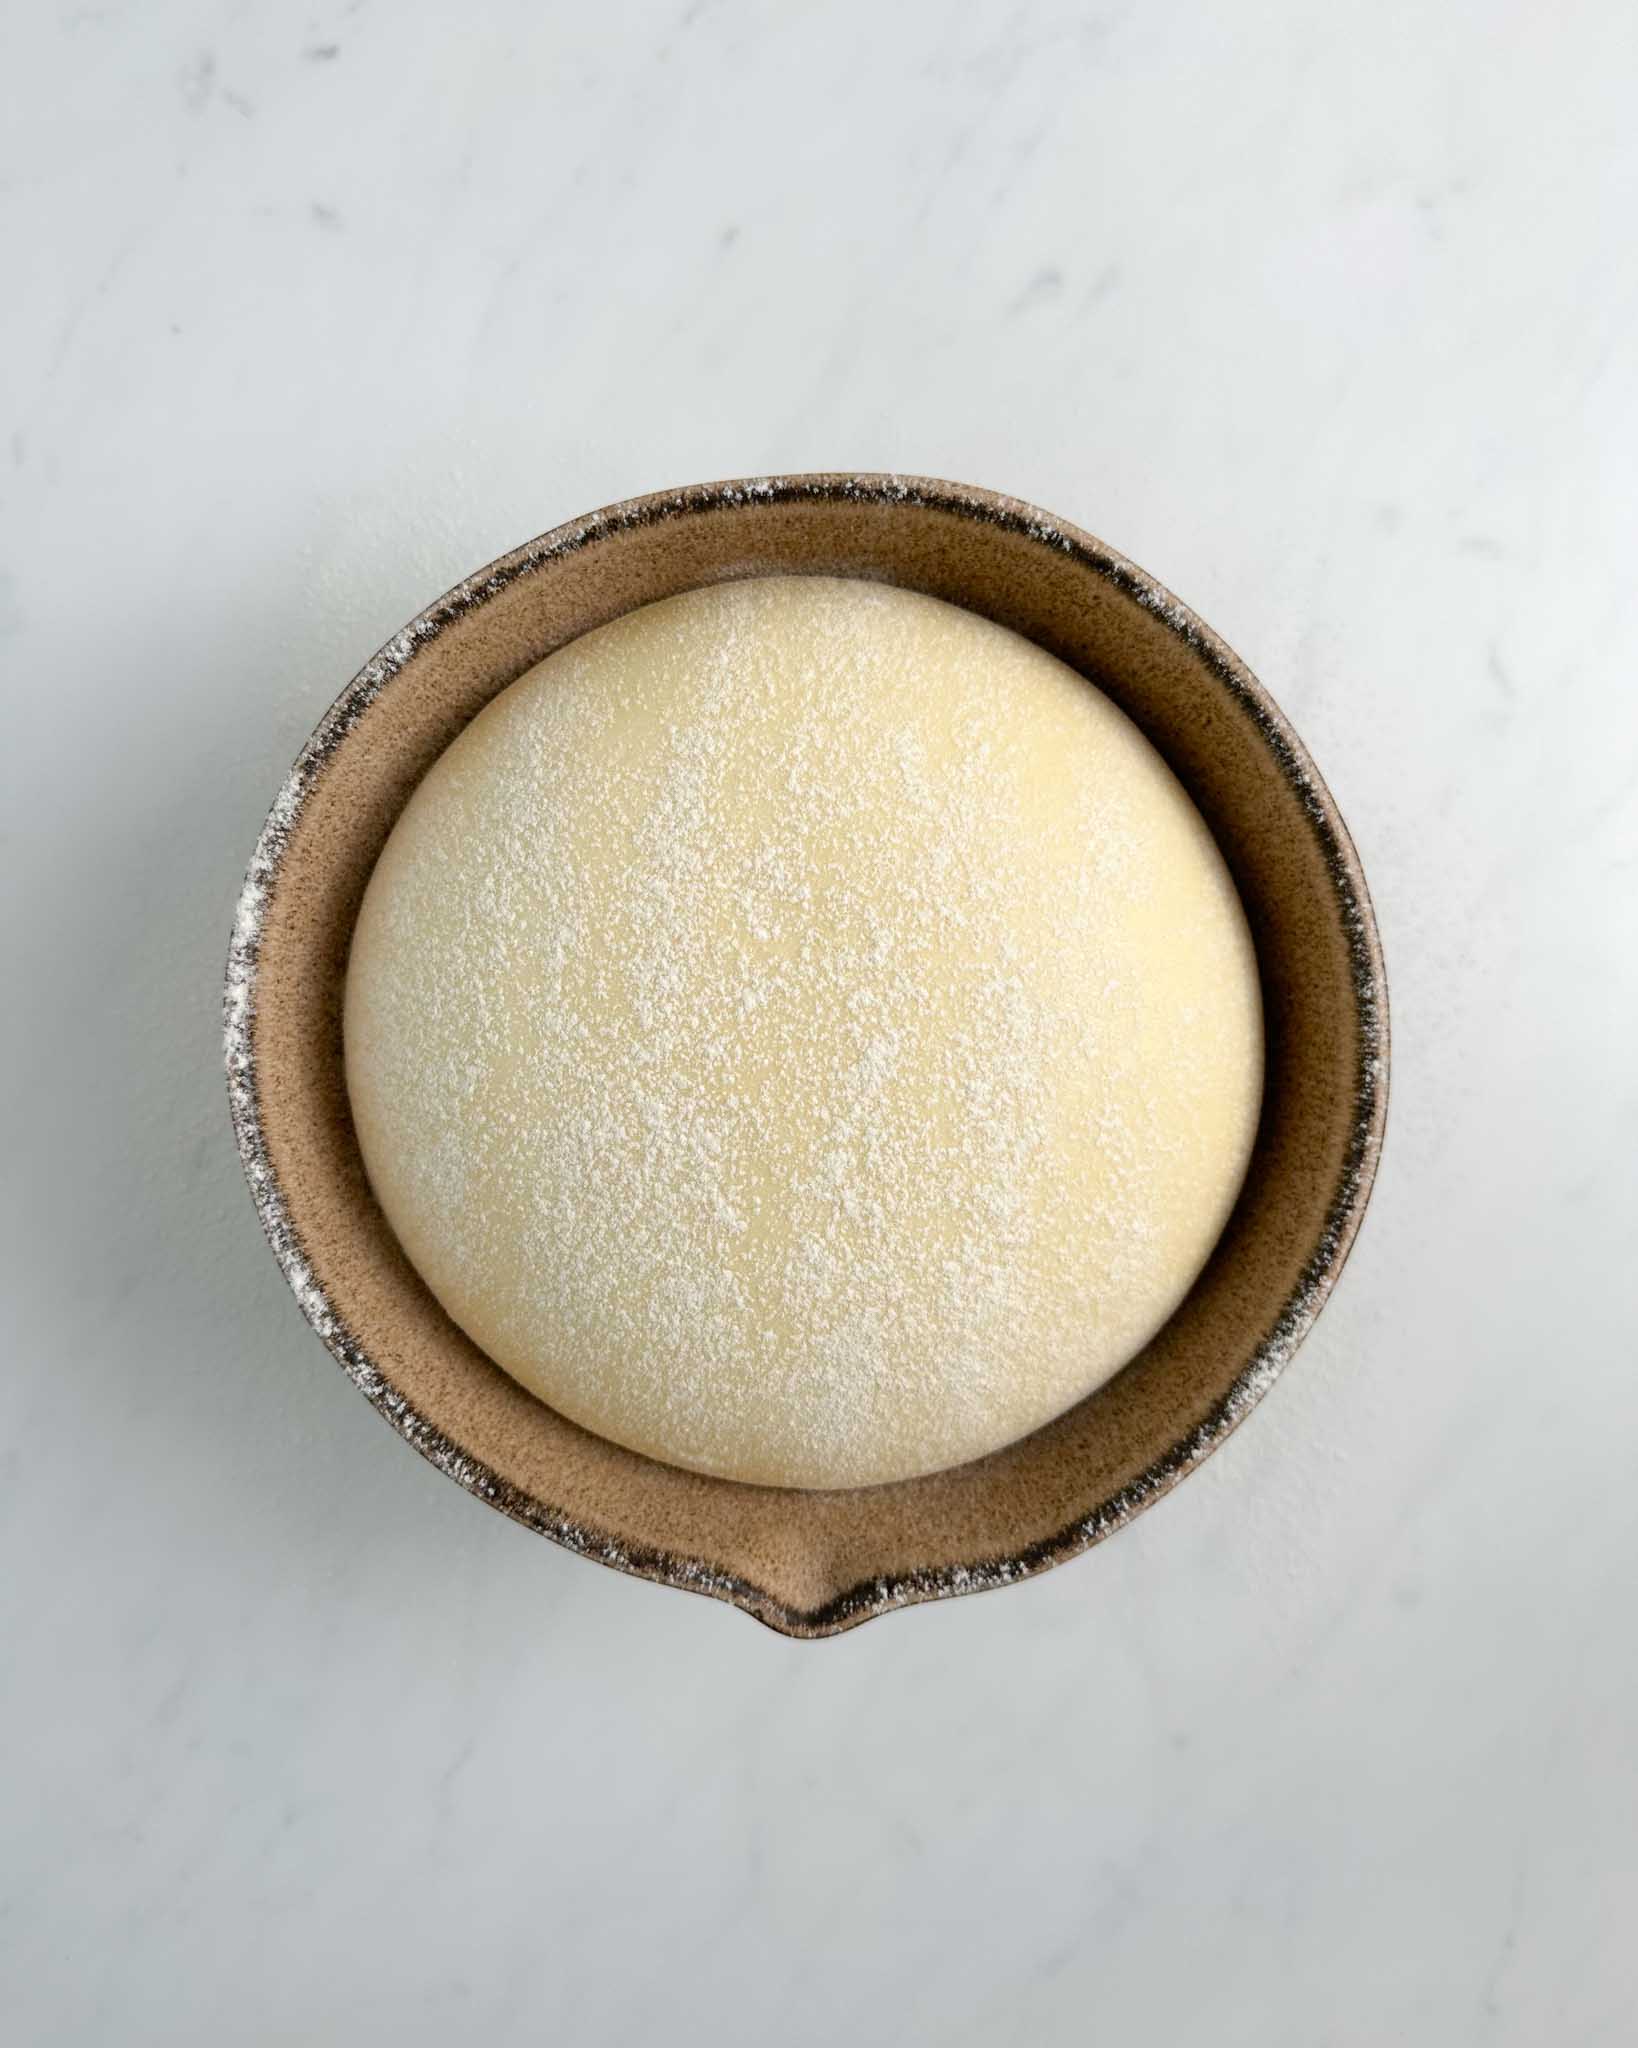
- Gently shape the dough into a round, and place it in a lightly oiled baking bowl.
First proof
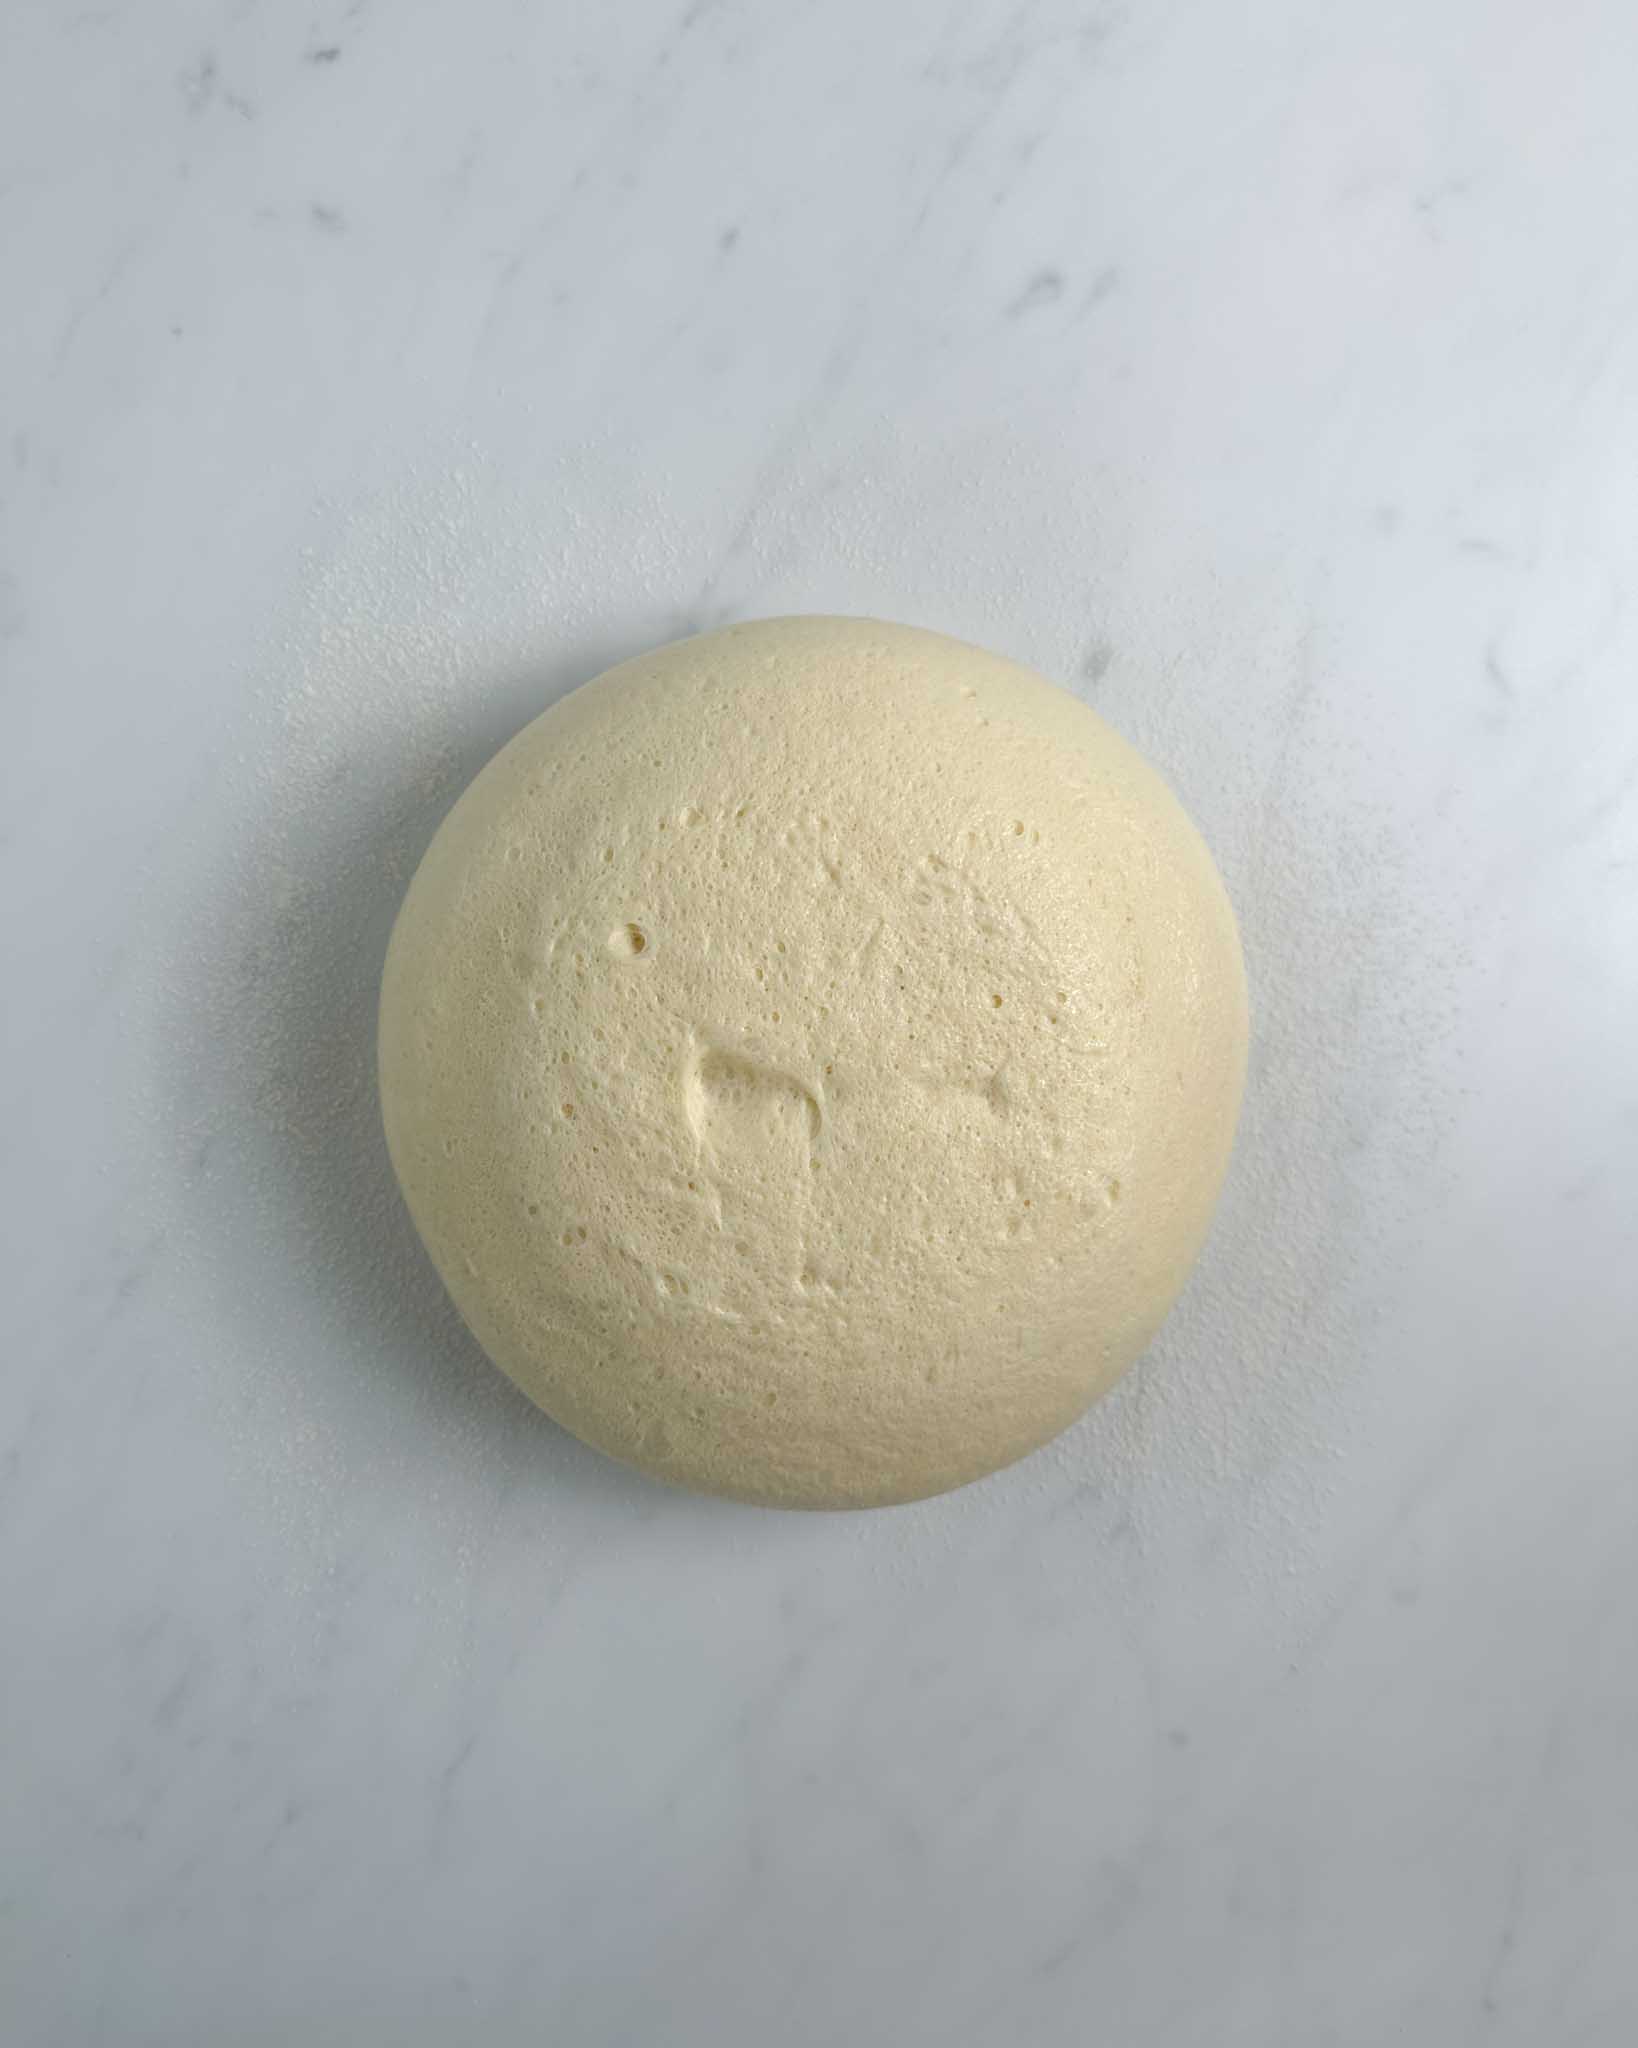
- Allow the dough to proof for 45-60 minutes at room temperature or until it has risen to about 60%.
- Place the dough in the fridge for another 60 minutes or until fully doubled in size.
Shape
- Remove dough from the fridge and dump it onto a lightly floured work surface.
- Divide the dough into 9 equal pieces. Use your scale for accuracy so that each bread knot is the same size.
- Roll each piece into seamless rounds. Rest for 5 minutes.
- Flatten each round into 4 in/10 cm long rectangles using a rolling pin. Grab one of the long sides of the rectangle and roll it up like a roulade. Suppose the dough resists you at any point; cover it and let it rest for a couple more minutes.
- Repeat on all nine dough rounds.
- Use your hands to roll and extend the roulades into about 11 in/27 cm strands. Flour the strands and brush off any excess flour using a pastry brush. You want a thin coating of flour all around the strands so that shaping the knots is easier.
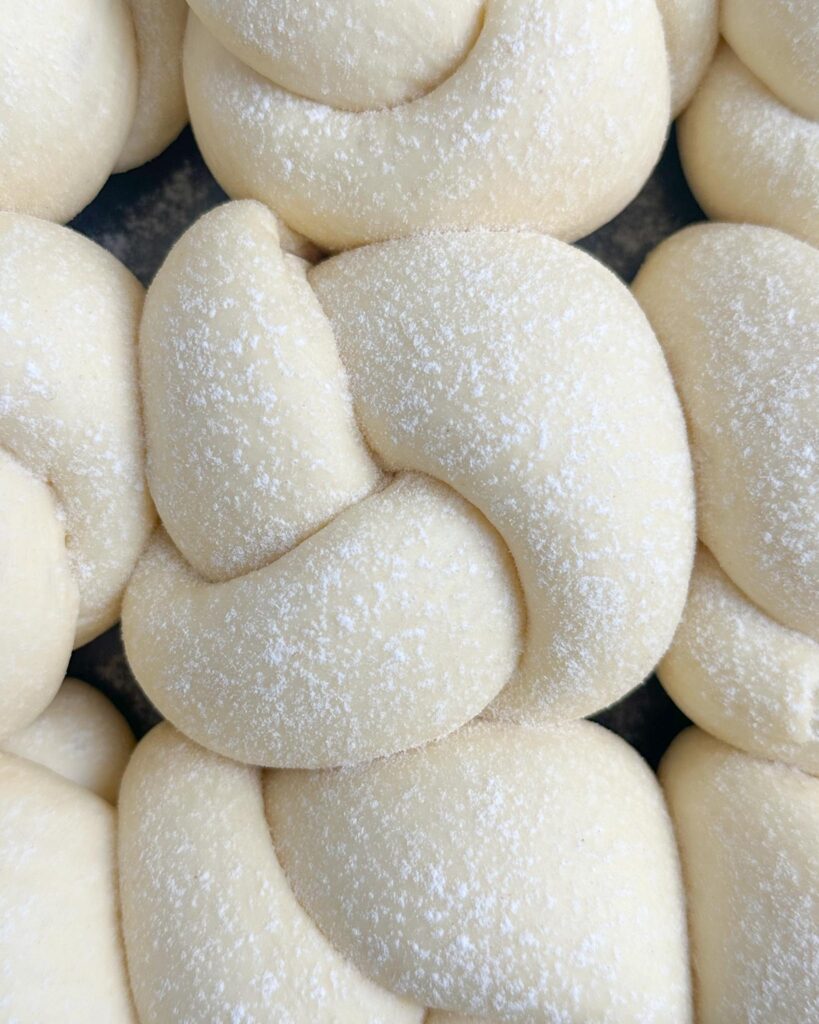
- Working with one strand at a time: Tie a knot using both hands, as demonstrated in the images above.
- Arrange the bread knots in a 9×9-inch baking pan.
- Cover, and proof for 30-45 minutes, until nice and fluffy looking. The knots should jiggle slightly if you shake the pan.
Bake
- Optionally, sprinkle a thin layer of flour on top of the bread knots.
- Bake in a preheated oven at 350°F/180°C for 15-20 minutes – until the internal temperature is at 195°F/90°C.
- Remove bread knots from the baking pan, and transfer to a wire rack to cool for at least 20 minutes before serving.








These looked complicated to me at first but they were so easy to make! They turned out perfect and tasted absolutely amazing. Thank you Elise!!!
Made these once. Turned out amazing. Planning on making them again the weekend as accompaniment for pasta so will top them in the end with garlic and herbs.
This recipe is a crowd favorite! Friends and family request these often and they’re always a hit. I was intimidated by weighing all of the ingredients at first but it’s actually not too bad (and makes all the difference). Patience is the name of the game with these but I’ve gotten good results with a 1.5 hour room temp proof and then a 10 minute rest before baking (instead of 2 hours proof and 45 min rest). They’re still optimal following the recipe to a T but sometimes I’m in a rush.
I loved the recipe