

Frequently Asked Questions
General Baking Q’s
It’s simple, really—grams are very precise, which means you’re more likely to get that perfect bake every time. Unlike cups and spoons, where a little extra or too little can throw off the whole recipe, grams keep things on point. Plus, using a digital scale not only ensures accuracy but also saves you from washing up extra dishes. As for converting my recipes from grams to cups/spoons? I don’t recommend it.
Here is a list of tools that I believe are must-haves:
- Digital kitchen scale
- Pastry brush
- Cooling racks
- Thermometer
- Rolling pin
- Silicone spatula
- Balloon whisk
- Mixing bowls in various sizes
- Bench scraper
- Stand mixer
Skipping an ingredient might seem tempting, but it’s not worth the risk. Each ingredient in my recipes plays a role in the final outcome, so it’s best to choose a recipe that matches the ingredients you have available.
In general, I don’t recommend it. Most of my recipes call for unsalted butter rather than salted butter to ensure control over the salt content in the dough. Using salted butter would introduce varying levels of saltiness depending on the butter brand, potentially altering the intended flavor profile of the recipe.
How to freeze homemade bread:
- Allow the bread to cool completely at room temperature after baking.
- Slice the bread, placing parchment paper between the slices to prevent sticking, making it easier to remove individual slices from the freezer.
- Wrap the bread tightly in plastic wrap then place it in a freezer bag.
- Label with the date and freeze.
- When ready to eat, allow the bread to thaw at room temperature for a few hours, or pop the slices straight into your toaster.
Tangzhong is a baking technique I often use in my recipes. It involves pre-cooking a portion of the recipe’s flour and liquid, causing the mixture to thicken and gelatinize. The Tangzhong causes the bread to remain softer with an extended shelf life.
Recipes with Tangzhong:
The main differences between instant, active dry, and fresh yeast are their activation process, and shelf life. I personally always use either instant or fresh yeast.
Instant yeast: It doesn’t require activation, and can be added directly to the dry ingredients when mixing up your dough.
Active dry yeast: It needs to be activated in warm liquid before use (e.g., water, or milk, depending on the recipe).
Fresh yeast: Fresh yeast comes in a solid, soft block and contains more water than instant and active yeast. It requires refrigeration and has a shorter shelf life. As fresh yeast handles cool temperatures better than dry yeast, using cold liquid in the dough can help preserve the yeast’s effectiveness and extend fermentation, promoting a gradual rise. This approach is especially beneficial for chilled fermentation, where the dough slowly rises, encouraging richer flavors and superior texture in the final bake.
It could be because of a few things, like room temperature—warmer places make dough rise quicker. The type of flour and the temperature of the liquid you use in the dough can also affect it. Other factors, such as the type of yeast and how fresh it is, also play a part. If your dough is moving at its own pace, don’t stress—it’s all part of the process.
Look for a golden brown crust and check the internal temperature with a thermometer (195°F/91°C for bread).
Before concluding that your dough is too sticky, make sure you’ve kneaded it thoroughly. If your dough becomes too soft from overheating, a 15-30 minute chill in the fridge can help. When trying a new recipe or flour, start with less liquid and gradually add more to see how your flour responds to the recipe’s hydration level. It’s best to adjust the liquid rather than add extra flour, as this can throw off the balance of the other ingredients.
Sourdough
To make and maintain a sourdough starter, I highly recommend downloading my free eBook, which provides a sourdough guide with easy-to-follow steps. This eBook is available to everyone who signs up for the Bread By Elise newsletter. Grab your freebie and sign up for the newsletter here.
Oh, the opportunities are endless. You can add seeds, nuts, herbs and spices, dried fruits such as raisins, cranberries, apricots or figs, cheese, olives, citrus zest, or roasted garlic. Feel free to be creative!
Hydration
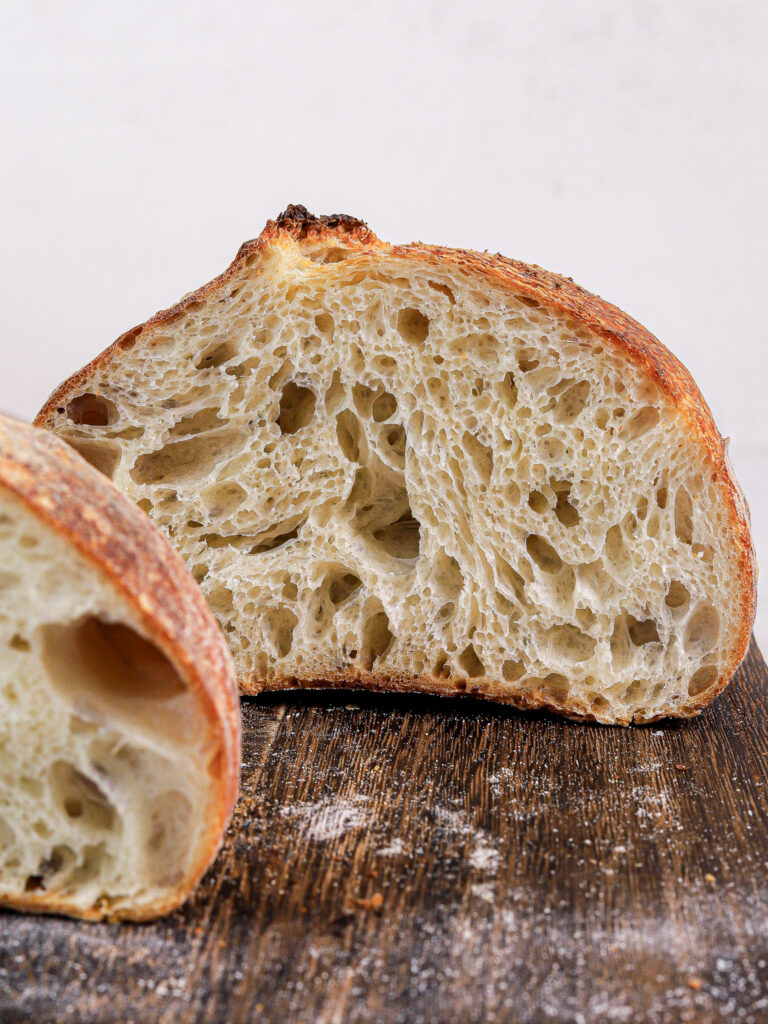
If your dough is sticky, it may indicate that the water-to-flour ratio is high. It’s worth noting that a higher hydration level is often preferred in bread baking. The high water content contributes to an open crumb, a thinner crust, and a light and chewy texture. However, working with high hydration does require some practice. To practice, try using slightly less water next time you prepare the dough and take note of the differences. Time after that, add a little more water and work your way up to a comfortable level. With practice, you’ll develop a feel for the dough’s consistency and how to work it effectively. Keep in mind that various flours absorb water differently, depending on factors such as their protein content, so it’s worth doing some research to find the most suitable bread flour available in your area.
Fermentation
If your dough had a good texture prior to fermentation but turned overly sticky a few hours into fermentation, it may indicate that it is over-fermented. Next time, try fermenting for a shorter period or at a cooler temperature. Practice is key.
What I love about bread baking is its simplicity; you only need a few tools to create a well-made loaf. Fundamentally, all you require are your hands, a large mixing bowl, and an oven. However, to elevate your bread-making, I highly recommend the Challenger Bread Pan for heat distribution and steam generation, resulting in loaves with a more open crumb and crispy crust. The Brod & Taylor Folding Proofer is also invaluable, especially in cooler climates, ensuring consistent temperature during fermentation. A quality bench knife is also handy for shaping and dividing dough. For easy access, I’ve included links to these products and other bread-baking tools in the Bread Essentials section on my Shop My Favorites page.
Yes, a sourdough starter is incredibly versatile in baking. I love using it in enriched doughs, such as cinnamon rolls, or sweet breads like chocolate babka.
You can absolutely store your starter in the fridge. Make sure you take it out 3-4 days before you plan to bake with it and feed it every 12 hours to activate it. Many find it practical to store their starter in the fridge during weeks when they’re not planning to bake, just remember to feed your starter regularly, at least once every other week, to maintain its health in cold storage.
Bread By Elise
I find inspiration in many places! Bakeries I visit often spark my creativity with new ideas and flavor combinations. Oftentimes, it’s from seasonal ingredients or flavors that I want to highlight. I also love scrolling through social media and browsing cookbooks for inspiration.
I actually remember the exact moment that made me rush to the kitchen and create my sourdough starter. It was back in 2018 after watching a YouTube video by Claire Staffitz and Brad Leone about, you guessed it, sourdough bread. I named my sourdough starter Finn and I’m proud to say that Finn is still going strong!
Sourdough bread and sourdough pastries.
I’ve loved baking and cooking for as long as I can remember. However, I didn’t fully embrace this hobby until I was around 18 y/o. Read more about Elise.
My recipe creation process is a blend of inspiration, experimentation, research, math, and experience. It often starts with an idea sparked by a flavor combination, a specific ingredient, a follower’s request, or even a personal craving. From there, I’ll research similar recipes and draw from my repertoire to write a rough recipe as a starting point. Then comes the fun phase of testing and refining the recipe, where I adjust the ingredients and techniques until I’m happy with the flavors and textures. After that, I take recipe photos and videos and write the finished recipe before sharing it with all of you.
Recipe videos
I film all my social media reels/tiktoks with my iPhone! I find it easiest to maneuver, which allows me to capture those baking moments without any fuzz or complicated settings to worry about. Additionally, I use studio lighting to ensure that my videos have optimal brightness. But when it comes to food photography, I prefer my mirrorless camera.